
Easy, No-Bake Oreo “Cake” Pops & Stand
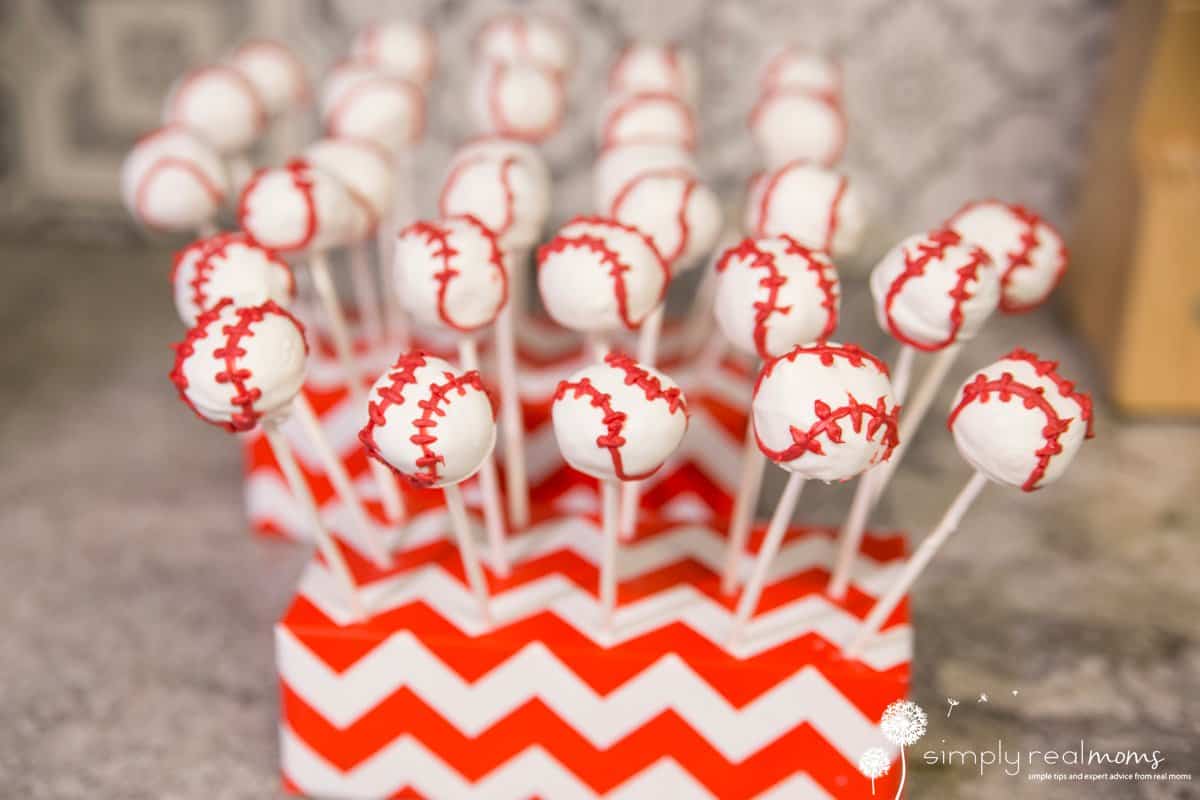
A friend of mine used to make these cake pops for parties, and I could never get enough. When I asked her for the recipe, I was amazed to find out how easy they are to make!
What you need:
-1 package Oreos (you can experiment with other flavors – I’ve done birthday cake ones, too. I also haven’t had any issues using generic.)
-1 8oz package of cream cheese (room temp).
-Chocolate for dipping. I find that the Wilton candy melts are easiest to use. I made baseballs this time, so I used white, but you can use whatever color works for you.
That’s it. No baking, minimal mess.
Here’s how:
- Start by crushing the oreos. The easiest way is with a food processor, but you could also use the ziploc / rolling pin trick. The result should be super fine crumbs.

- Mix in the cream cheese. I use my stand mixer with the paddle attachment, but a hand mixer or a spoon (and a lot of muscle) would do the job.
- Roll the “dough” into balls. I squeezed them between my hands a few times to get them really packed first, then just roll between your palms. Mine were about 1.5″ across, and I ended up with 30 of them.
- Now we need to add the sticks. To make them stay better, melt a few white chocolate chips to dip the sticks into. My chocolate usually works best after microwaving for 1 minute at 50% power, stir, 30 seconds at 50%, stir, 30 seconds at 50%. For the small batch for the sticks, it might not take quite as long.
- Dip the sticks into the melted chocolate, and gently push them into the oreo balls.
- You can make these in advance and freeze them for a few days, or you can just throw them in the freezer for about 15 minutes before continuing. If you freeze them for longer, let them sit for a few minutes before dipping. I used the freezer time to make a couple of stands. All I used was a foam brick for each, and some wrapping paper.
- Wrap the block like you would a gift, and then I just punched holes through the paper for the cake pops.
- Once your cake pops are ready to dip, melt some more chocolate and go for it. I tap mine on the side of the bowl a little bit to get rid of the excess, but I’m clearly not winning any awards for my dipping skills, so do what works for you.
- Like I said, I made baseballs this time. I’ve made various colors with sprinkles before, so I decided to up my game for a friend’s son’s birthday party. In hindsight, I wish I would have used royal icing, but I decided to try with the red candy melts in a piping bag. I found that they cooled too quickly and it was very difficult to work with in this way. So now’s the time to decorate however you like! When you’re done, keep them refrigerated until they’re ready to be devoured!
- These looked super cute next to the cake, but I wouldn’t recommend leaving these outside or anywhere warm. They eventually melted and started sliding down the sticks. But either way, they are delicious!


Let us know if you try these – we would love to see the pictures!
