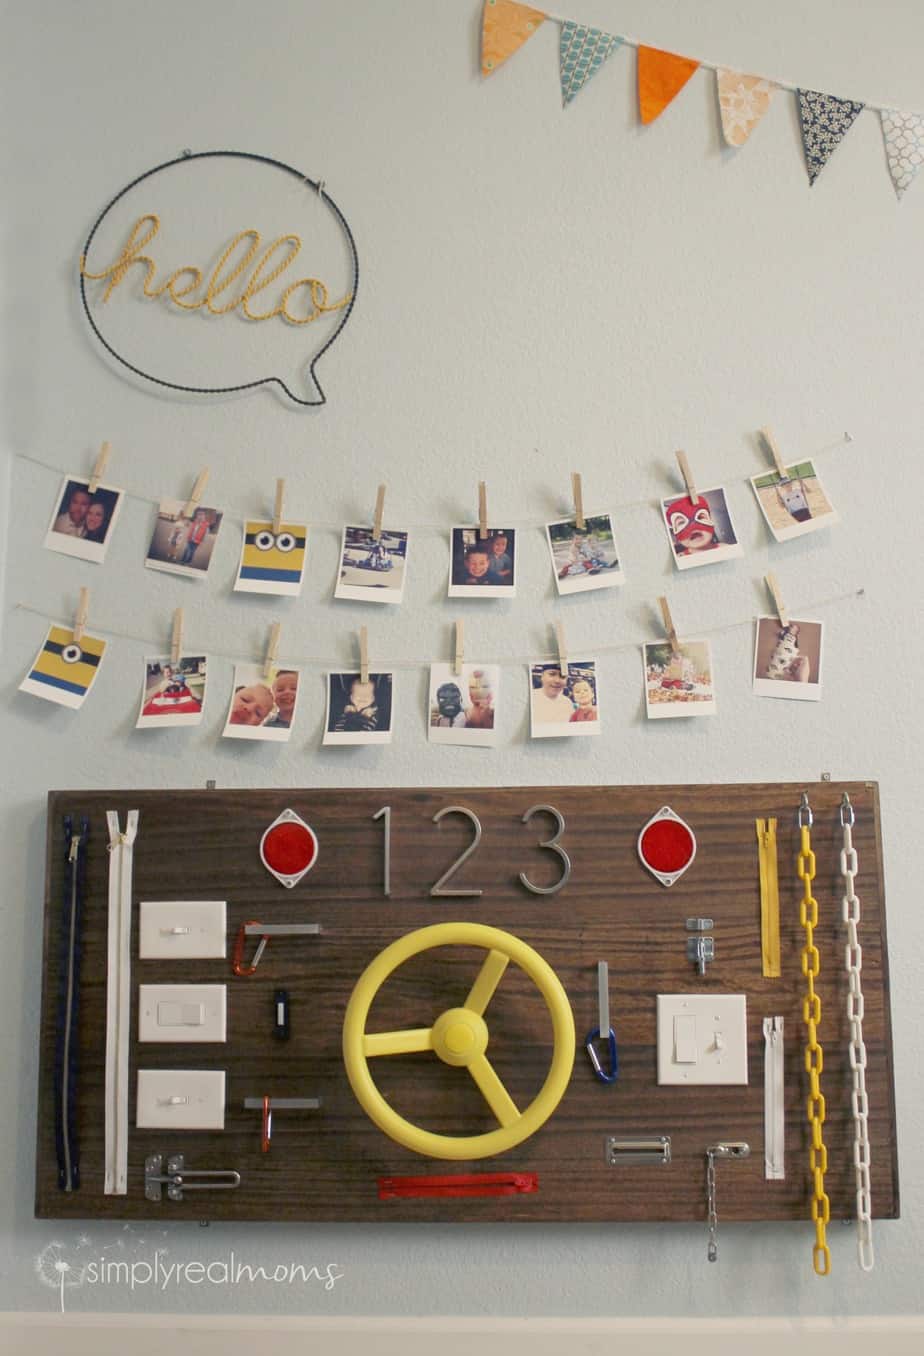
DIY Busy Board
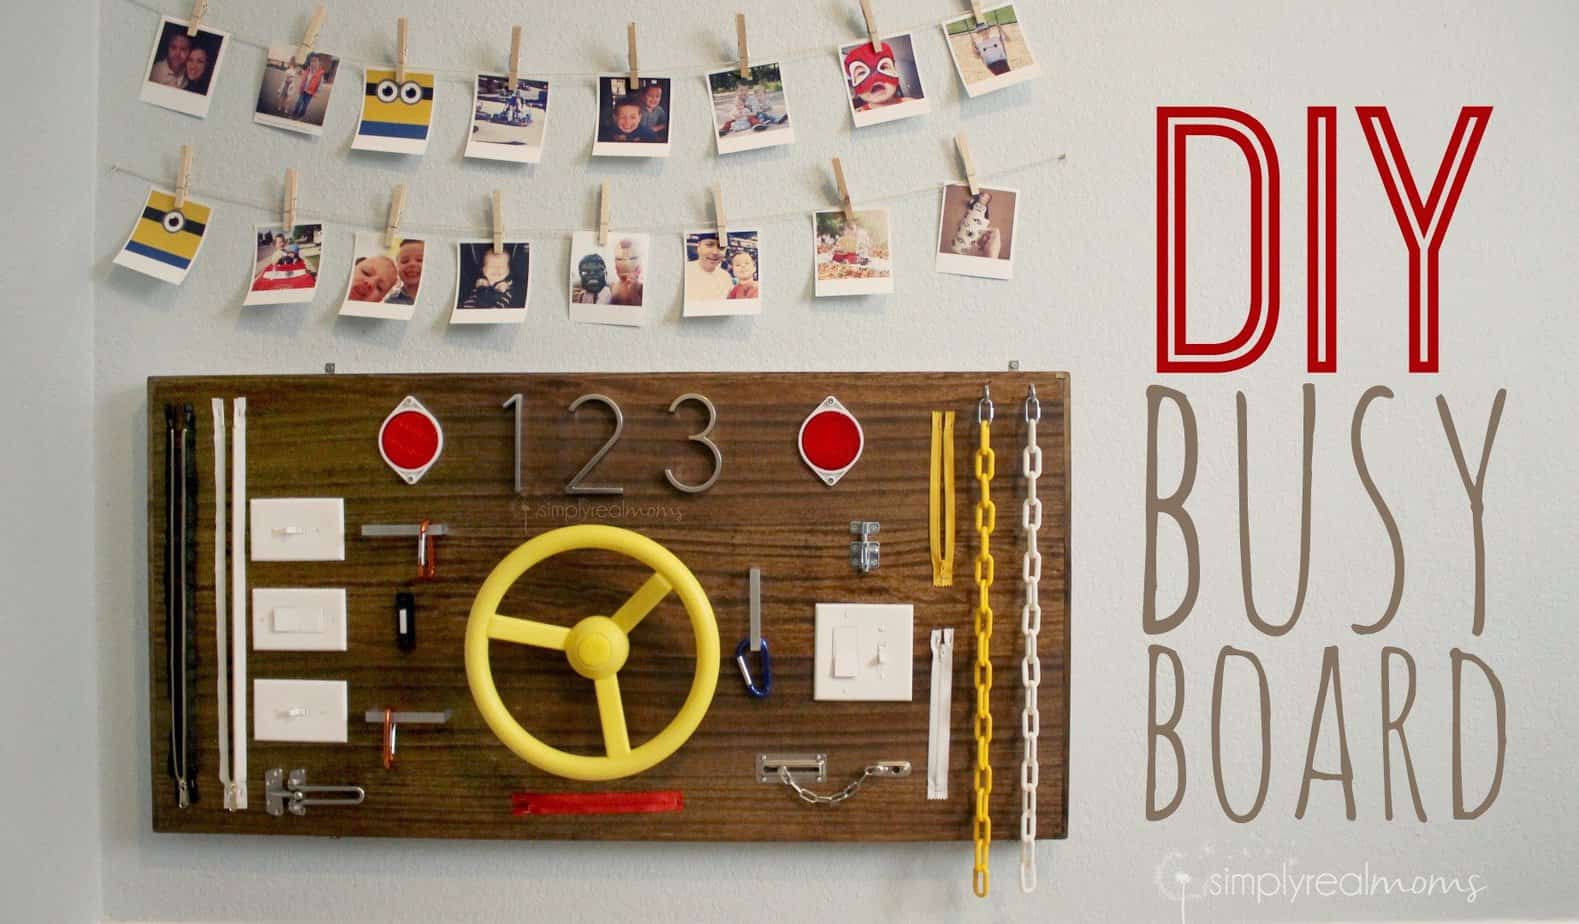
We recently moved my two older boys into a room together so that we could use the nursery for our youngest and we’ve been trying to make the room as much of a playroom as it is a bedroom. We don’t have a dedicated play space, and I was getting tired of our living room piling up with toys. We built a storage unit (see that beaut here) to store toys, put a few of their bigger toy sets around the room and we had this blank space on the wall under their photo wall that was just begging for something fun. After talking about some ideas, my husband and I decided to tackle making a busy board for the kiddos.
I had seen tons of photos of busy boards all over Pinterest and read as many posts that other bloggers have written to see all the different ideas out there so we could customize our board. Then it was time to hit up Home Depot. I walked up and down the aisles, letting my kids look at and touch different hardware to see what they would want to play with. We ended up buying light switches, some door locks, drawer pulls & carabiners, reflectors, plastic chains, a doorbell button & house numbers along with a pre-cut 2′ X 4′ piece of plywood. We picked up some zippers at JoAnn Fabrics and I ordered a playground steering wheel from Amazon.
We started by laying out the different pieces to see how it would fit on the board and still look nice. It took a while to figure out a good setup, and then we made sure to take a quick picture for reference as we went along.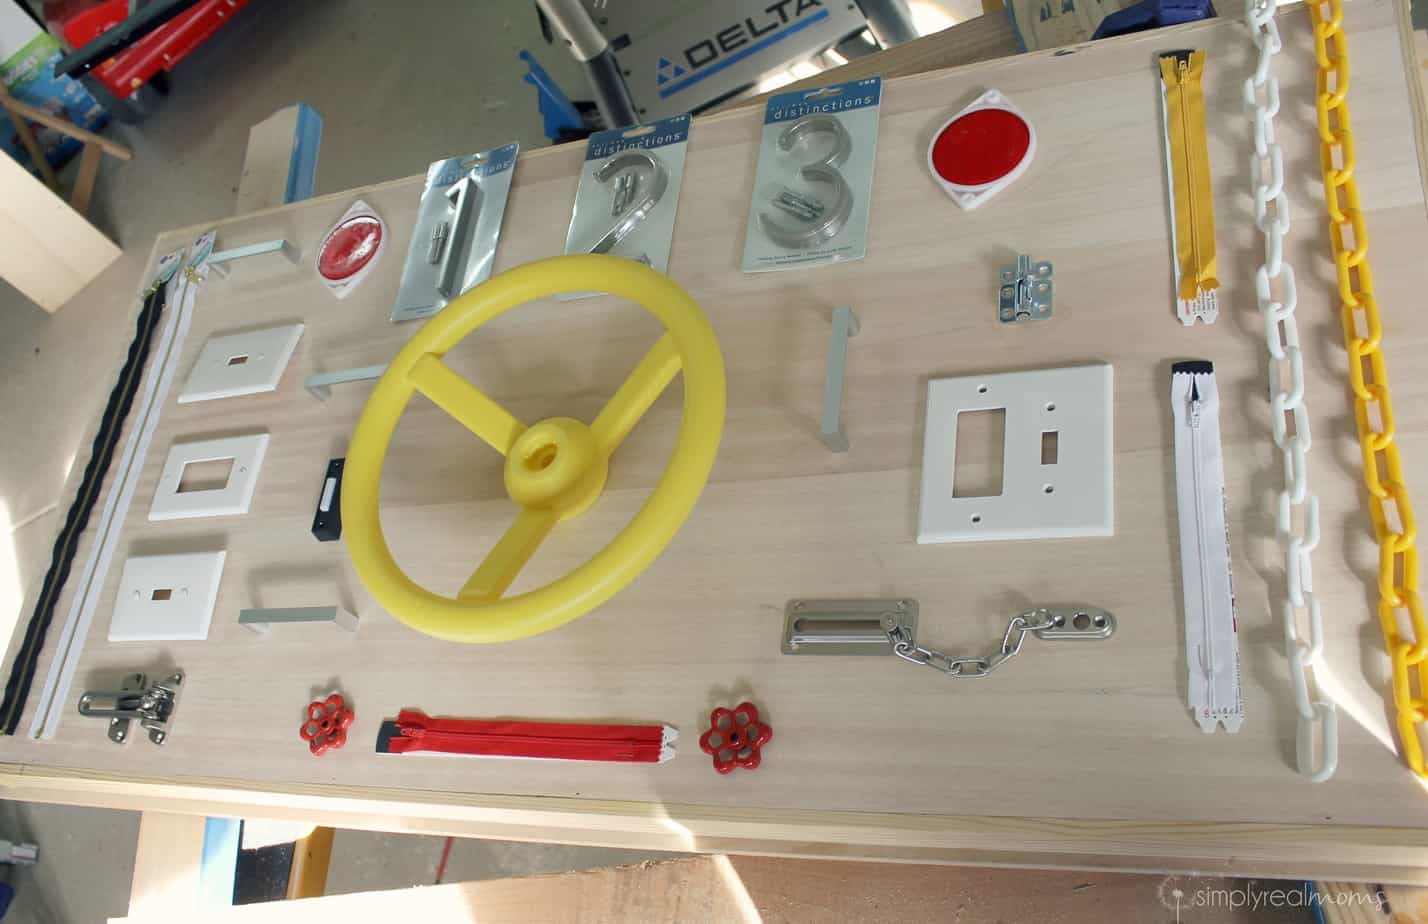
We got a little fancy with ours and decided to flush mount the light switches. My husband is a really handy guy and can do this, but it takes extra work cutting holes for the boxes and making a lip around the edge of the plywood so that it could fit the light switch hardware behind it.
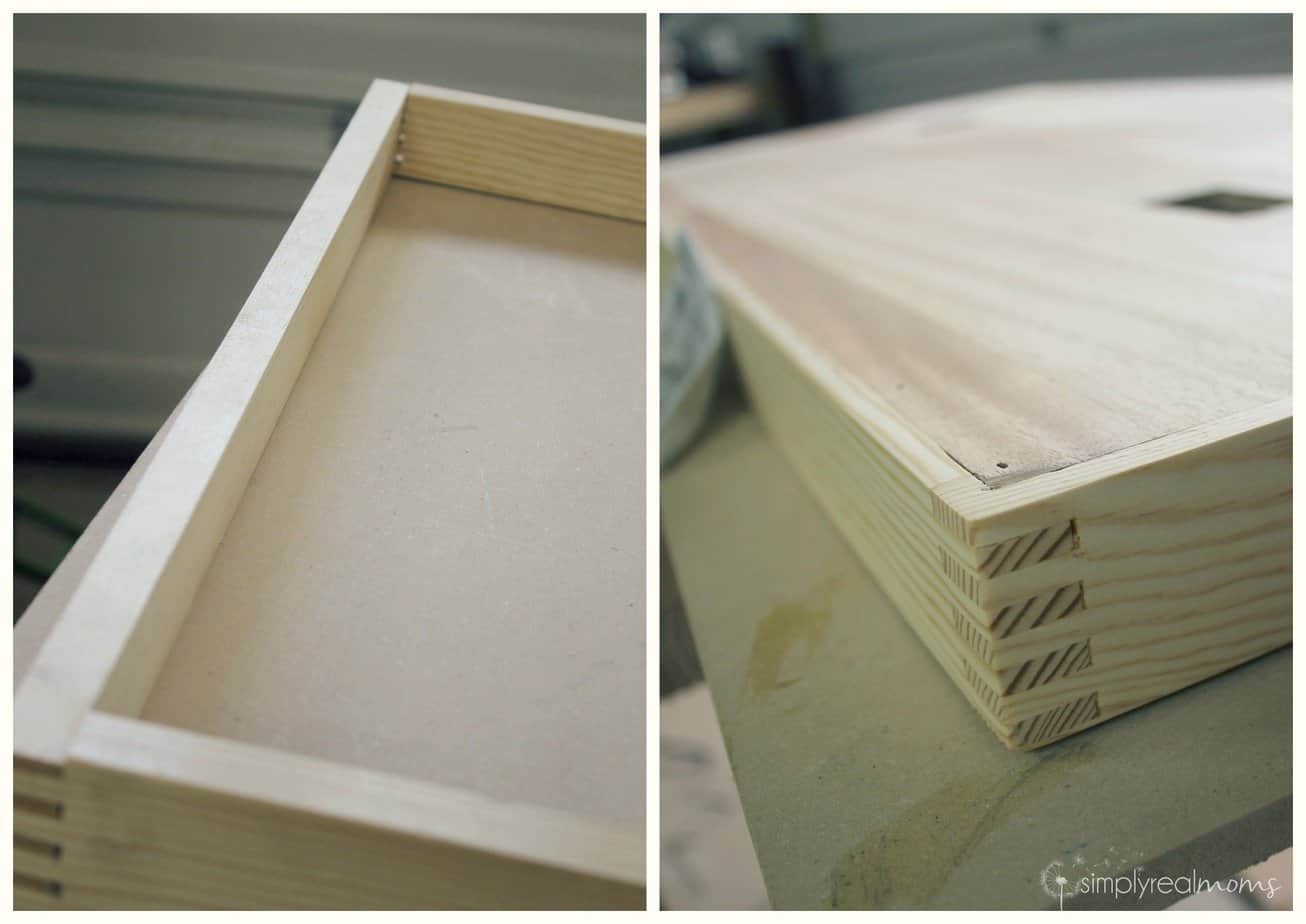
We marked the spots where we would need to cut the board for the switches, cut and then stained the board.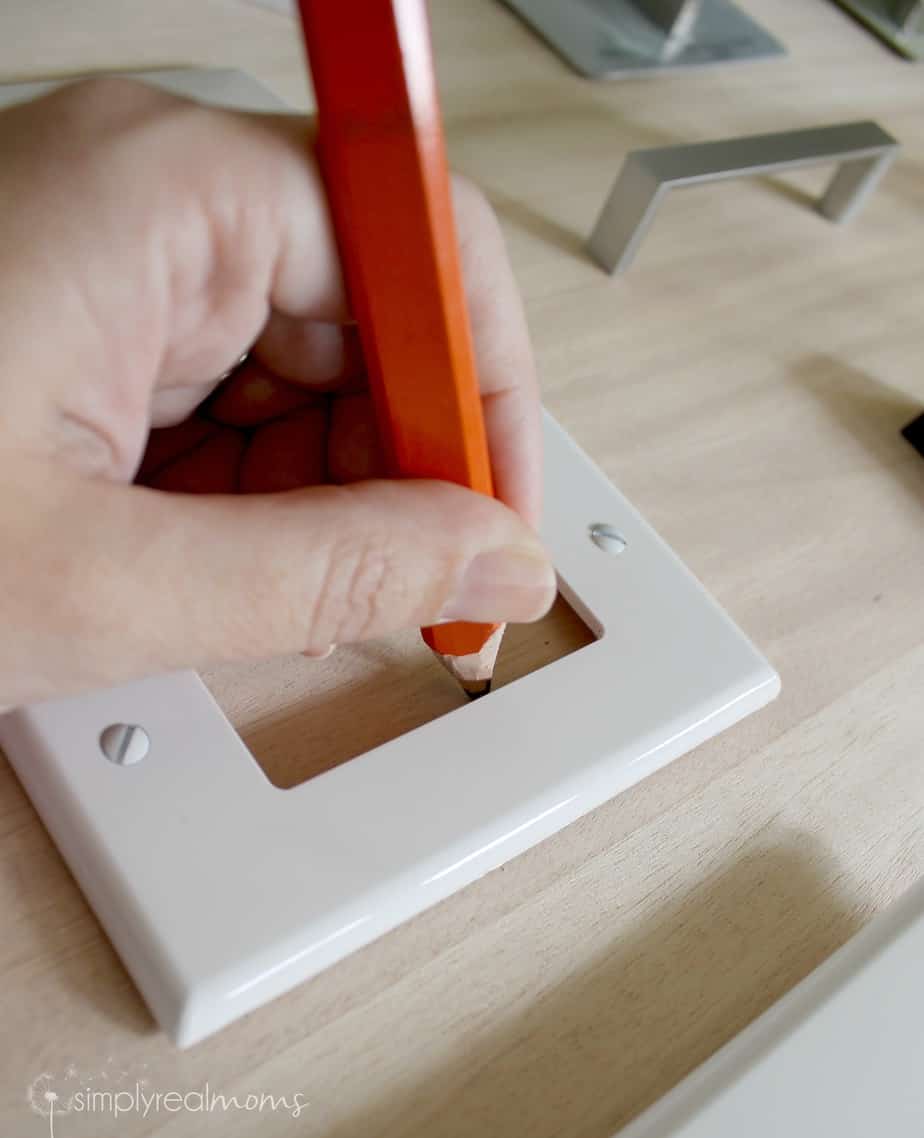
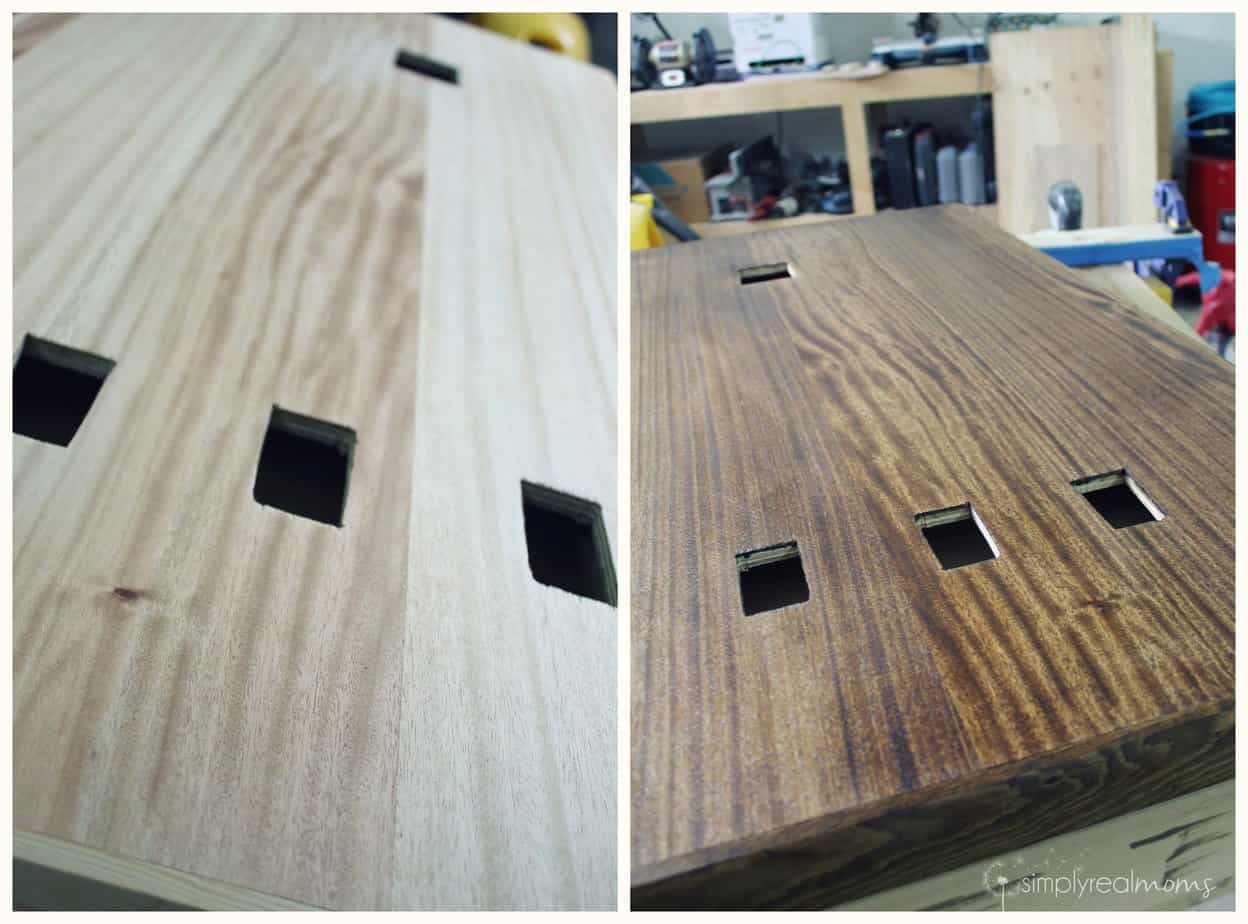 This can absolutely be done without flush mounting the light switches or adding the lip to the back-that’s just the look we were going for. You can easily make this with just the pre-cut plywood and no extra cutting or hard work.
Next, we installed all of the hardware according to their directions! We used a staple gun on the zippers and a screw in eyelet with a screwed carabiner to install the plastic chains.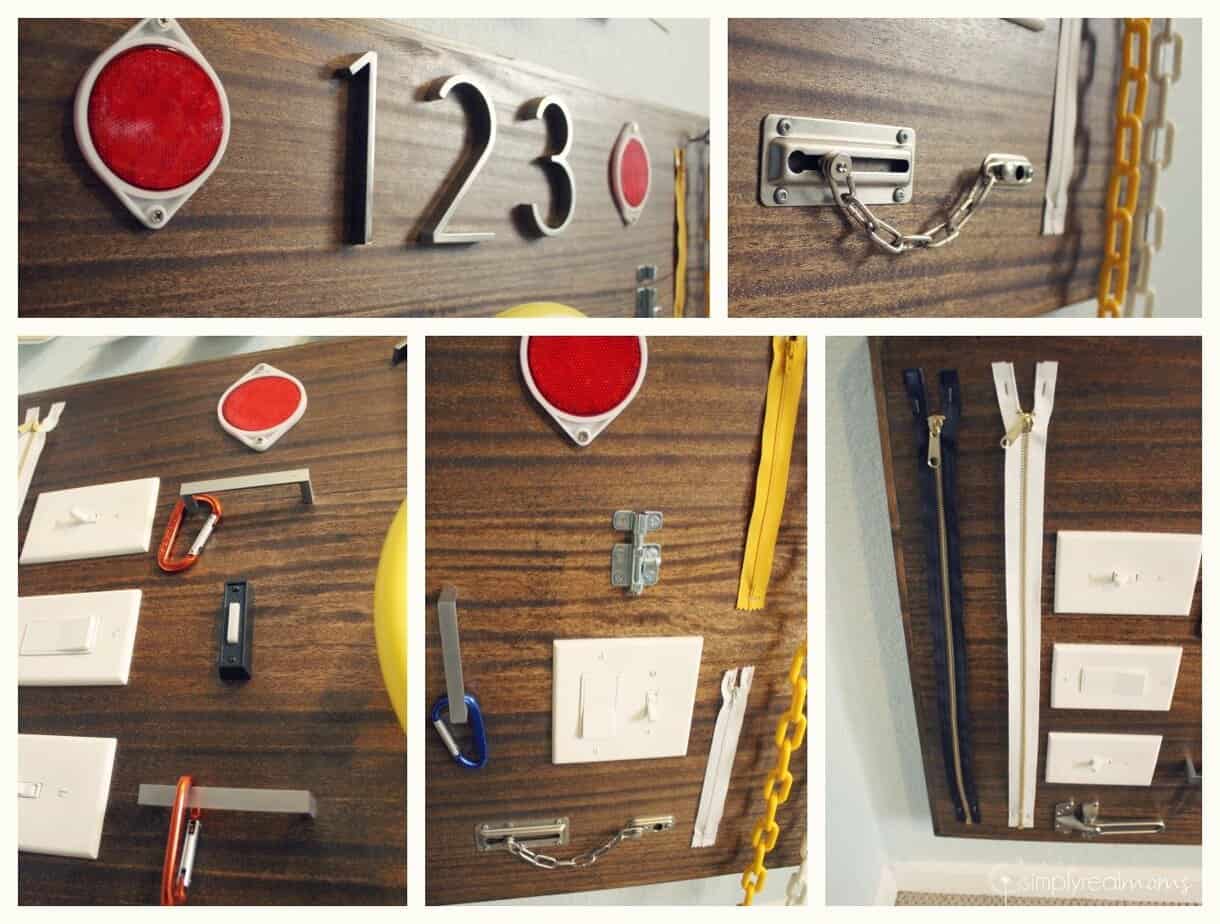 This is by far one of my favorite projects we’ve done for the boys. They love it and pretend they are navigating airplanes, ships and monster trucks all the time. They use the clip carabiners to attach the chains to the drawer pulls and even our one year old gets in on the action!
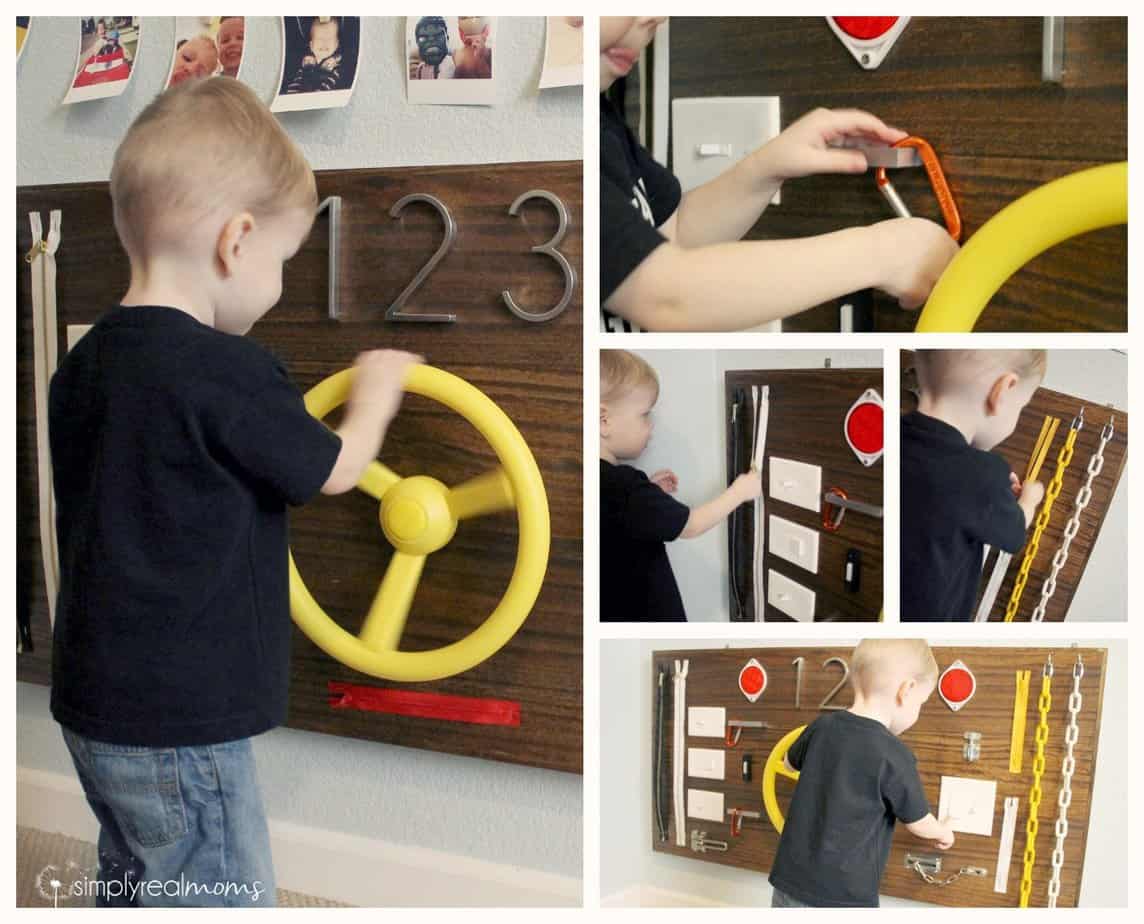
One thing I read over and over while researching busy boards was that they are more of an investment than most people realize and I was thankful people mentioned that! I hate going into a DIY project thinking I’m going to make something for almost nothing and walk away having spent hundreds of dollars. That being said, we spent about $130 on this board but we knew we wanted something that our kids and their friends could play with for years and we were willing to make a little investment in a custom toy.