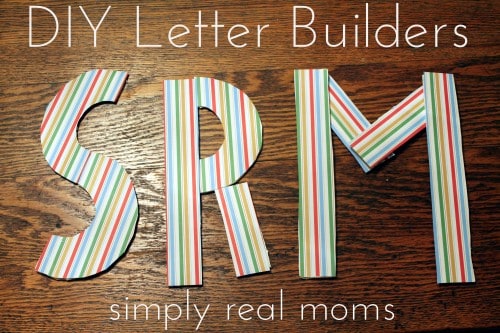
DIY Letter Builders and Letter Learning Activities!
 In my preschool classroom, we have cardboard letter builders I ordered from a school supply company. The kids love them! Seeing what a big hit they are in the classroom, I was anxious to try these at home. However, I was not eager to spend money on something that seemed simple enough to make. I decided to tackle the project myself! Read 13 Ways to Learn Letters Without Flash Cards for more fun ideas!
What are the benefits of using letter builders? They are a great hands-on tool for children to learn the shape of letters. Making letters out of materials is a pre-writing skill! Plus, it will help your child learn to recognize letters by seeing how each letter is different. Show your child the written letter and see if they can build it. You’ll be surprised at how well children do with letter builders and how much enjoyment they get out of them.
Materials: 
- Foam board or cardboard (such as from an old box)
- Tape measure or ruler
- Pencil
- Scissors
- Knife (very sharp knife or a box cutter)
- Glue
- Scrapbook or construction paper
- Something circular for tracing such as a bowl
Step 1
Trace and cut the pieces out of the board. You’ll want to make them big enough for small hands to manipulate, so I’ll share my lengths, but feel free to adjust! You’ll need a minimum of three straight, long pieces (10 inches long); two straight, medium pieces (5 inches long); one straight, smaller piece (4 inches long); one big, curved piece (about 10 inches); and two curved pieces (5 inches each). Please note-these pieces will make uppercase letters. You will need to make hook pieces, bump pieces and circles (for dots) if you are making a lowercase set as well. I only made uppercase letters so far. Add more straight and curved pieces depending on how many letters you want your child to be able to create at one time. Side note: It’s OK if these don’t look perfect when you cut them out. They can have bumpy, not straight edges—mine did! By the end, they will look beautiful!
 Step 2
Trace each piece you cut out onto the scrapbook paper. Cut out and glue the scrapbook paper onto the pieces of pre-cut board. This will give your letters a nice, polished look.

There you have it—your own set of letter builders!
Here are some teaching activities to go with them:
- Hold up a handwritten letter and have your child try to build it.
- Make a letter out of the letter builders and then have your child create the same letter.
- Set a timer and see how many letters your child can build before the timer runs out.
- Have your child build their name and take a picture of them with their name.
- Give your child a few pieces (for example, two big, straight pieces and two middle-sized, straight pieces) and ask them to try to figure out a letter to build from the pieces!