DIY Stuffed Animal Zoo
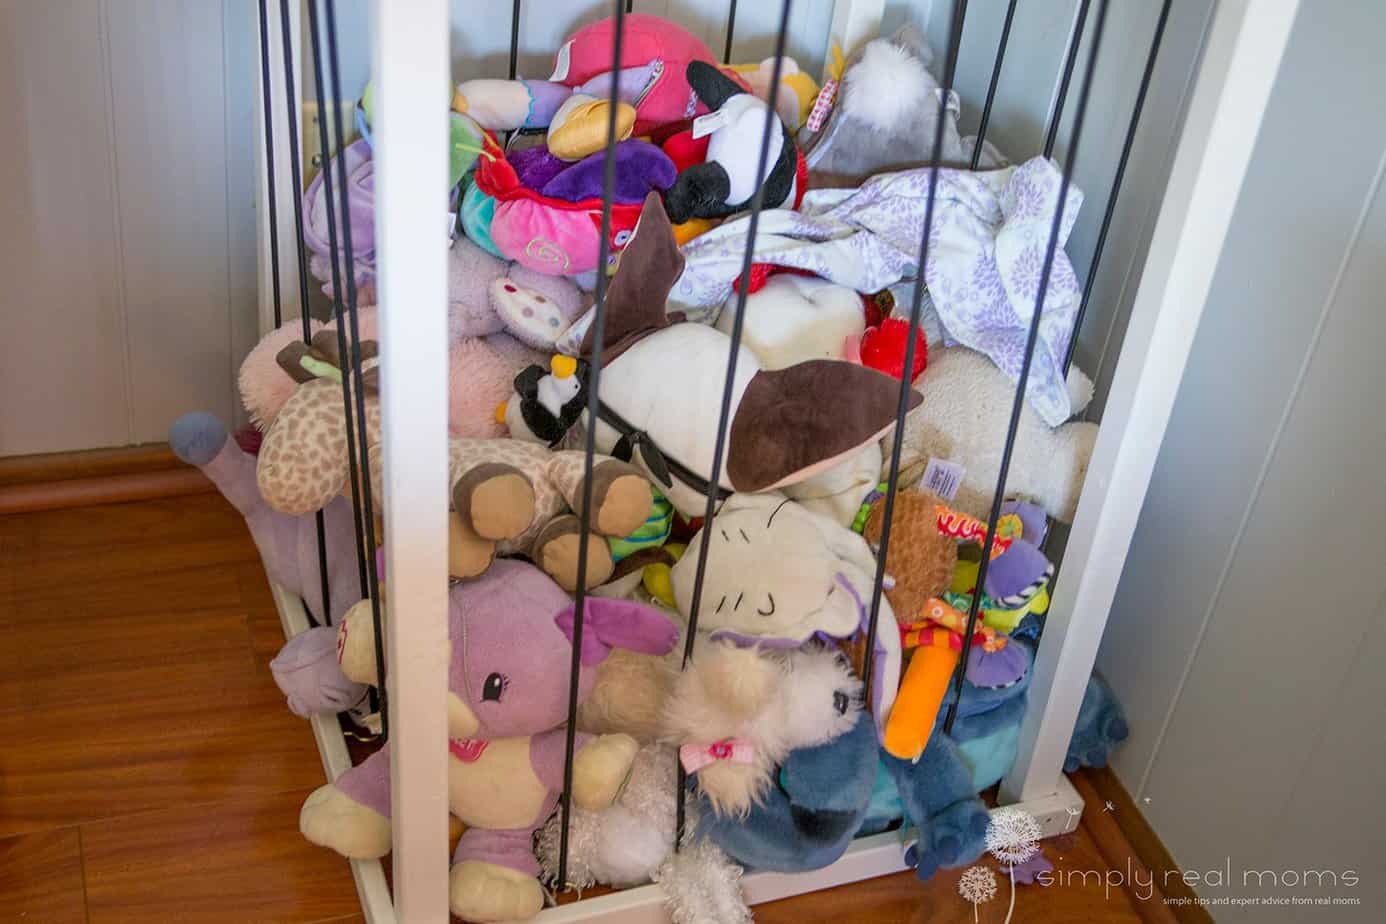
 Some days, I feel like my house is a zoo. I mean, being in charge of poop-throwing monkeys isn’t all that different from parenthood, right? Okay, maybe my kids don’t throw poop (knock on wood), but I swear they have enough stuffed animals to properly fill a toy ark. And somehow they keep multiplying like rabbits. My carpentry skills are somewhat shy of biblical proportion, so I needed to figure out an easier way to contain them all. Queue the stuffed animal zoo. No more sorting all of them into bins, or digging everything out to find the one toy my kids are looking for. This is a super handy way to keep stuffed animals under control, while also keeping them visible and within easy reach. On a scale of 1-10, I’d say it was maybe a 5 or so to make. It wasn’t as easy as I’d expected, but I had all of the wood cut to length at the hardware store, so all I had to do was assemble.
What you’ll need:
(12) 2-foot pieces of 1″x2″ wood, sanded and painted
(4) 6-foot pieces of 2″x2″ wood, sanded and painted
1/4″ bungee cord. I used this.
(16) screw hooks (eye hooks would work too)
(16) big flat washers, and screws to go with them
nails/screws/hammer/screw driver/drill with 1/4″ bit
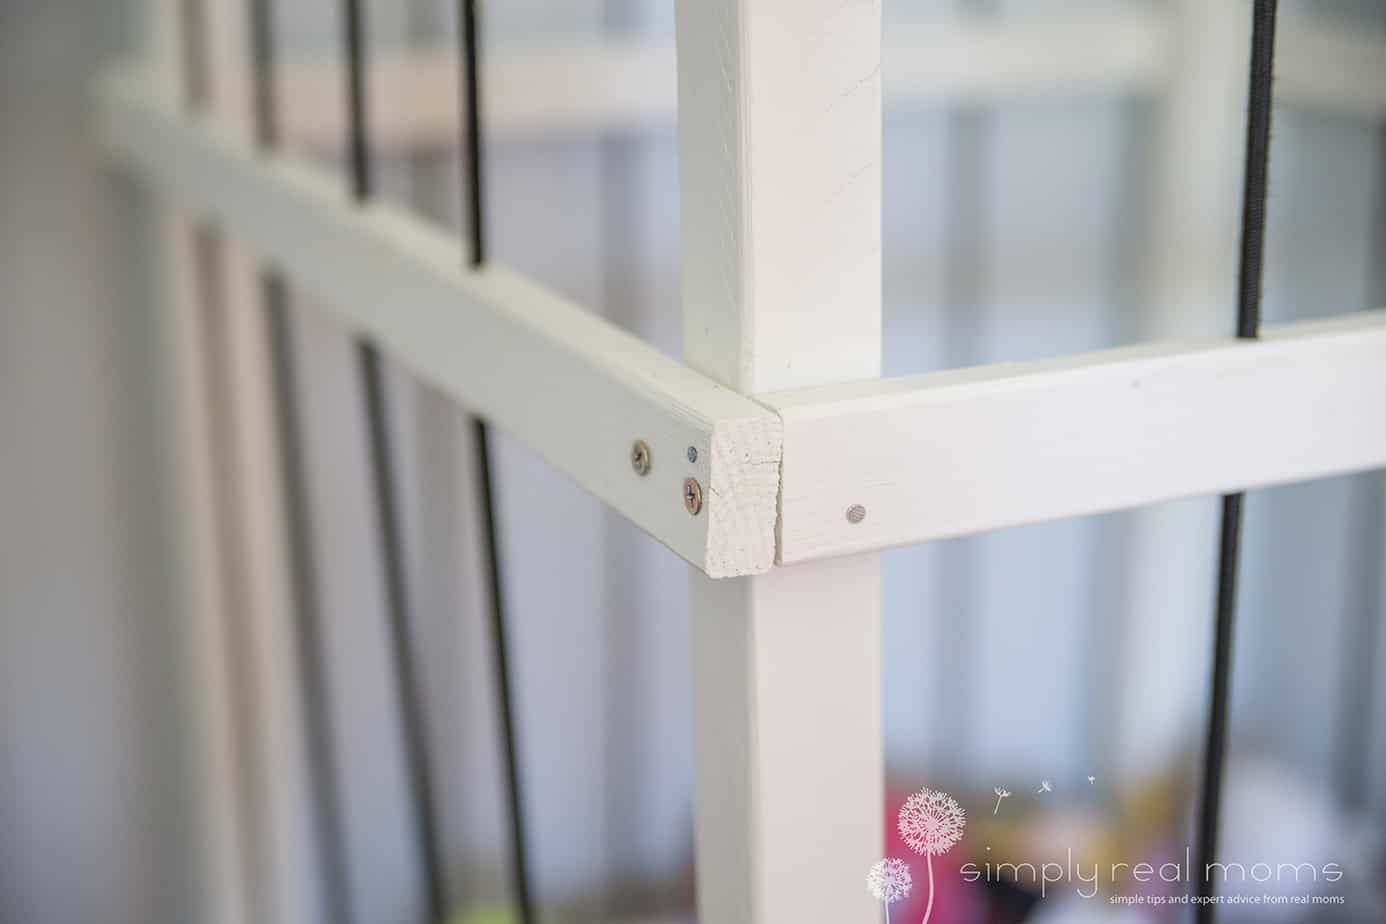
I started out making the squares that would be the base, top, and middle. Using four of the 1×2’s for each, I put the end of each one to the inside of the next, so it would remain square, and put a screw through each connection. When I had my three boxes, I screwed the four 2×2’s to the inside corners, and then I put a couple of nails into each connecting spot for stability.
 Once you have your frame all set up, the next step is to put in the screw hooks for the bottom. I did four on each side, at four inches apart. Then I drilled holes into the center square of the frame to thread the bungee cord through. You could put more screw hooks here instead, but drilling holes was free, so I went with that. You can also go ahead and put your screws and washers into the top (also four inches apart), just be sure to not tighten them all the way, because you have to put the bungee cord in there to secure it. I didn’t write down what length I cut for the cord (whoops) but I had a bit left over, so I’m thinking they were about 11′ each. I taped an end of each one to make them easier to thread through the holes I drilled (like a shoelace).
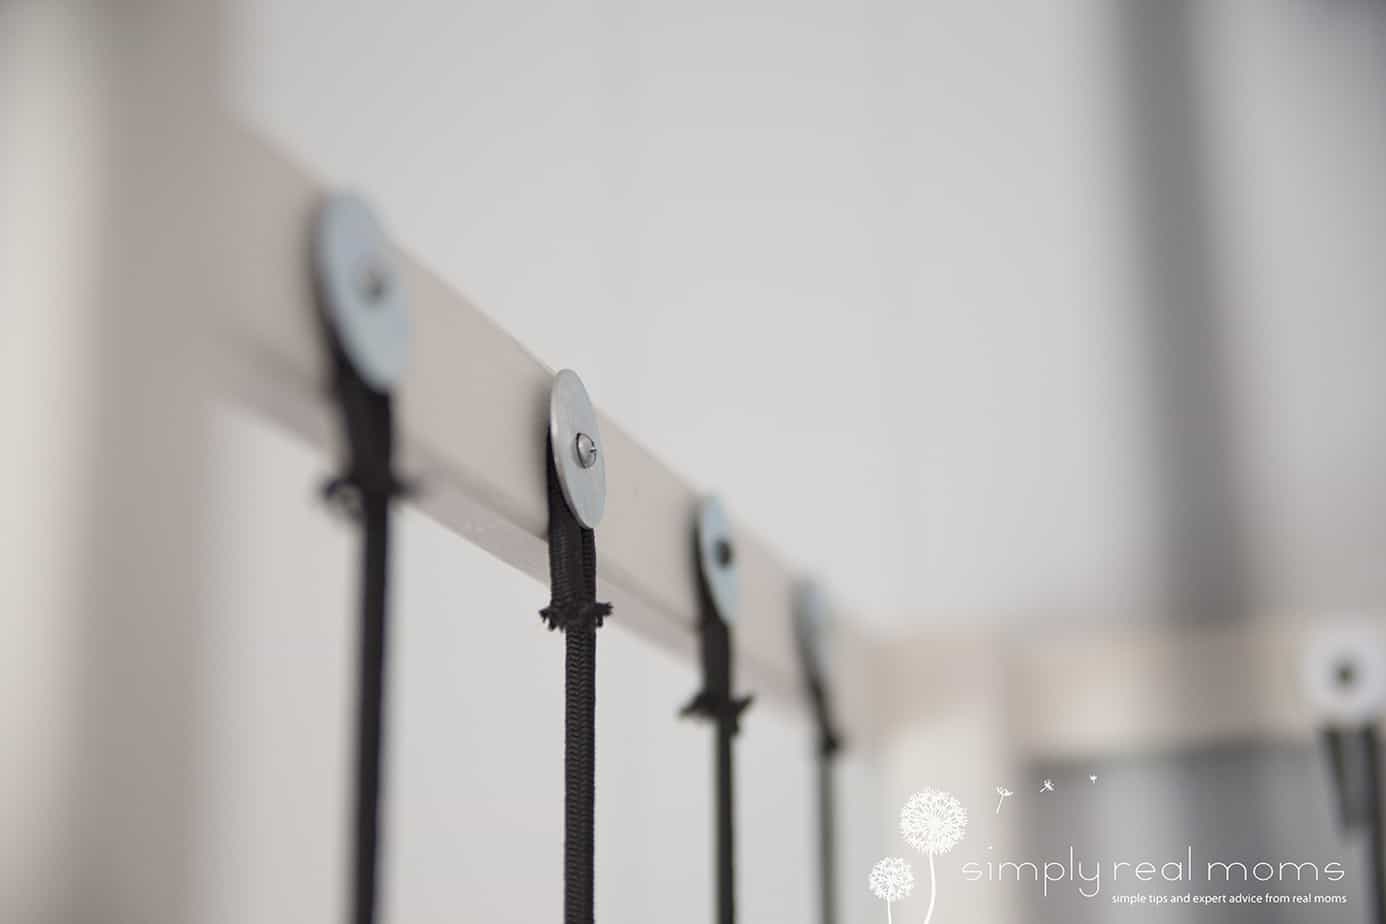 To attach the bungee cord, I looped an end around one of the screws with the washer on top, and then just tightened the screws until the bungee was super snug and secure when I pulled on it. So you tighten one end, thread the other end through the drilled hole, through a hook, across the bottom to the opposite hook, back up through the hole on the other side, and then pull tight and secure with the screw directly across from the first one. I wove the bungee on the bottom, but that’s probably not necessary. If you don’t care if yours has a bottom, you could even ditch the hooks and just use screws and washers to secure the bungee to the bottom the same way as the top.


 Repeat that process for the other seven bungee cords, and voile! You have a miniature zoo in which to contain your children’s most precious stuffed toys. And let me tell you – little hands love to be able to reach through and grab out their favorite animals.
You could also have fun with paint colors, or add a name plate to the front. The possibilities are endless! If you do make one, we want to see your pictures!
Happy building!