DIY Wall-E


My daughter’s favorite movie when she was 2 years old was The Disney Pixar Animation, WALL-E. We watched this movie almost every day for a few months; she absolutely was in love with it. For her 3rd birthday she wanted a WALLE-E toy. Not a plastic toy (even those were so hard to find) but a real one she could bring outside with her and play like the real thing. My first reaction was to go online and find one for her. I figured they were pretty expensive, so I should start saving up. She had her mind set on having a WALL-E and nothing could change that. After finding a few types of WALL-E robots online, I was in shock at how expensive they were. Most of them were designed by mechanics and were a min of $1000 or more. There was no way I could afford that, nor would I ever spend that much on something that was meant to be a toy for an almost 3 year old. I thought, I might be crazy but maybe I can make one?
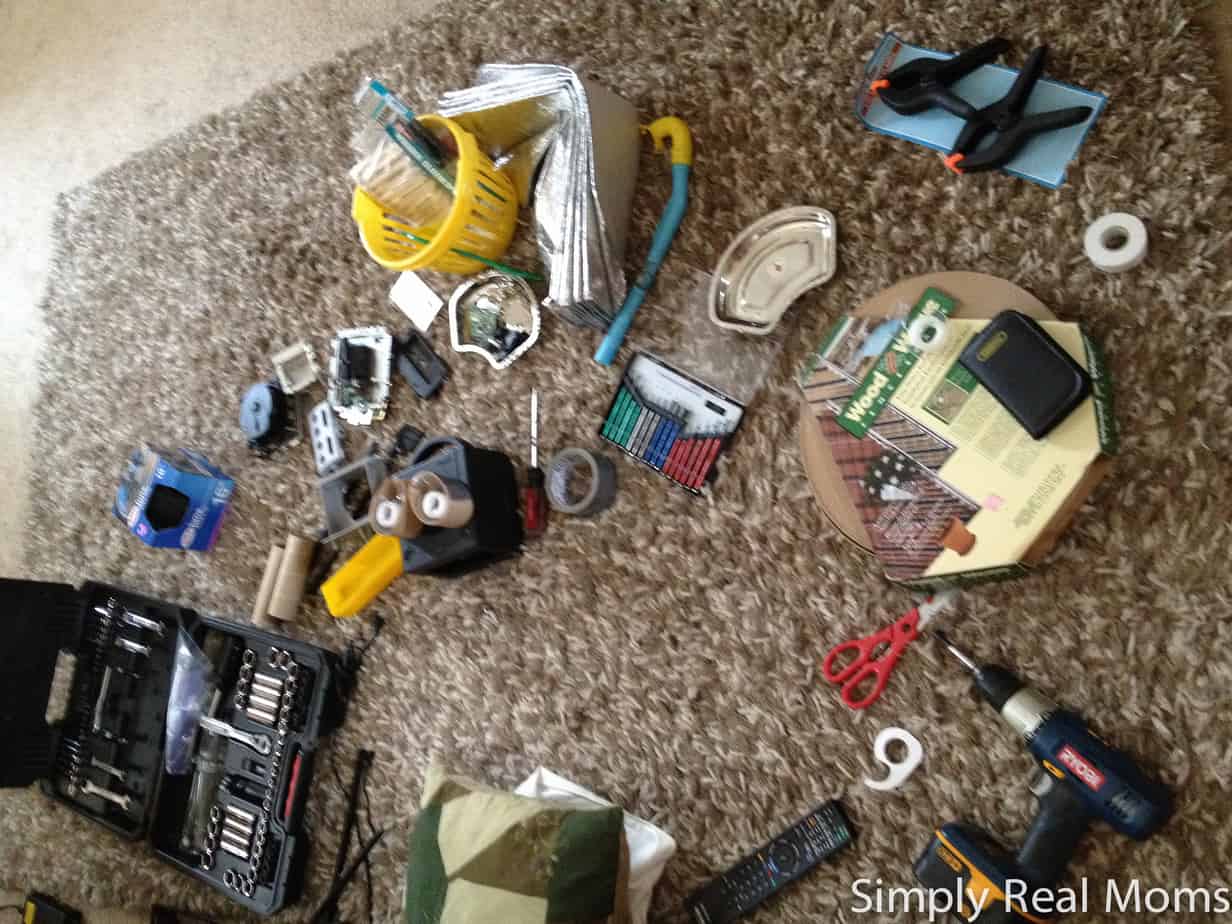
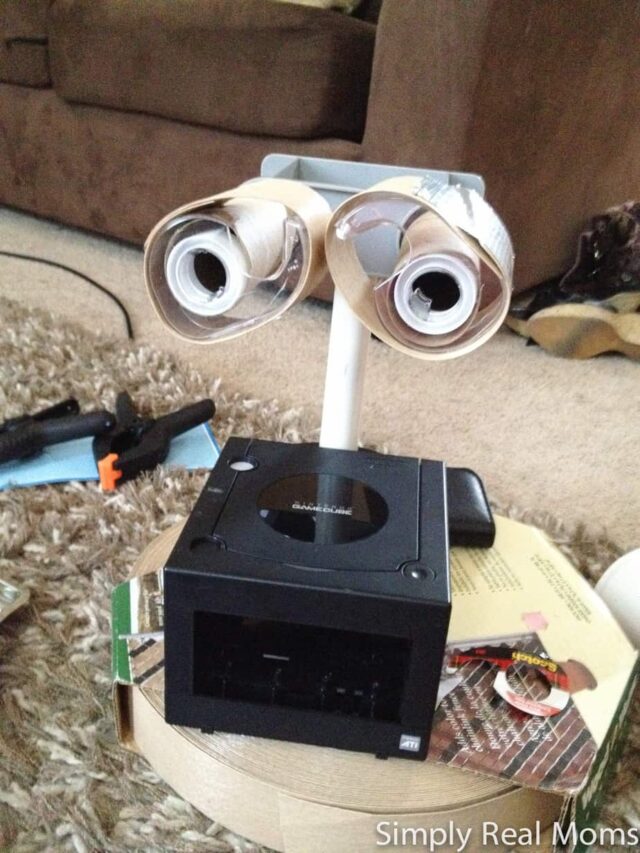
I went online and checked out a bunch of pictures so I could get this process started. I’m not going to lie, it did not look easy, but I figured I would give it a try. I went to my local Goodwill (a thrift store near me) and grabbed a basket and started throwing a bunch of junk in it. The first thing I found was a broken Game Cube, which I thought was perfect for the body. I found some tape dispensers, metal clamps, old bicycle tires, a few plastic pipes and some other things. I took everything home and scattered it across the floor so I could get started.
I grabbed Olivia’s dad’s tool box and the hot glue gun and got to work. This was a several day process; I had to work on this when she was at preschool so she did not see her surprise.
Here is a list of the materials I used:
- Tape dispensers
- Game Cube
- Duct Tape
- Hot Glue Gun
- Metal Clamps
- Bicycle tires
- Plastic Pipes
- Paper Towel Holders
- Screw Drivers
- Double sided tape
- Plastic fence lining
- Curtain Rod
Creating WALL-E:
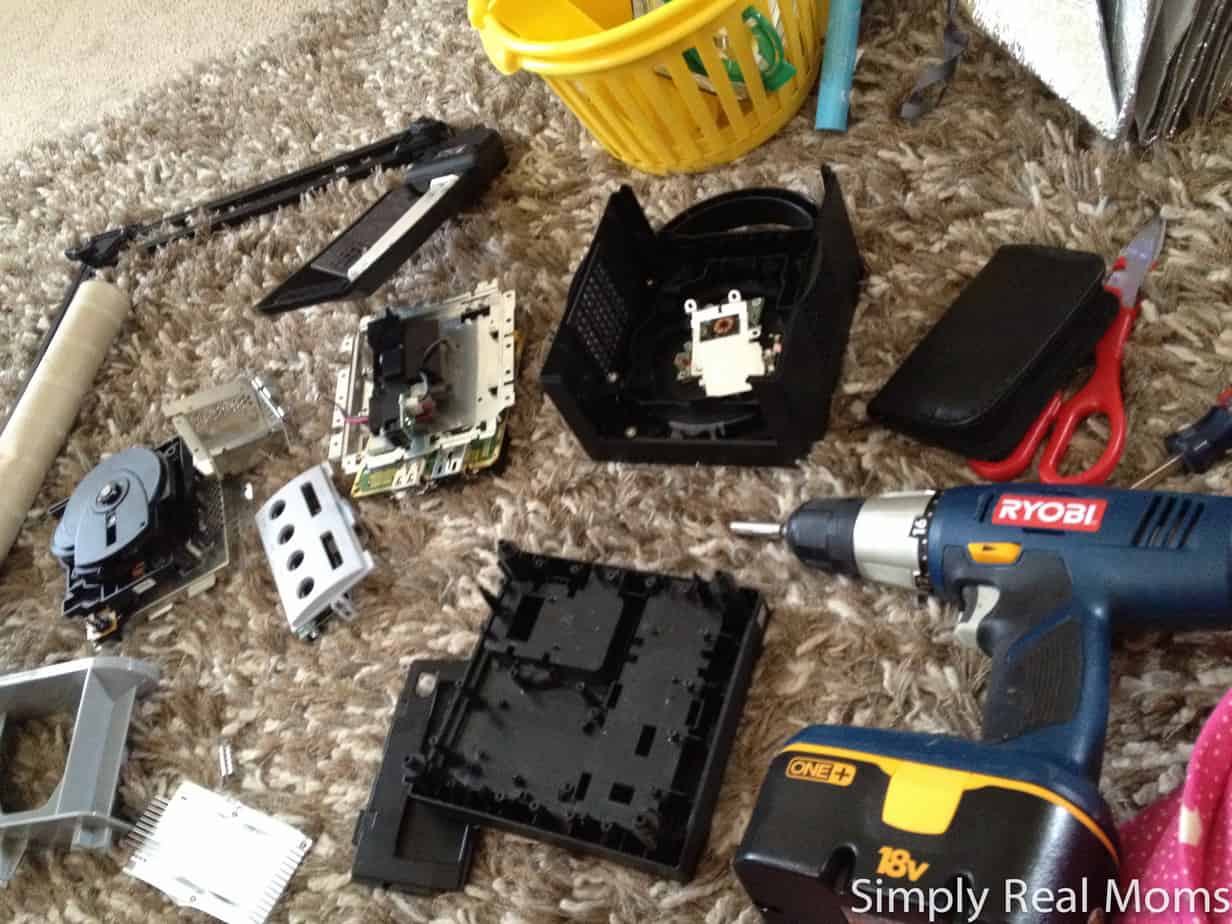
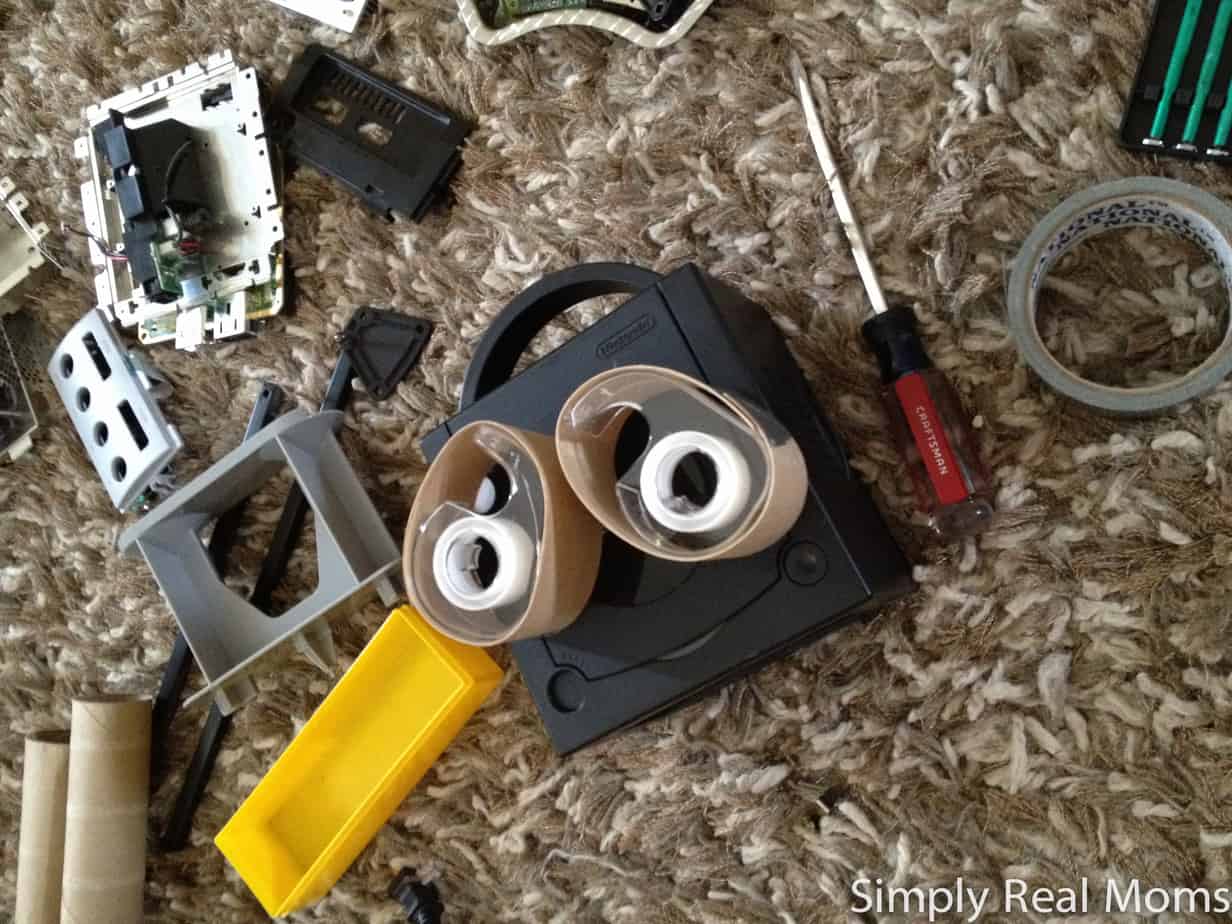
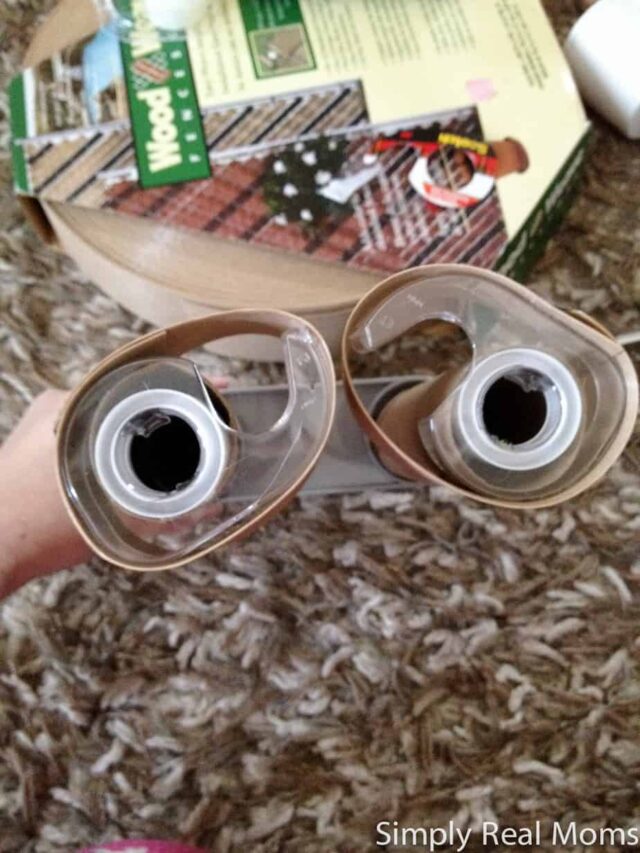
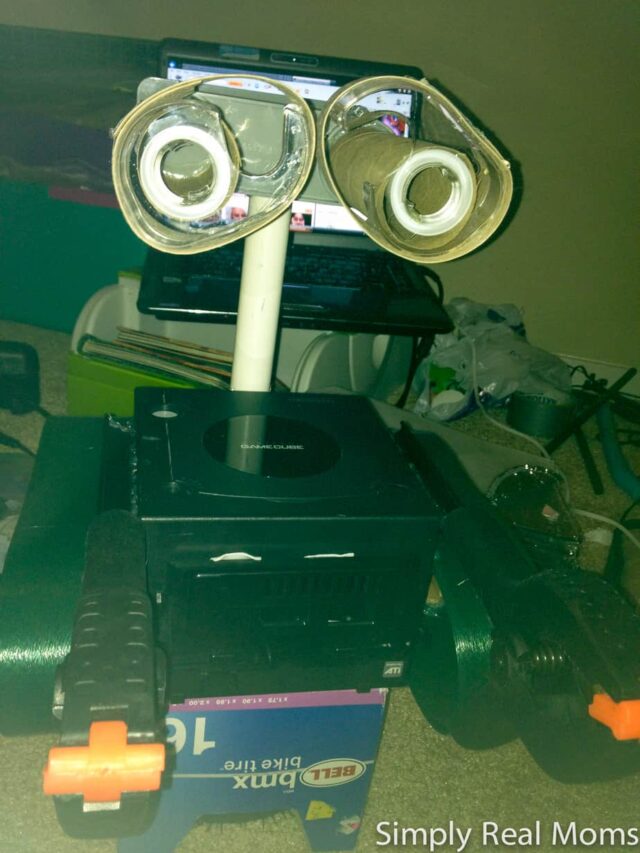
I started off by taking the Game cube apart and using that for the body. since it is the main piece of WALL-E this was my starting point. I then worked on the eyes using the tape dispenser for the center and the plastic fence lining to go around them. This gave me the shape I was looking for. After this I took a few paper towel cardboard parts and used that to glue the eyes onto. I attached this to the plastic pipe, which I then again glued to the back of the Game Cube. For the tracks I used old bike tires from Bell and glued them to the side of WALL-E. They were not very strong so I also attached more of the fence lining to this to give it the shape I wanted. For WALL-E’s hands I used two metal clamps I purchased at Home Depot for a dollar each. I attached them to arms that were made out of a broken curtain rod and Walah! The clamps actually worked so I used them to hold Olivia’s Birthday Balloons for the surprise.
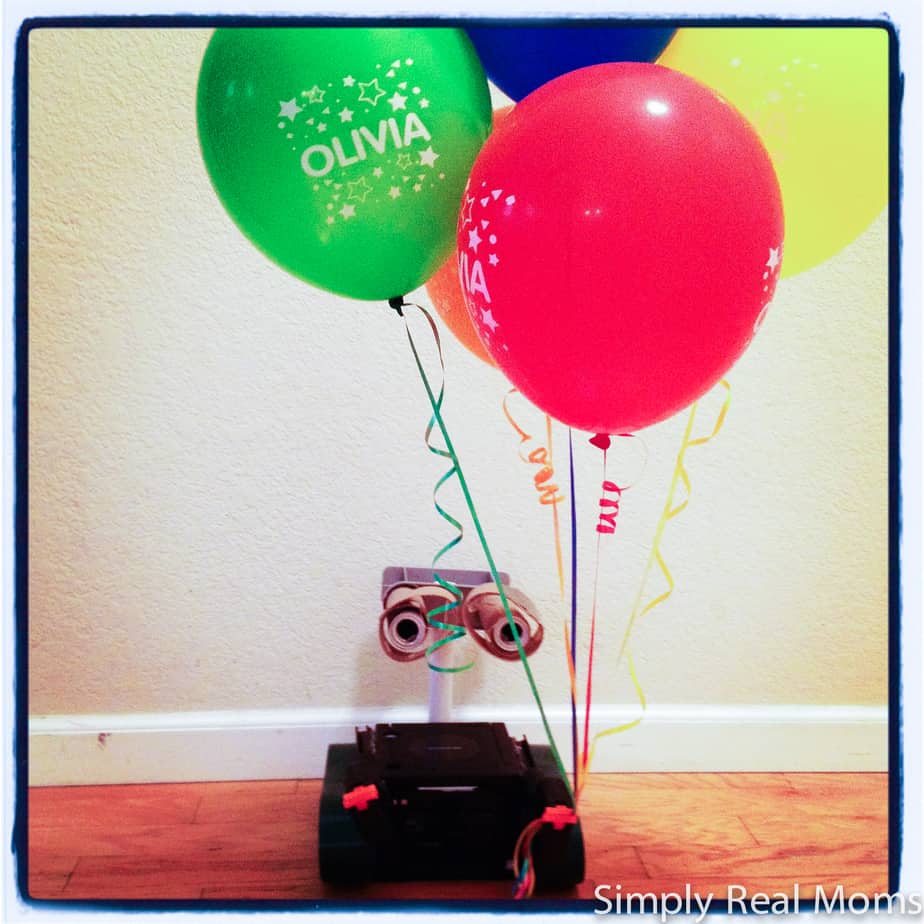
Olivia was SO excited to see her WALL-E. I put it on the table with her presents and balloons. I regret not taking a picture to capture the expression on her face.