DIY Wool Dryer Balls
This post is brought to you by Rachel

I have been using DIY wool dryer balls for about a year now and I cannot rave about them enough! I wanted something I could use on all my laundry and not have to worry about it leaving residue on my cloth diapers, so traditional dryer sheets and dryer bars were out. Not using anything wasn’t an option either because all my clothes were riddled with static! I stumbled upon the idea for making wool dryer balls when I was researching alternative, more “green” ways to get rid of static in our cloths. We also needed something that was hypoallergenic, because my son and I both have very sensitive skin. Here is the low down on the benefits of using wool dryer balls:
- Reduces static
- Reduces dry time by 25-45% (depending on your load size)
- Acts as a fabric softener, without the harsh chemicals in liquid fabric softener.
- Eco-Friendly (They last for years if they are made correctly, that’s a lot longer than a single use dryer sheet!)
- Hypo-allergenic (even people with wool sensitivities should not have a problem with these balls)
- Fragrance free (though you could certainly add a couple drops of your favorite essential oil (not fragrance oil) to the balls, let them dry for about 10 minutes, and they will hold their scent for a while).
- 100% safe for cloth diapers!
You can buy premade wool balls, but 1-2 balls are about the same price as making a full set at home. Not to mention, they are easy to make!
Material’s needed:

- 1-2 “skeins” of 100% wool yarn. Make sure it is 100% wool (may even say “perfect for felting”) and not a wool blend yarn.
- A pair of scissors
- Panty hose/large men’s dress sock.
- Strips of thread/string that won’t come apart in the wash (if you use panty hose, you can just tie knots in between each ball)
- Washer and Dryer
- Crochet hook (Optional)
* Note: You will need to make at least 4 wool balls (the recommended amount for a large load of laundry).
Step One: Starting and making the first layer of balls
You want to start by wrapping the yarn around two of your finger loosely. I did about half an inch. If you have ever made a yarn ball for a crocheting or knitting project, this will feel very familiar.
.

Then you are going to slip the yarn off your fingers and wrap another layer of yarn (about a half inch as well) around the middle of that.
.

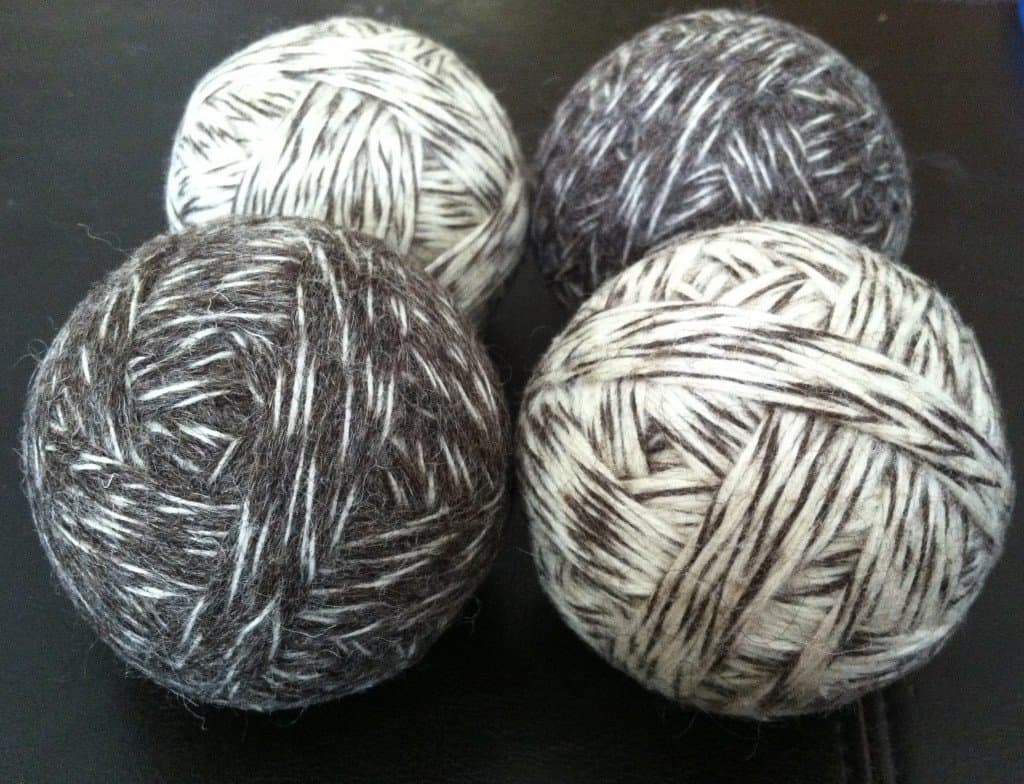
This is the start of your yarn ball. From here you will just begin wrapping the yarn around until you have a good size ball. Make sure to wrap tightly and neatly. Though this ball is not going to be seen on the outside, the more care you take with this process, the better the results will be. Your ball should be about the size of a small laptop mouse/just smaller than a tennis ball when you finish wrapping.
.

Once you’ve achieved the size you want, cut the yarn and begin weaving the straggler into the ball. You can use your fingers if you don’t have a crochet hook on hand, but the hook definitely makes this step neater and easier.
.

.
Step Two: Preparing the balls for felting and stage one of the felting process
Once you have made as many balls as you like (again I recommend 4), you are ready to put them in the sock/panty hose. Slide one ball in and tie a string around it to hold it into place (or if you are using panty hose, you can just put a tight knot where the string would go). Repeat with the remaining wool balls.

Once you have them secured, toss them in the washing machine. Do NOT use any detergent during this process. You want to wash them in HOT water (I used the hot/cold cycle, high agitation).
Next you are going to need to dry them (keeping them in the sock). Put them on HIGH heat. I used the automatic dry cycle and it worked just fine.
You can repeat this cycle as many times as you think you need to get a good felt. I have always done one cycle on this step and they work just fine. It really depends on how hot your water is. Once they are done drying, cut the strings and take them out of the sock/panty hose and you are ready to begin the next and final phase of the felting process.
Step Three: Final layer of wool yarn and final felting
As you will notice, the balls are now a bit smaller than they were before you felted them. You will also notice the yarn is fuzzier and may even be congealed in some places. This is good.
To begin the wrap, just secure the yarn with your thumb and start wrapping. Keep wrapping around the ball until you have achieved the size of just larger than a tennis ball. Keep in mind that the balls will shrink some during the felting process.
Once you have your wool balls wrapped again, put them back in the sock/ panty hose, tie them off with the string and put them back through the felting process again (Step two).
You can do the felting process as many times as you like (make sure to complete the entire washing and drying cycle each time). I recommend at least two cycles on this final stage to get them good and felted. Once you are done felting, free them from the sock or panty hose and they are ready to use on your next load of laundry!
