DIY Zootopia Plush Toys


This post is sponsored by Disney, all opinions are my own.My son and I love to spend one on one quality time together trying new things. It’s fun to watch him experience something for the first time and to be there with him as he does something new. As he gets older, these experiences will slowly dwindle and so I grasp onto any opportunity to spend time with him.
With Zootopia coming out on Blu-ray™, Digital HD & Disney Movies anywhere on June 7th, our latest mother-son adventure was to make our own toys inspired by the fun family movie. We decided to create Pawpsicles and The Big Donut, two of his favorite things from Zootopia
I love to be crafty. My mother taught me how to sew and create anything my heart desired and I think it’s such a great skill to have, so I was giddy to pass on the instruction to my own kids. When I mentioned sewing our own toys, my son was hesitant. As much as he likes to try new things, this seemed to intimidate him, but I assured him it was possible and that with my help, he would be SO proud of himself when we finished.
Here’s how we made them:
What You Need to make 1 Big Donut & 3 Pawpsicles:
Big Donut Template (CLICK HERE TO PRINT)
Pawpsicle Template (CLICK HERE TO PRINT)
1/2 Yard Tan Felt
1/2 Yard Dark Brown Felt
9X12 Felt Squares in Light Pink, Dark Red & Light Red (1 of each red makes 3 Pawpsicles)
1 10oz bag Stuffing Material
Perler Beads or Mini Perler Beads in the colors you want for sprinkles
Needle
Thread
Scissors
To make the Pawpsicles:
Trace & cut 6 of the circles from the Pawpsicle template onto your dark red felt. Trace & cut 3 of the paw prints on your light red felt, and 6 of the rectangle onto your tan felt.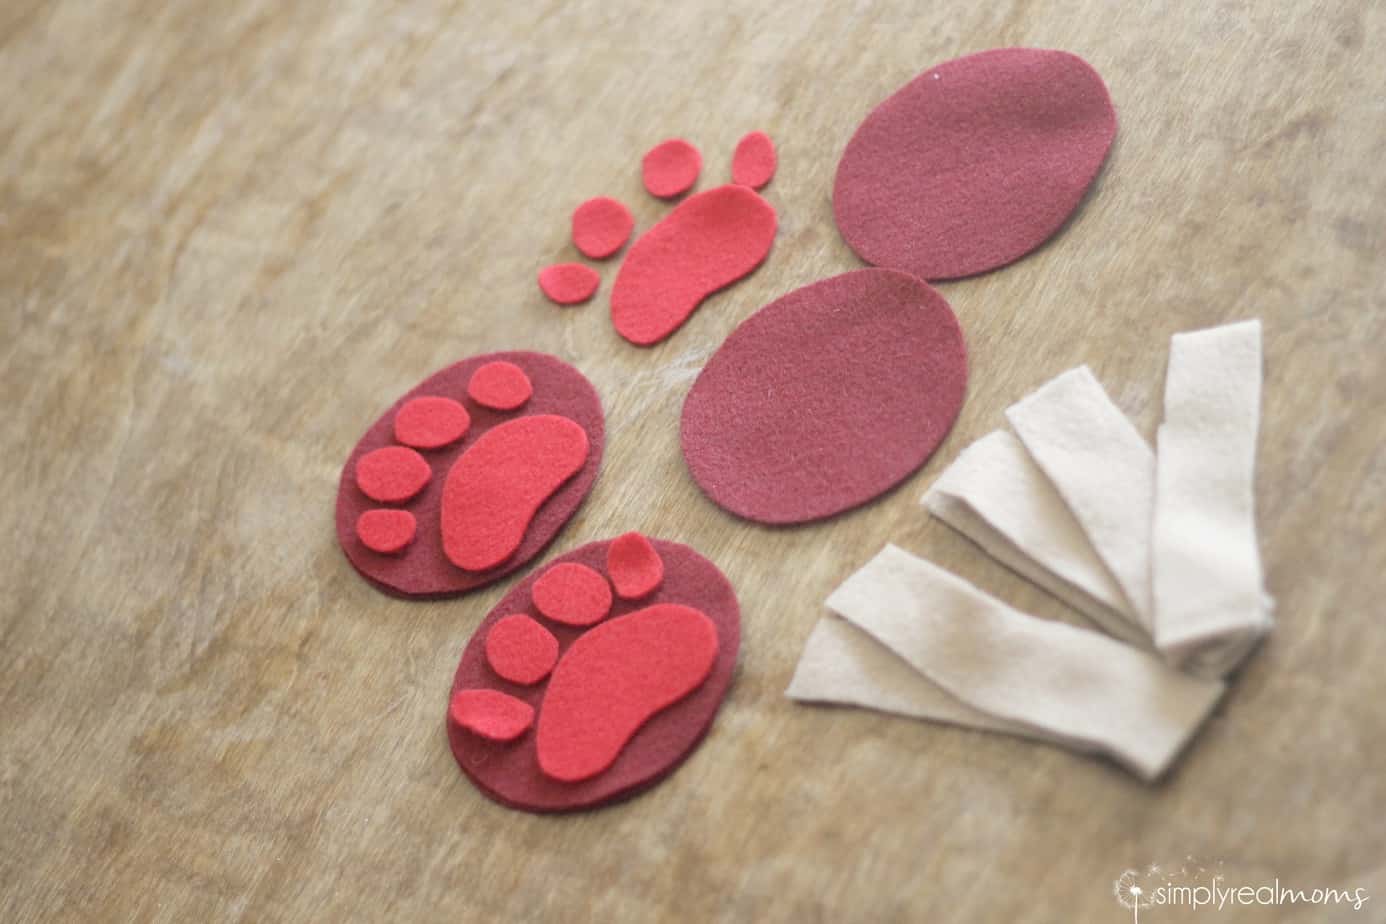 Sew the paw prints onto 3 of the dark red circles, either by hand or on a machine.
Sew two of the tan rectangles together, leaving one of the short sides open. Repeat with the rest of the rectangles. Fill each of the sewed rectangles with stuffing, making them really tight.
Sew each of the filled rectangles onto the bottom edge of one of each of the remaining blank red circles along the open top of the rectangle
Sew a dark red circle with the rectangle attached onto the back of each paw print circle, leaving an opening at the bottom.
Fill each of the circles with stuffing, making sure they are packed tightly.
Hand sew the opening closed.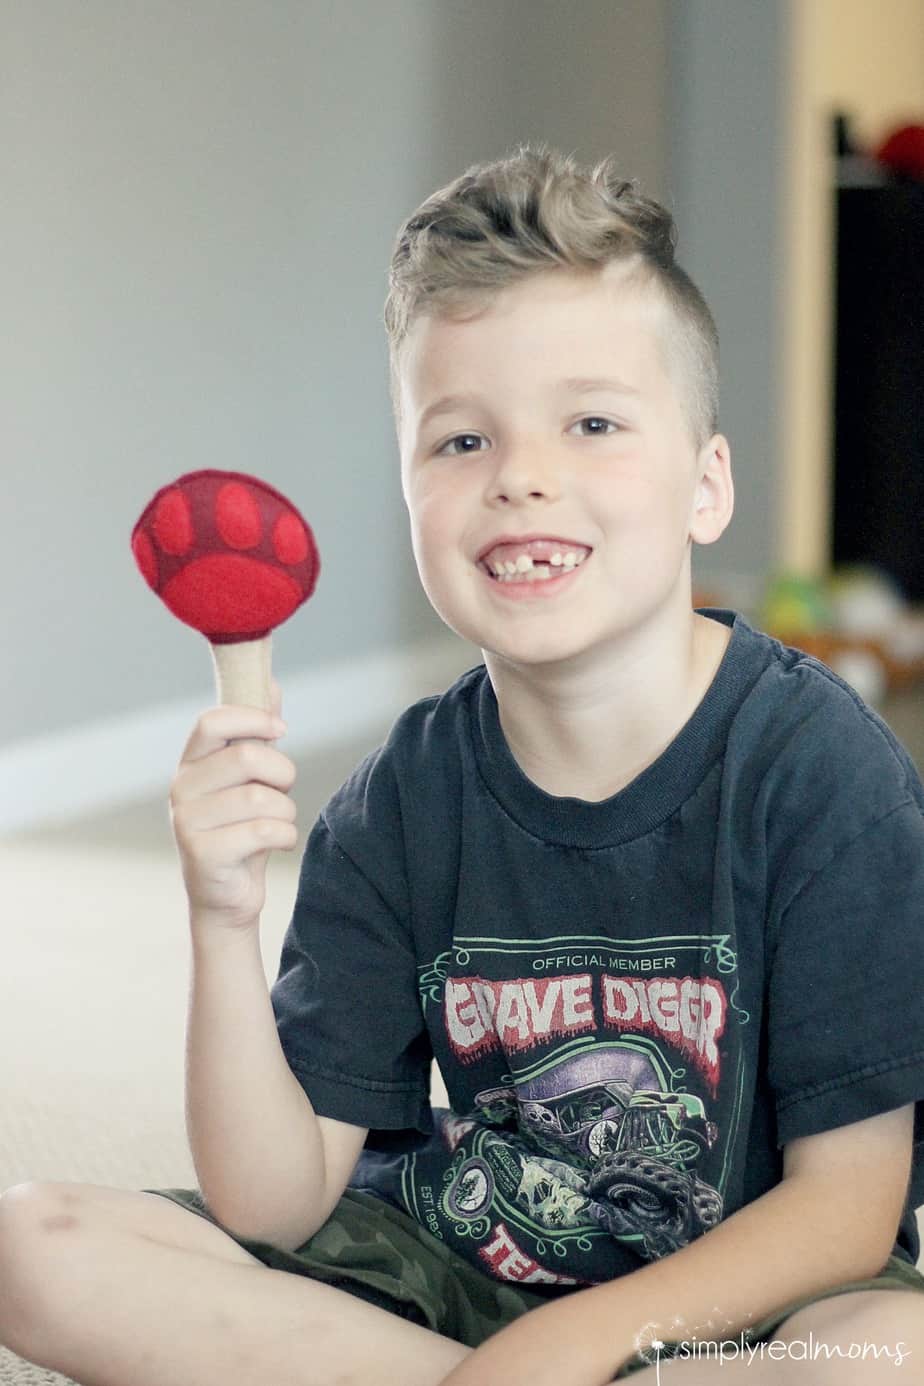
To make the Big Donut:
Cut your remaining tan felt in half and then fold your tan & brown felt into quarters separately. Place the template onto the fold lines of one of the tan felt pieces according to the template instructions & trace the rounded edges onto the felt with a pen. Cut along the traced lines. You can also pin & cut if you have pins to use. Repeat with a second tan donut and also with the brown felt.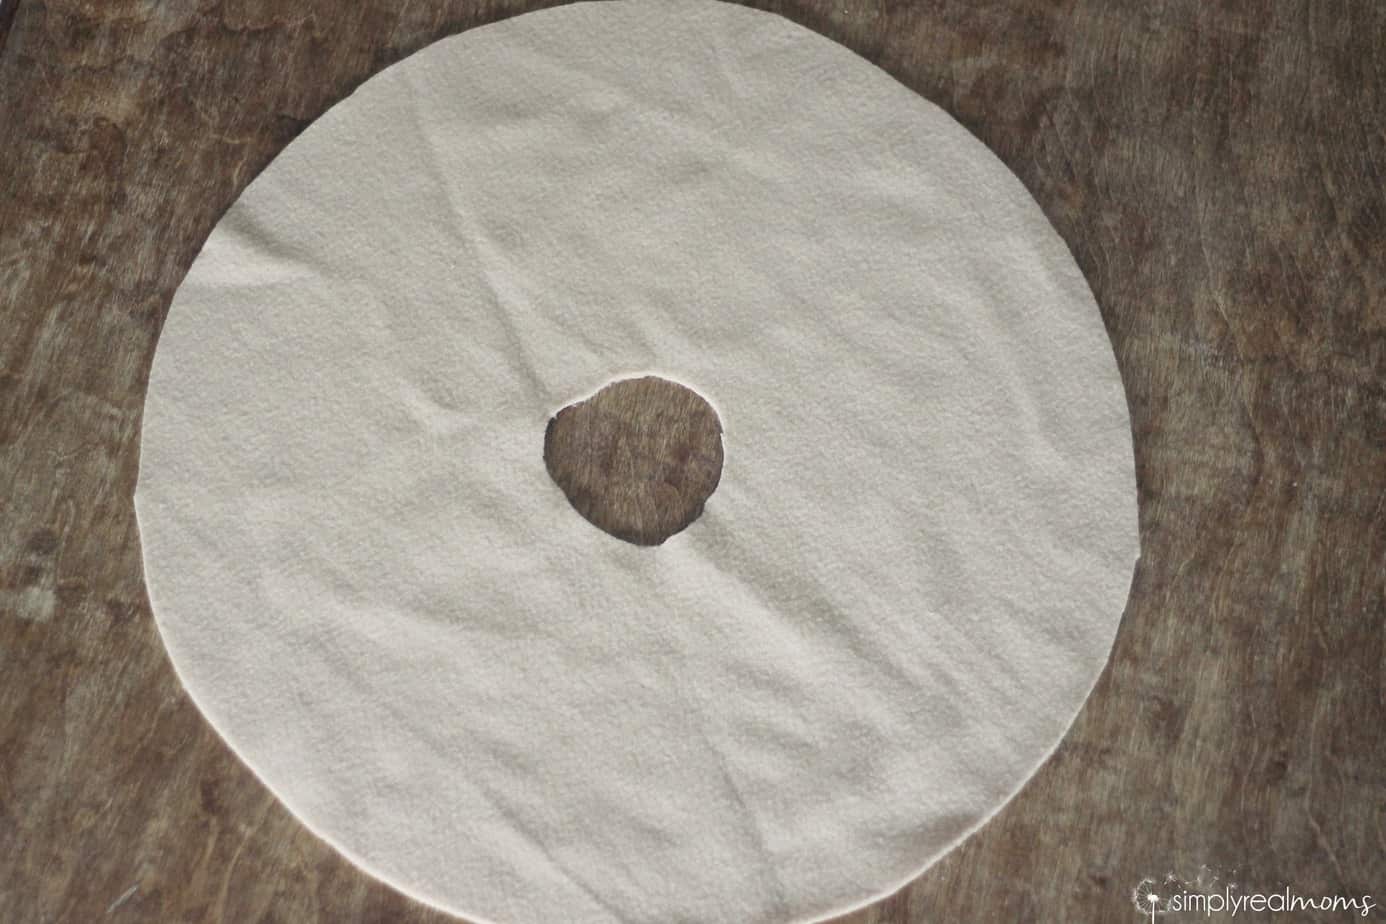
Open up your brown donut and cut around the outer and inner edge with a wiggly line. Cut as much or a little as you’d like, this will be the icing on the donut.
Print & Trace the letters or draw your own letters (Recommended) onto the pink felt lightly. Cut the letters out, making sure to cut all of the traced lines off.
Sew the pink letters onto the brown felt. You can hand sew or use a sewing machine.
Sew the brown felt onto one of the pieces of tan felt along the inner and outer edges of the brown.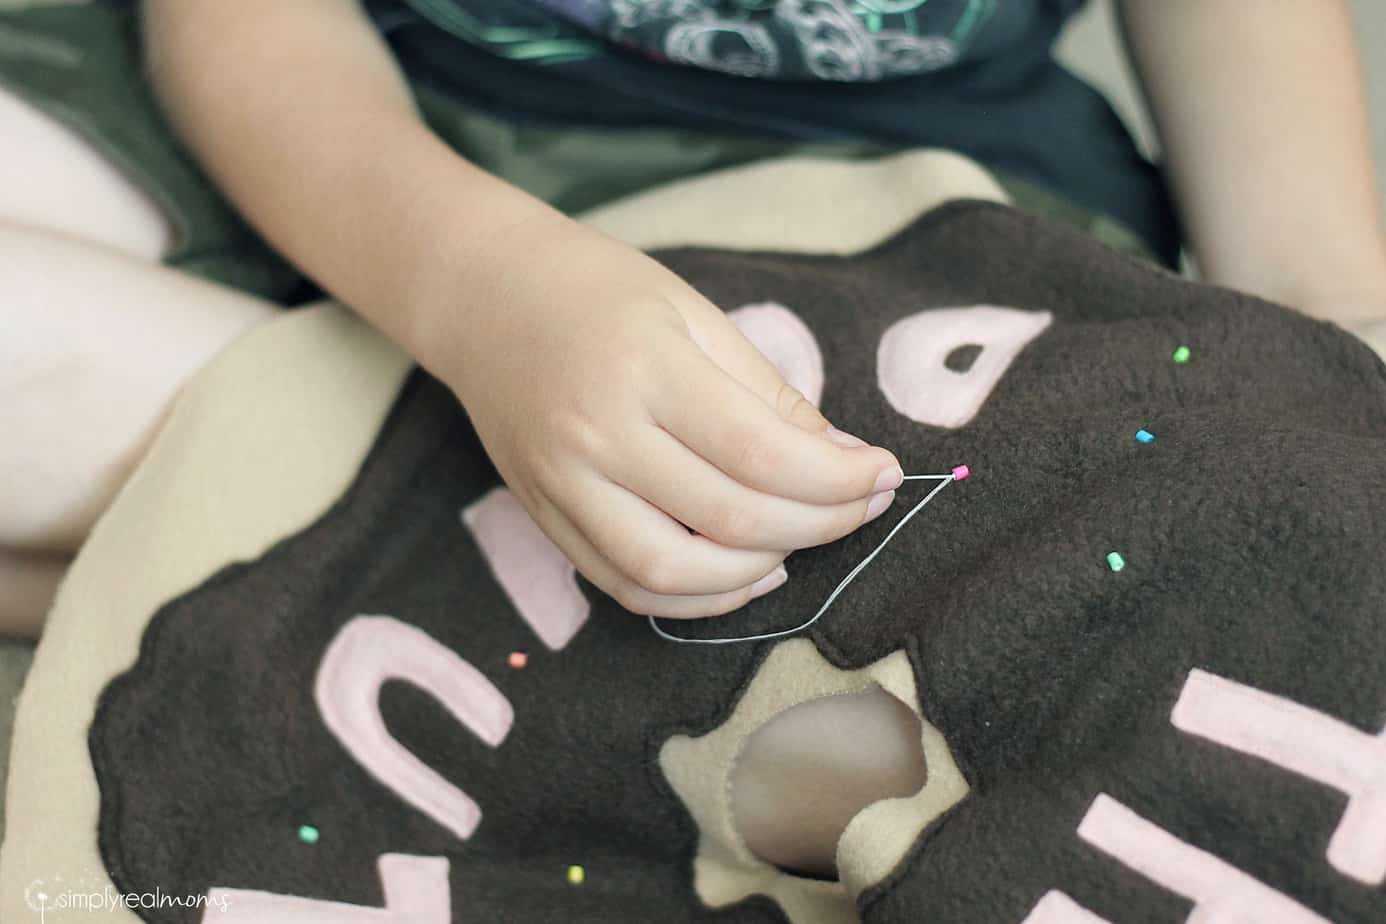 Hand sew the perler beads randomly around the brown felt. We used the mini perler beads, but the regular perler beads work just fine.
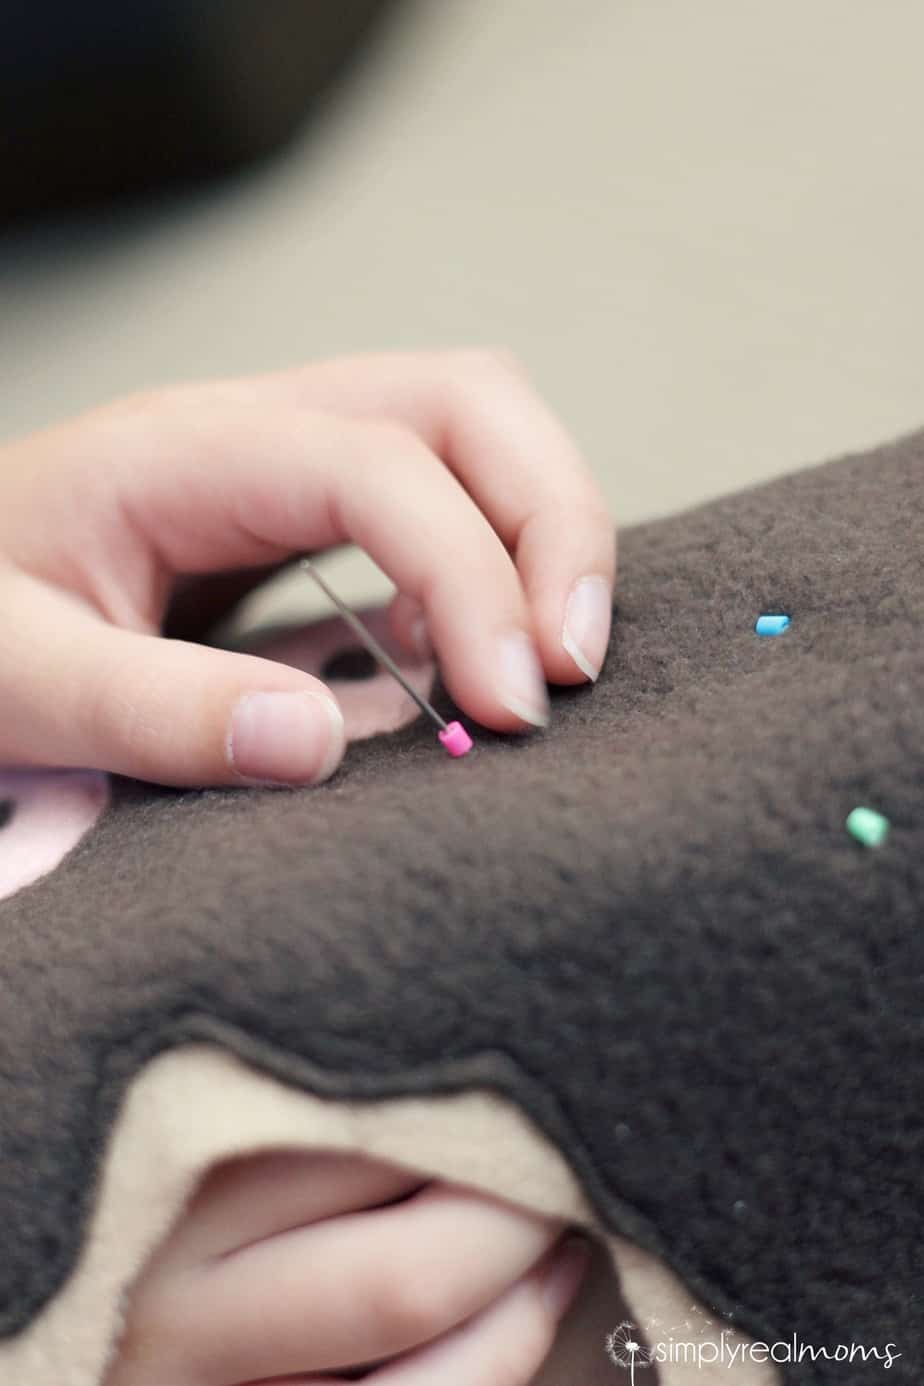 Sew the two tan donut pieces together, right sides out. Start by sewing the inner edge (if on your machine use the smallest seam allowance possible). Smooth out the donut, then sew the outer edge, leaving a 2-3 inch opening at the bottom.
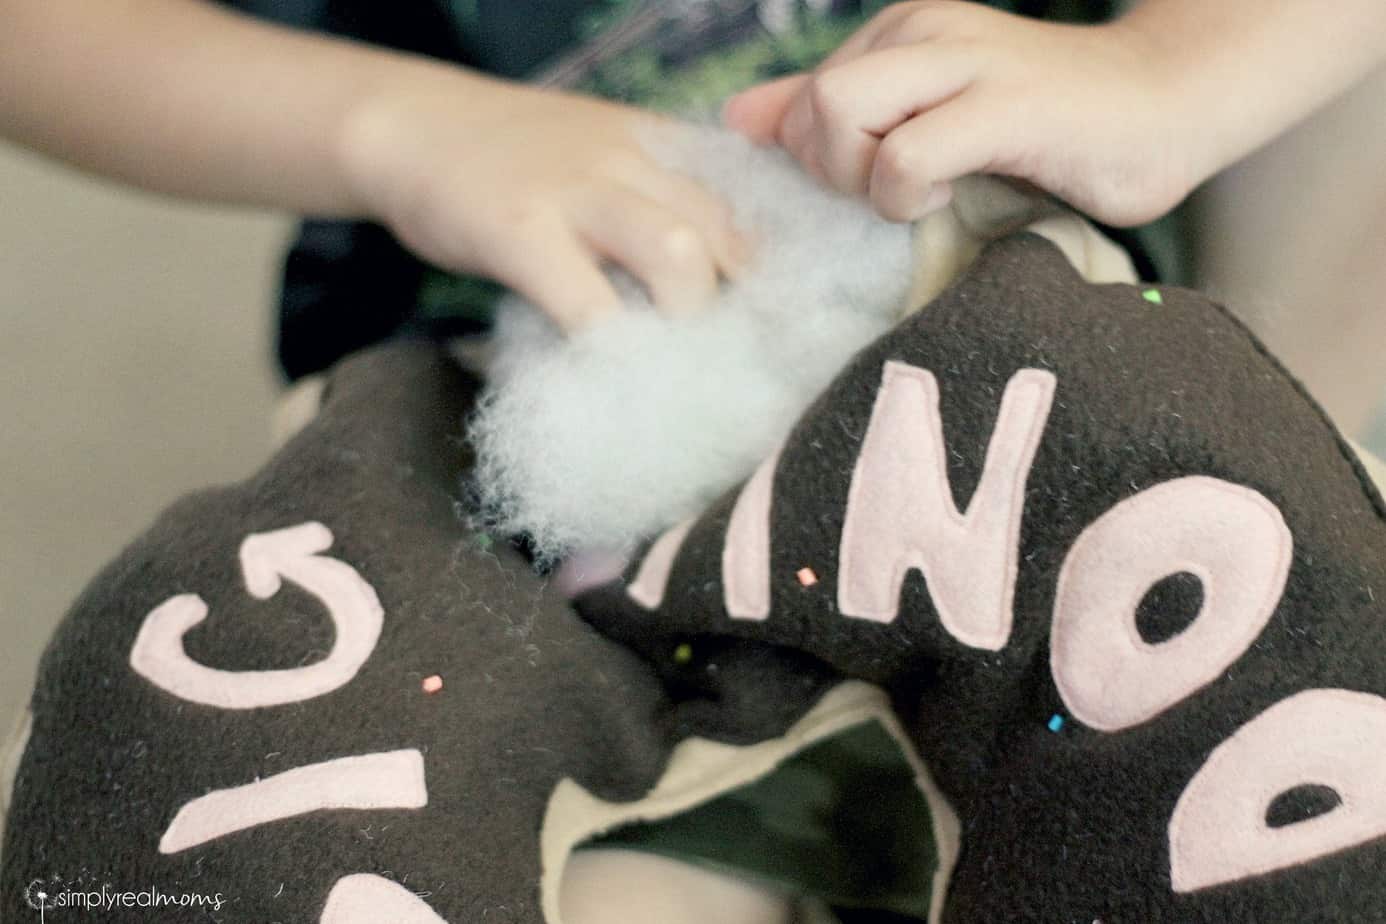 Fill with your remaining stuffing material and sew the opening closed.
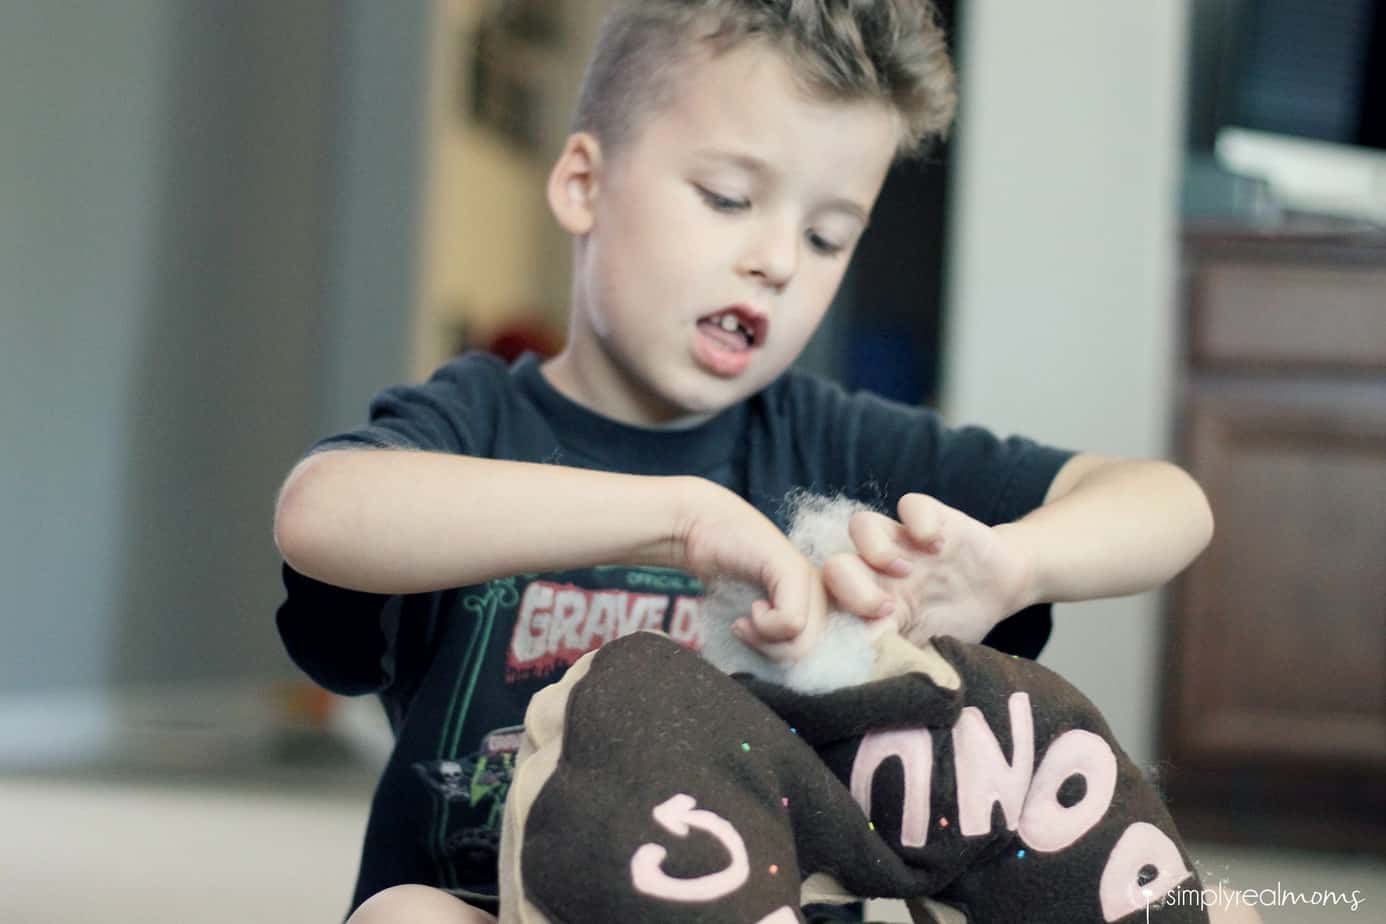
We had so much fun making these together! 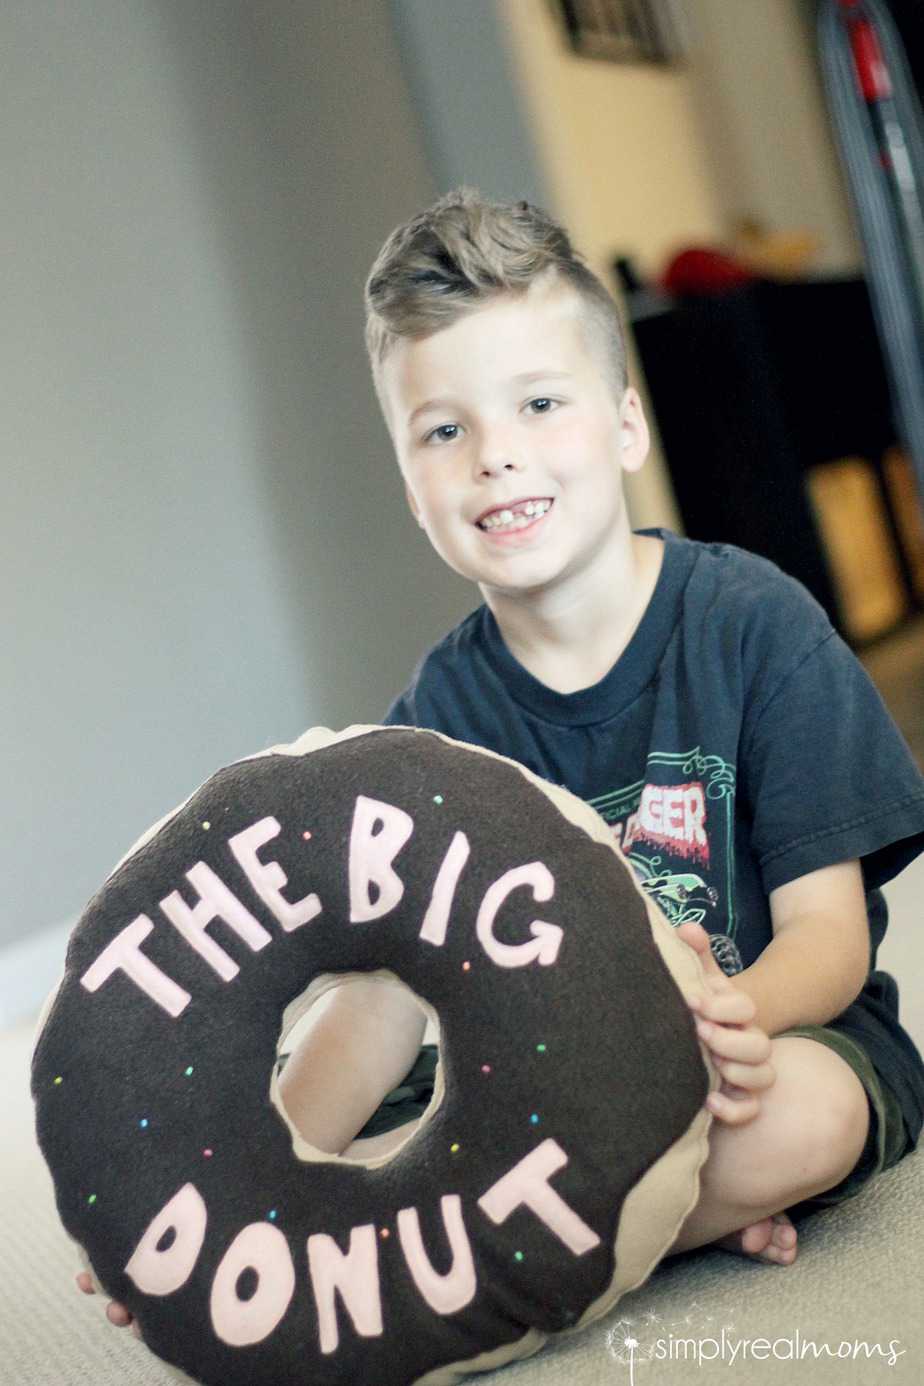 Steps like cutting the felt and choosing the colors for the sprinkles on the donut were my son’s favorites, while using the needle and thread were a little more tricky and included a little risk (he was NOT a fan of the sharp end of the needle…but I’m not really fond of it either) which led him to want to hand the project over. We shared the sewing responsibilities and boy was he pleased with himself for pushing past his worries. Once we finished, he beamed as he brought them to his brothers to show them off and offer to share them as they played Zootopia in their room.
Watching as my son tried something new that he thought he wasn’t capable of was heartwarming. In our family, we try to discourage the term “I can’t” while encouraging our kids to keep trying. Obviously, there are times that we have a hard time and even times that we cannot finish something alone, but we encourage our kids to reach out for help and to try different paths to find the answer or end result that they seek. When my son was scared of the needle poking him as he sewed his toys, he asked that I help him catch the needle on the backside as he pushed it through. We worked together to finish a project he initially thought he couldn’t possibly accomplish.
I love that this project and our path towards finishing it follows the theme of Zootopia. From the creators of Frozen and Big Hero 6, Zootopia is the story of Judy Hopps who worked her tail off to become the first bunny cop – she had aspirations and dreams that she worked hard for and never gave up on. She is the type of movie character I love my boys to see.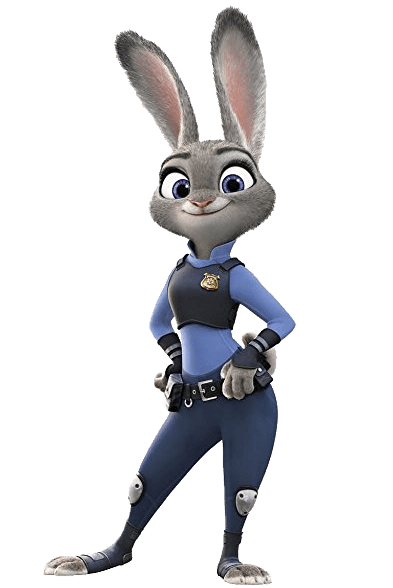
“We all have limitations. We all make mistakes… But we have to try.”
It’s like she speaks my mind!