Lumberjack First Birthday Party

 We recently celebrated my youngest son’s first birthday and when it came to a theme it didn’t take any thought for us. We wanted to celebrate our little guy surrounded by log cabins, buffalo check and flapjacks because what is cuter than a one year old lumberjack?! The reason we ultimately decided on the lumberjack theme was because we did a photoshoot for Christmas with our boys dressed as lumberjacks for family gifts and adorable photos to display around the house, and we had lots of the decor left from that to reuse!
 Photo Credit: Stephanie Dandini Photography
I mean…does it get any cuter than this little guy?!
 Photo Credit: Stephanie Dandini Photography
To begin the decor, we did a dessert table backdrop that looked like birch trees. This was so easy to make and looked amazing with the rest of the decorations.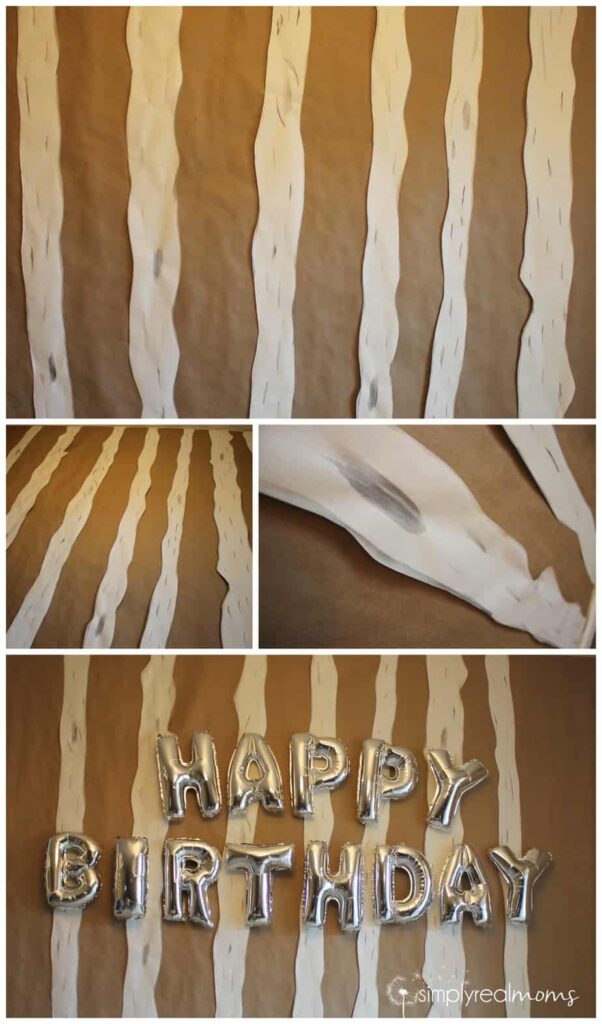 To make it, we simply taped kraft paper up onto the wall. The roll isn’t terribly wide, so we just taped a few pieces up side by side. Then, I took a roll of Ikea’s white paper they have for their kids’ art easel and cut it as long as the wall is tall. Butcher paper or even the backside of wrapping paper would work too. I painted on squiggly black lines with watercolor paint down the length of the paper and added small vertical lines and circles with the black paint. Once dry, I cut out each “tree trunk” by cutting along each long line. We could fit 4 trunks (5 lines down) across on the Ikea paper. We taped one tree over each of the lines of overlapping kraft paper, and then taped the remaining tree trunks in between to fill in the space.
  We taped these letter foil balloons over our tree trunk backdrop. I found them for a deal on jane.com, but they are also available on AMAZON in tons of colors as well.
 Our birthday boy wore this adorable birthday shirt I made using THIS technique. The red and black fit in with our lumberjack theme, and he looked as ONE-derful as he could be!
  I made several prints to go around the house as decoration and we bought several mini fake trees to use as well. Luckily, these trees can be added to our Christmas decor now!
 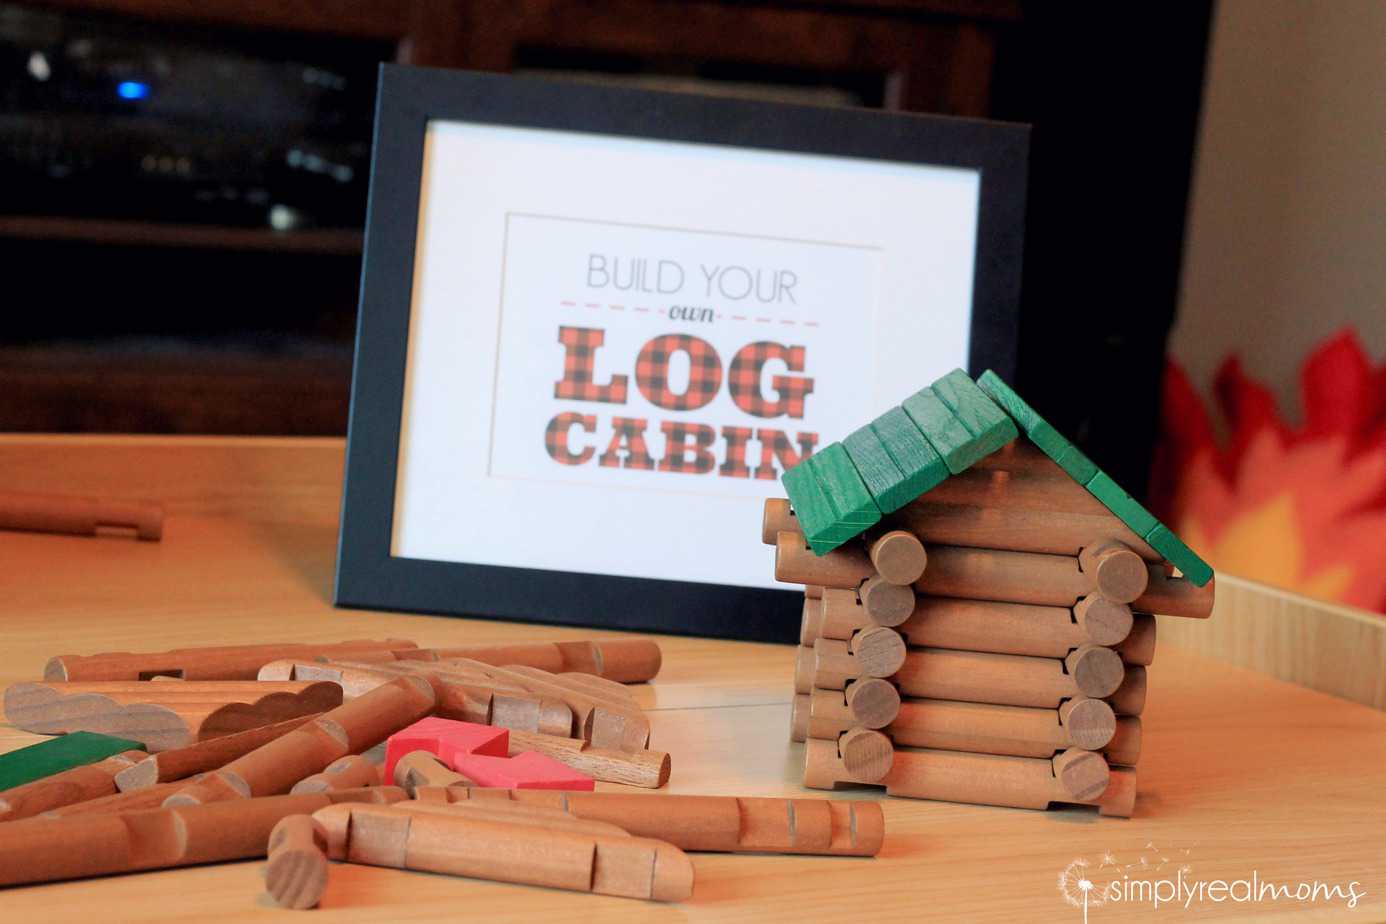 We brought out our train table and set up a Log Cabin building station for the kids with a huge set of log building blocks.
  One of the fun things we had set up at the party was a simple photo booth! We had our HP Envy 5660 out on a table and filled it with the new HP Photo Strips paper.
 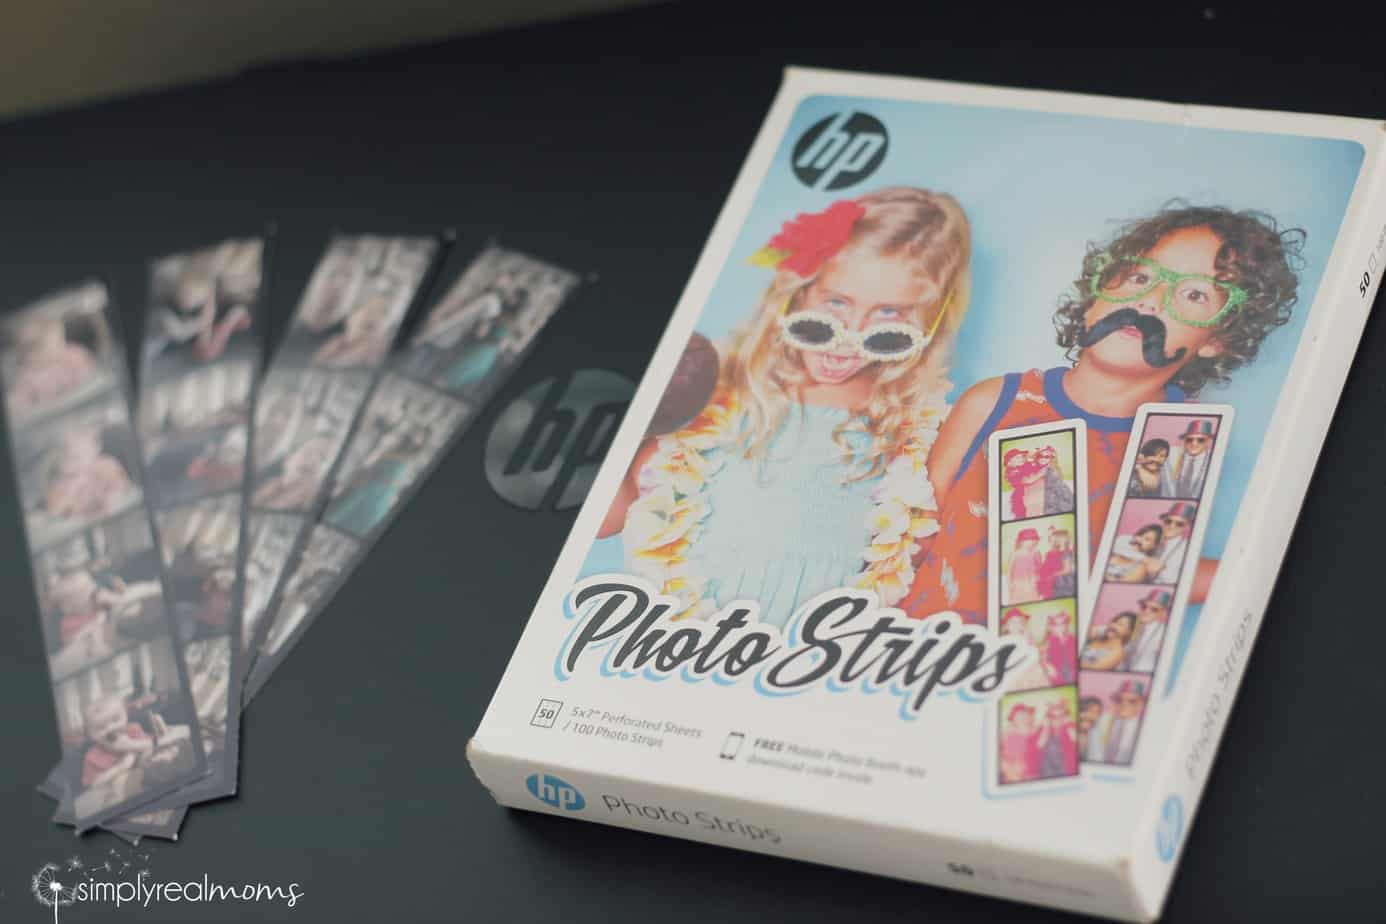 The photo strip paper comes with a free download of the Pocketbooth app-a super fun phtobooth app that will print four photos into strips that fit perfectly on the perforated photo strip paper. The strips break apart and everyone can take home a copy! So simple, so fun. We just used the dessert table backdrop as the photobooth background.
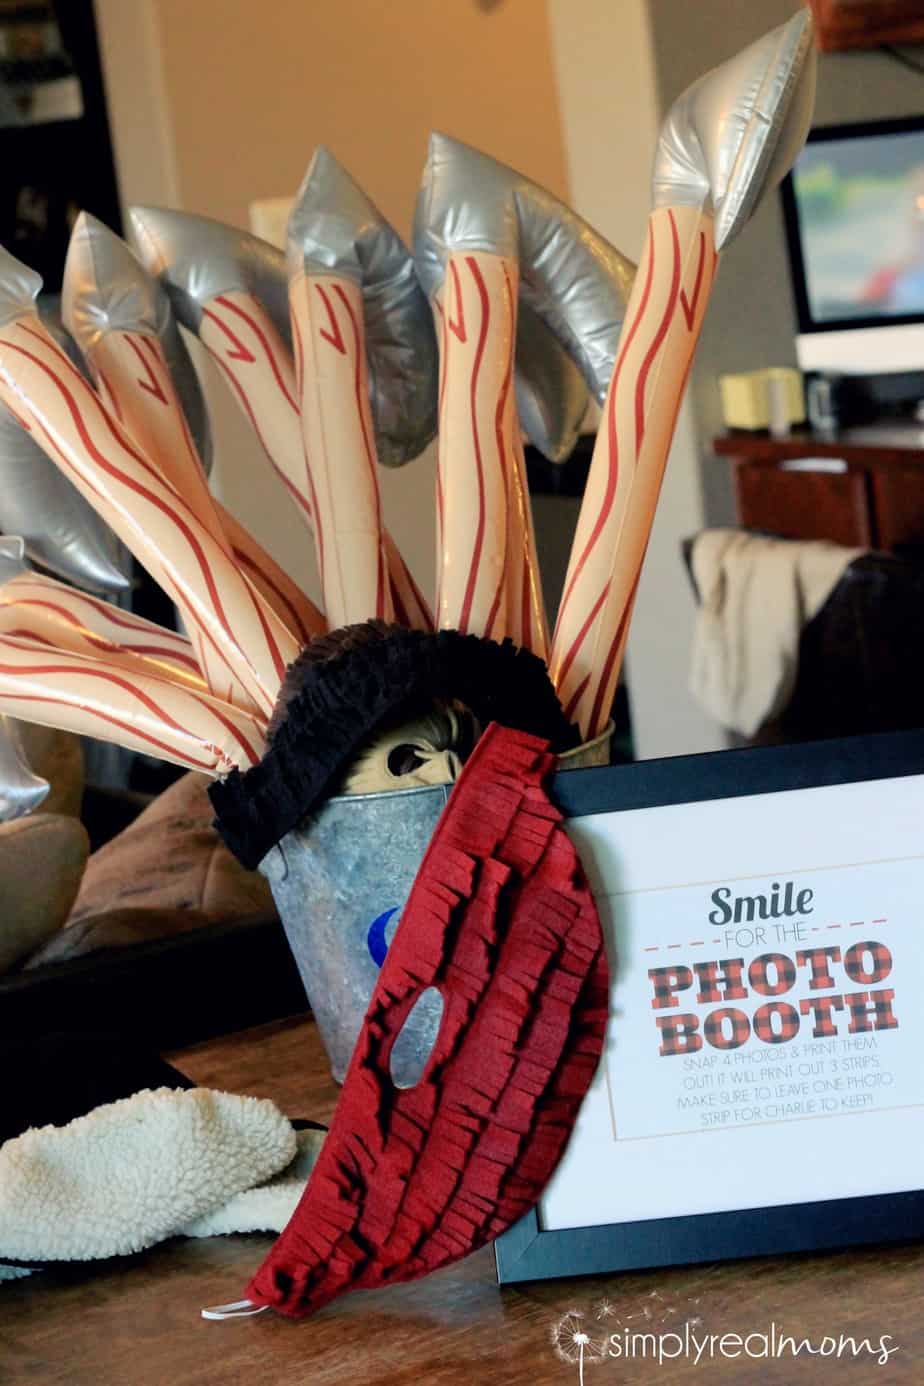 We had props like lumberjack hats, beanies, inflatable axes (found here) and felt beards I made using THIS tutorial. These beards took only about 10 minutes each to make, and I made a few different colors.
 And what is cuter than a baby in a beard?! Haha!
 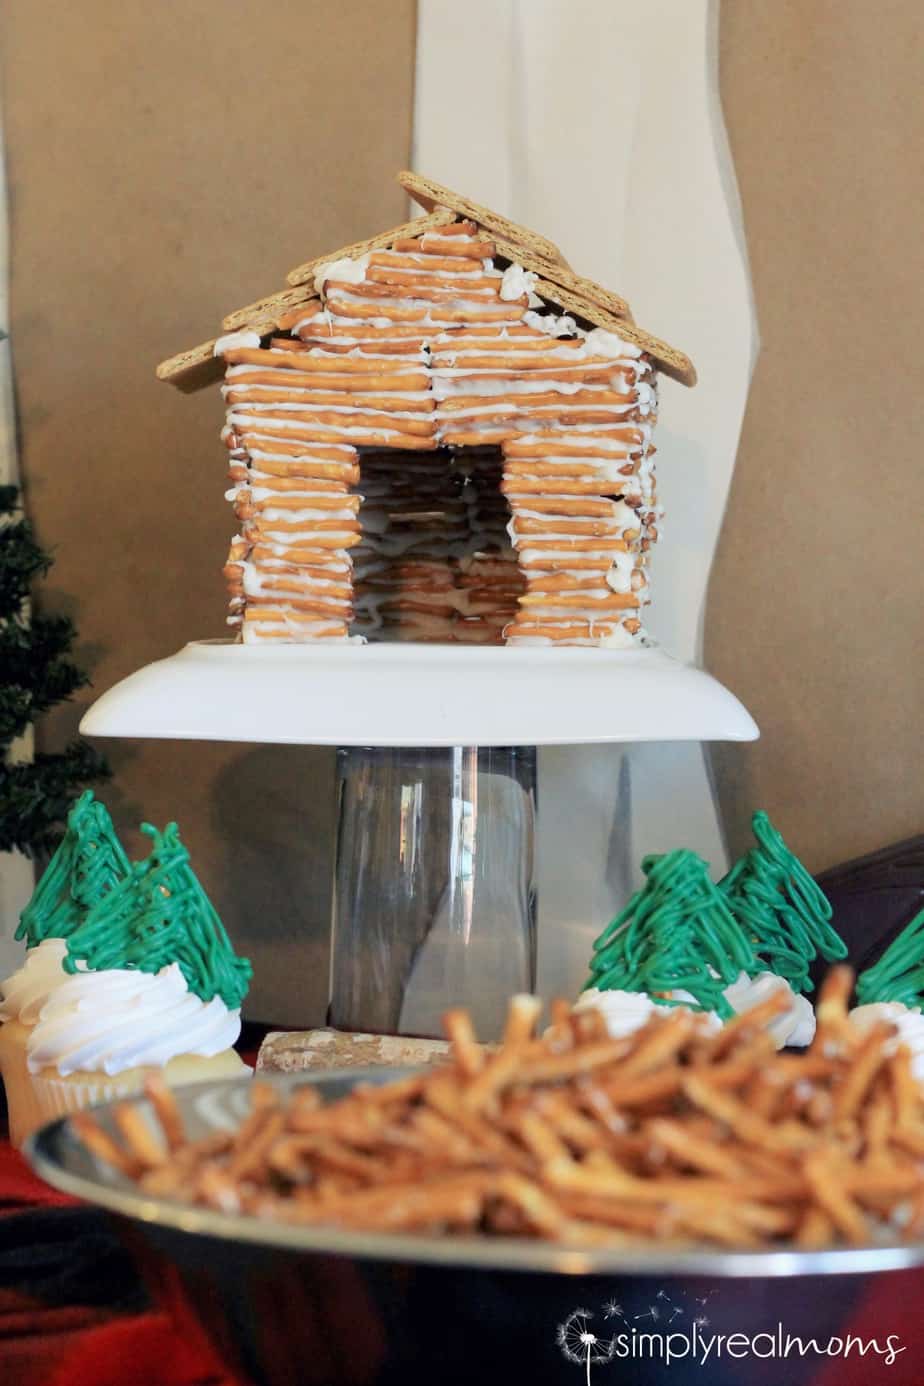 I had seen a teacher on Pinterest who made a log cabin out of pretzels for a class project and I loved the idea for part of our decor! I seriously underestimated the work it would take to make it. This was by far the most work out of all the projects I made for this party, taking me hours to just get the walls halfway up…but by then I was committed and needed to finish! I made it by simply stacking pretzel sticks and “gluing” them together with melted but cooled white chocolate. I tapered the walls off on two sides and topped the cabin off with a few graham crackers glued with the chocolate as well. This was a huge hit and worth the effort but a LOT of tedious work.
  For the cake and cupcakes, we simply ordered basic cupcakes and the free smash cake from Walmart. I asked for the cupcakes to have just red or white frosting on them, and the cake to have smooth chocolate frosting. I like to decorate my own cakes but I love saving time by having someone else bake them. For the cupcakes, we took pretzel sticks and I piped green chocolate melts in a tree shape over them (the pretzel acted like the trunk) and let them cool. Once cooled completely, the chocolate is hard and can stand up like a tree! So adorable.
 The cake looked impressive but it was seriously too easy to make. I melted chocolate chips and spread the melted chocolate over some parchment paper, then rolled it up tight into a roll and placed it into the refrigerator. Once hardened, I took it out and opened up the roll which broke the chocolate up into shavings that were curled on the edges. I broke them up to fit around the cake as needed and then melted a few more chocolate chips and “painted” the chocolate over the broken pieces to give it the look of tree bark. I then took a toothpick and drew a simple wood grain on the top of the cake before adding the candle and a few chocolate trees.
  The candle was a HIT. Project Nursery has these gold number candles that sparkle when you light them! Only downside is you can’t really blow them out (although we didn’t try terribly hard…it MAY be possible).
  The whole room looked amazing and I was really happy with the outcome!
  And what Lumberjack party would be complete without some flapjacks and syrup?! I found these glass bottles at Target near the mason jars and added some vinyl I cut to identify what was in each bottle.
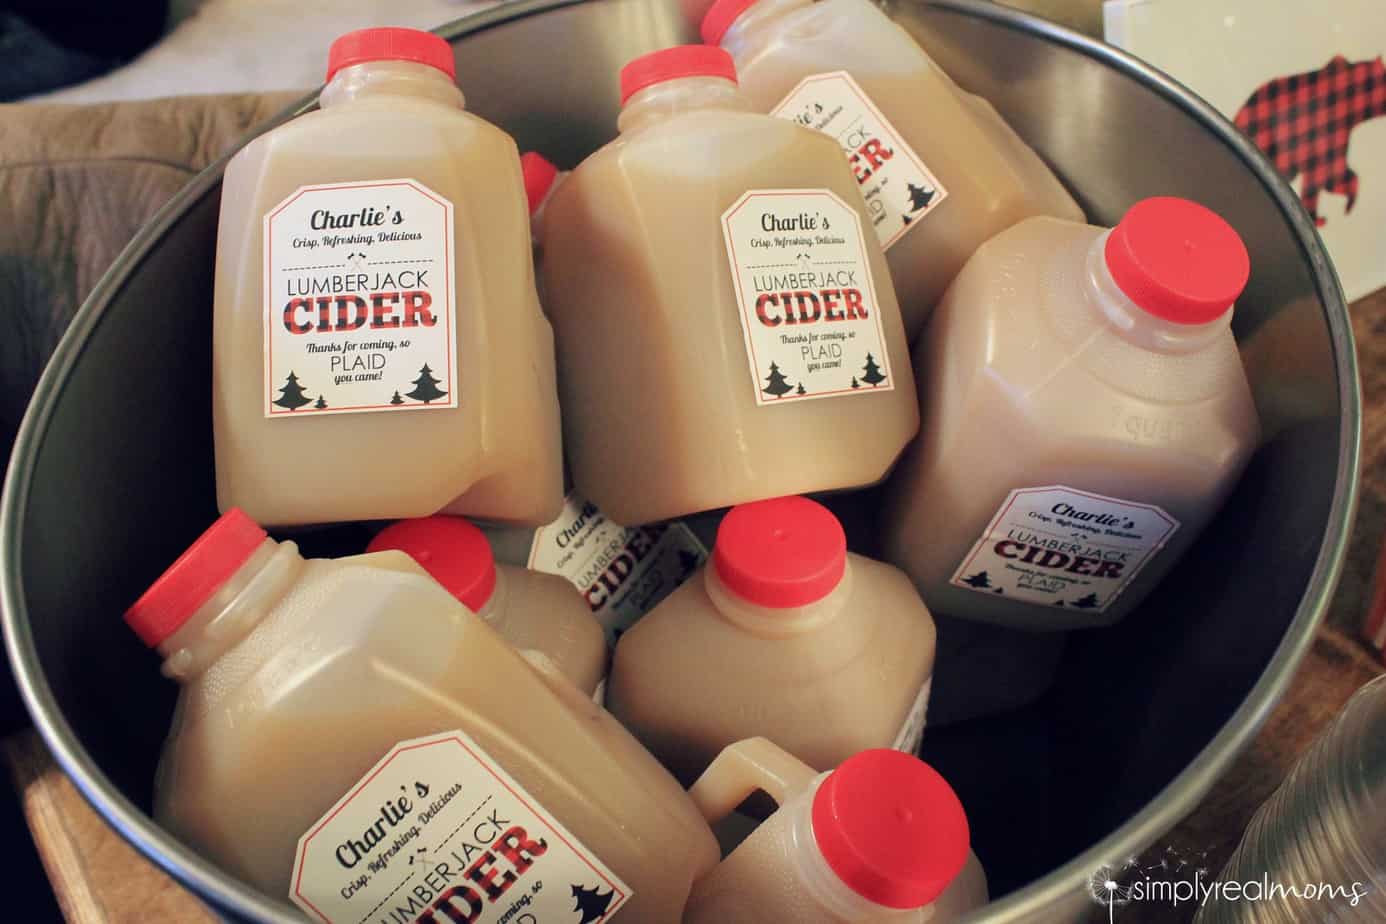 We wanted to serve apple cider at the party in a way that could also be a take home gift for guests if they wanted. I found these mini milk jugs at Hobby Lobby half off and we filled them with apple cider.
  I created labels to match our invitations and the prints I had made for the party which gave them a fun personalized element that everyone loved! The kids all stuck straws right into them and were drinking them all night-too fun.
We had a blast celebrating our littlest lumberjack and we hope you enjoy the fun ideas! We do offer the personalized cider labels in our etsy store for your own little lumberjack’s party!
FIND THEM HERE
*We were not compensated to mention any brands or stores, we paid for everything shown