Magnetic Letter Board
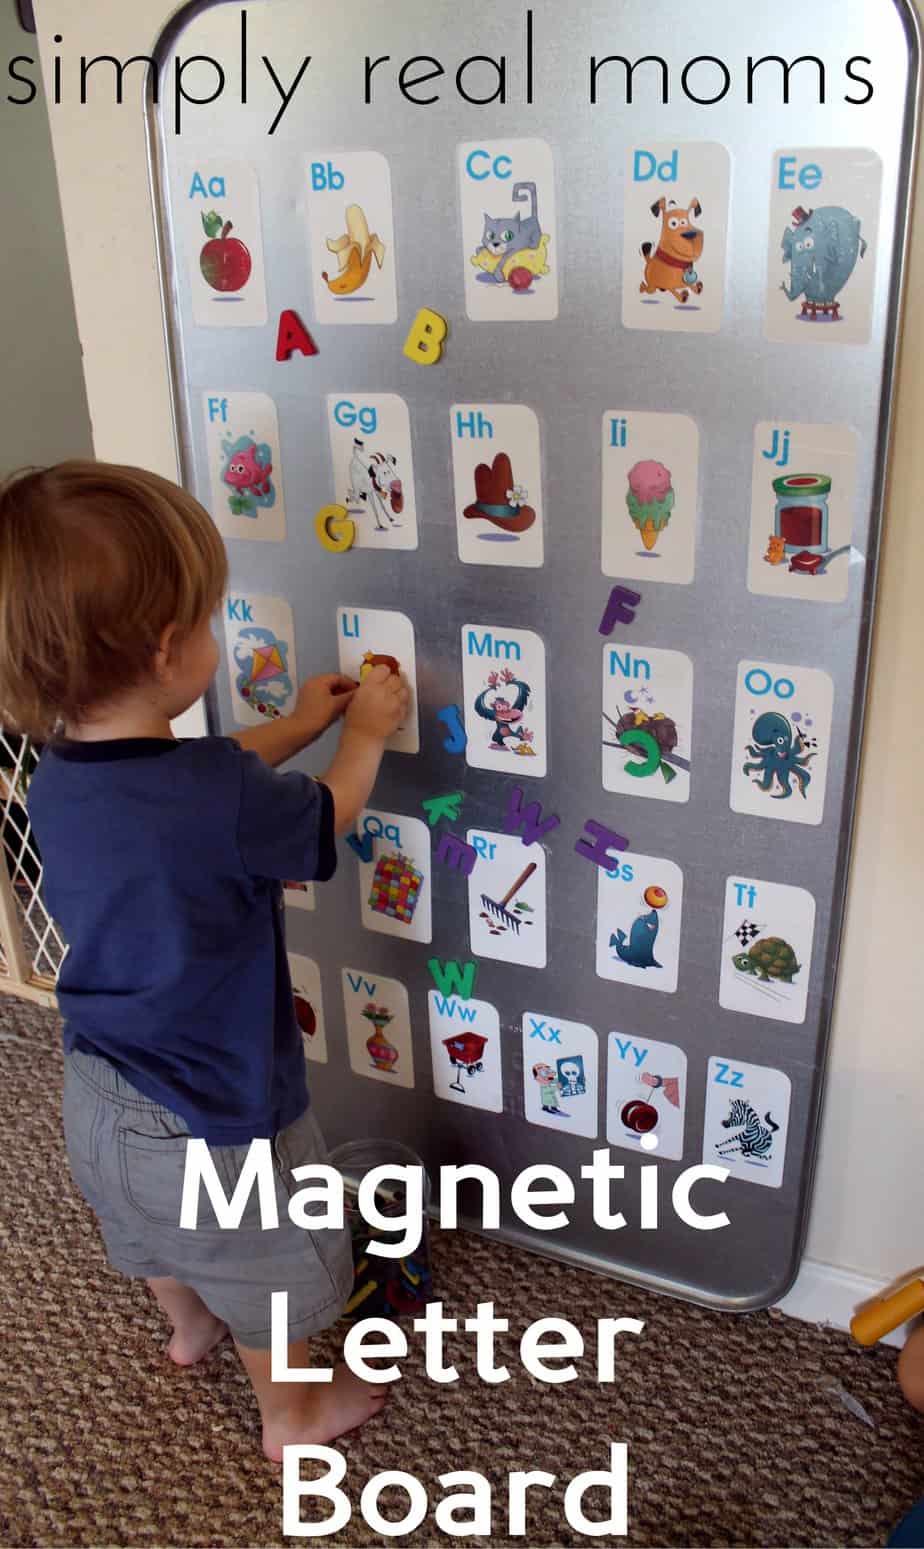
I saw this idea for a magnetic letter board floating around Pintrest last fall and just had to make one for my son. I’m so glad I did because he loves it! This DIY craft is so easy, it’s done in two steps! I first made it when he had just turned one. Even though he didn’t really understand what the letters were yet, he had fun identifying the pictures and would ask for “letters” when he wanted me to point to the letters while singing the alphabet. It was a great introduction to knowing what letters are!

Now, at the age of one and a half, he uses it more than ever. He enjoys identifying the letters, matching the foam letters with the letter cards (or just finding every W) and identifying the letter with the items pictured (such as, “A-apple!”). The magnetic letter board is a great teaching tool not only for identifying letters, but also developing matching skills, expanding vocabulary and starting to learn some beginning letter sounds!
Supplies:
- Large oil drip pan (you can find this in an automotive store/section of a store)
- Alphabet Fun Flash Cards

(or you can make your own on the computer!) - Glue
- Contact paper
- Foam Magnetic Letters
Step 1
Lay out all the flash cards on the board so they are spaced out relatively well. I made five rows; four with five letters and one with six. Then glue each letter to the drip pan.
Step 2
Use the contact paper to cover the board. This step is a must if your child is anything like mine. I don’t think the cards would have stayed on the pan one day if I hadn’t covered them with contact paper.
There you have it! Your child can take on and off the magnetic letters, use a pointer with the board or play with it in any way he or she sees fit! So easy and so much fun!
