Make a Tie Dye Tablecloth Shibori Style
I am sharing How to Make a Tie Dye Tablecloth thanks to BluePrint Social and Tulip® #TieDyeYourSummer
I’ve always thought shibori style dying was beautiful. But the work involved to get the indigo dye correct wasn’t appealing to me. Until the day I realized I could use tie dye to create beautiful shibori dyed fabrics.
Tie dye is incredibly simple to use (seriously, just add water!)- and can be done with minimal mess.
Since a certain little man’s first birthday is coming up, I wanted something fun for a table-cloth and decor. Since he is our first, I had nothing suitable for a 1 year old’s birthday party.
Tie dye was the perfect answer! I created two different tablecloths for his party. One for inside that I can reuse in the future, and a disposable paper one to use outside.
How to Make a Tie Dye Tablecloth
You will need
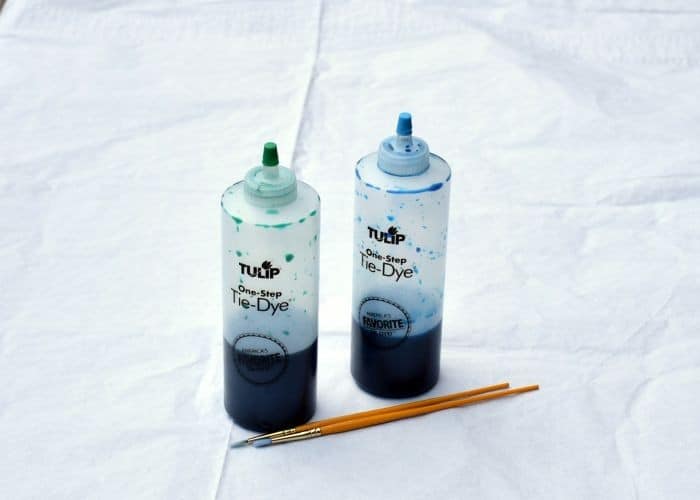
- A Tulip® Tie Dye Kit
- Plain tablecloth
- PVC or Pool Noodle & Foil
- String
- Old newspapers
- Plastic wrap
Here is the kit I used.
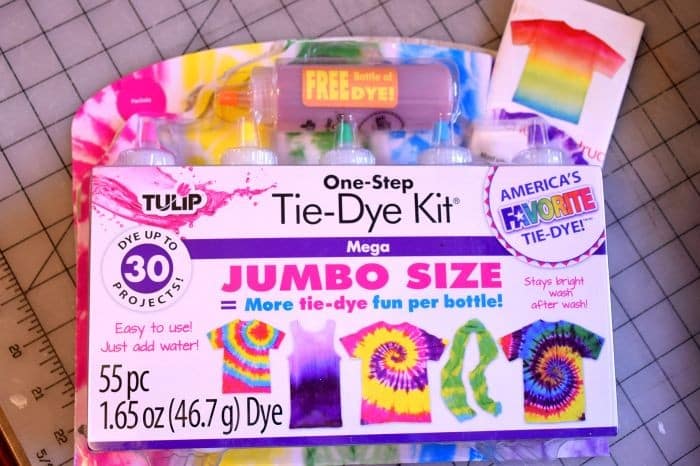
This kit contained 5 bottles dye (+ 1 free), rubber bands and gloves.
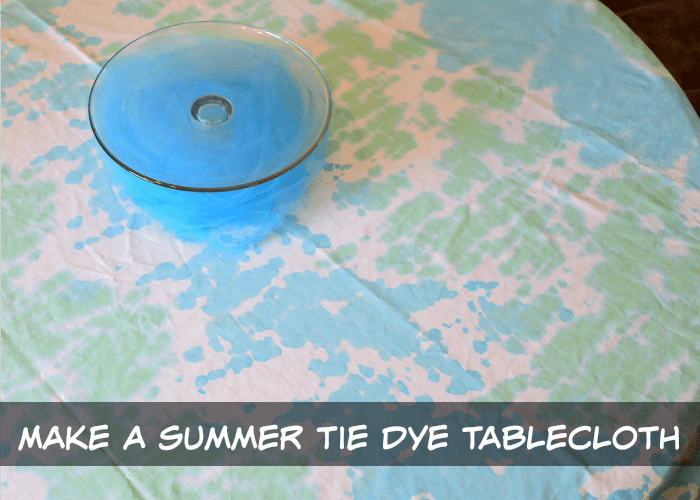
I found a piece of white cotton material and hemmed it into a tablecloth. Be sure to use only natural fibers, polyester will not dye.
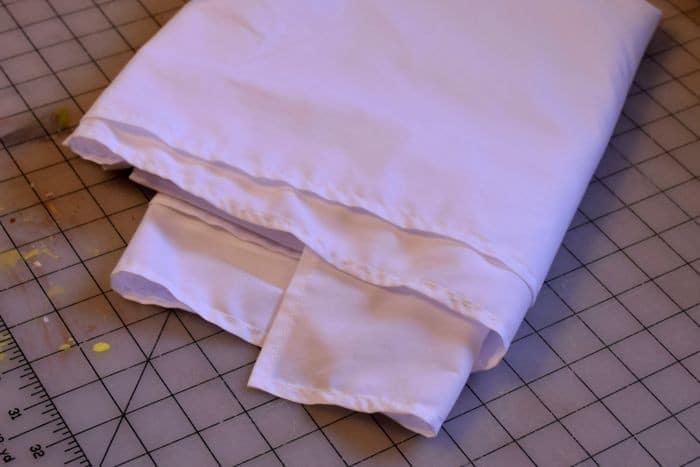
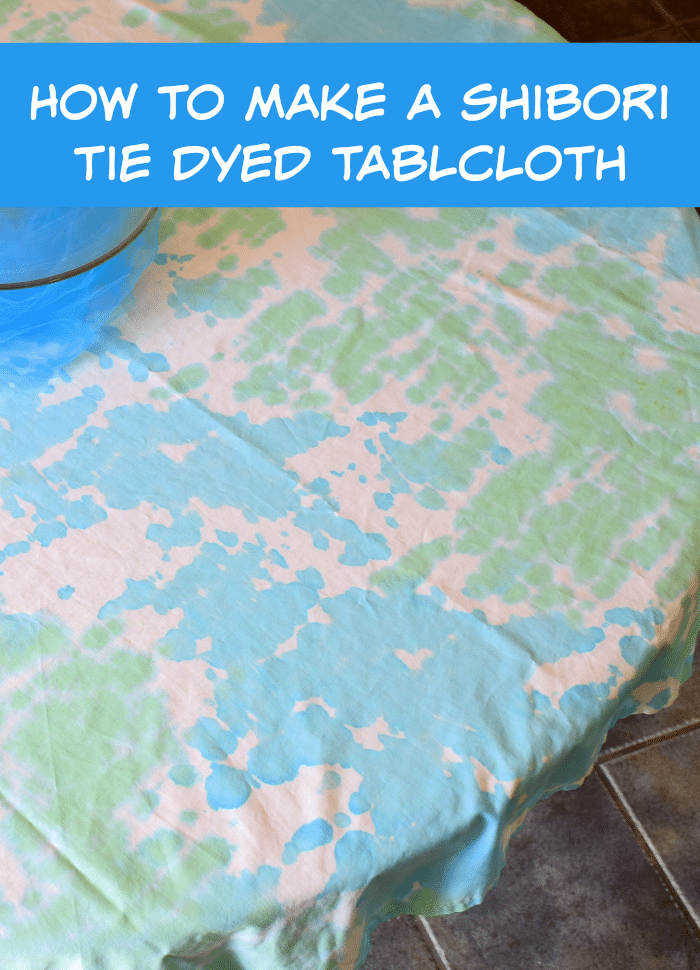
There are many different ways to shibori dye fabrics, but I especially like the look of the pole-wrapping technique.
Wet your fabric and wring it out as much as possible. I didn’t have a pole, or pvc pipe that is often used for this technique so I used a pool noodle. If using a pool noodle, wrap it in aluminum foil so the fabric will slide, before wrapping.

Once the tablecloth is wrapped around your pole, it’s time to start scrunching. After you’ve scrunched your fabric down as much as possible, began tightly wrapping your string around the scrunched fabric.
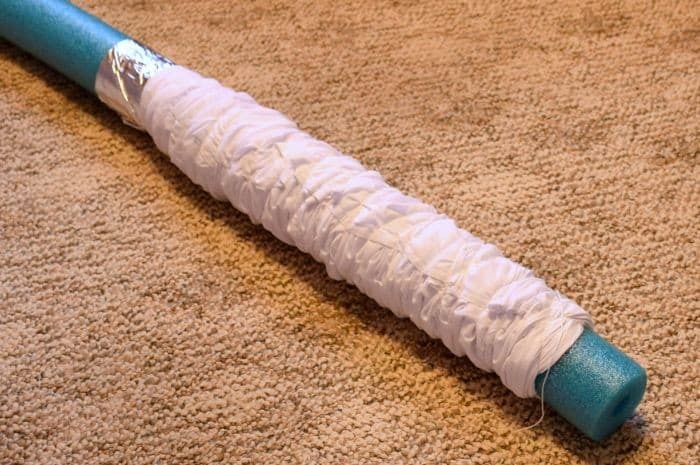
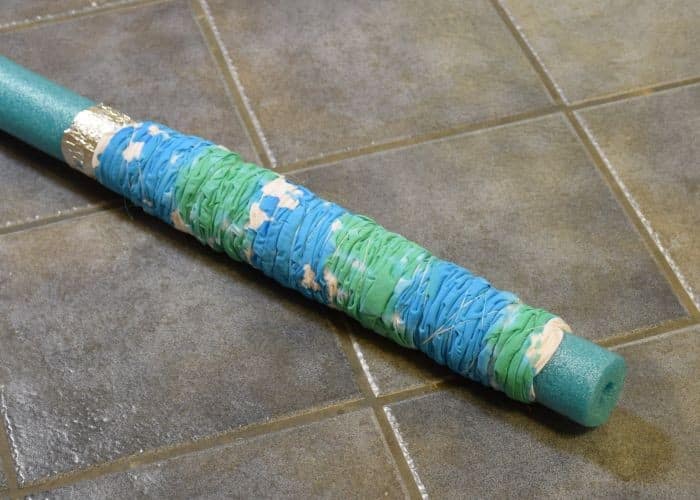
At this point you should be on a hard-floor surface and layer old newspapers down to catch the drips. 6-10 layers is plenty.
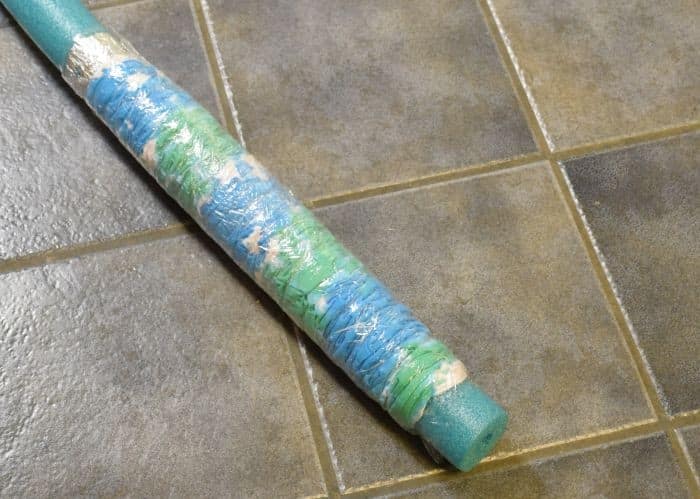
I wanted a simple green and blue. One, because it’s versatile, and two, because of the theme I’m going with for his little party. You can add as little or as much dye as you want at this point. I prefer more white, and left some of the surface white as well.
Cover your now tie dyed tablecloth with plastic wrap doing your best to seal the moisture inside. You want your dyed fabric to stay sealed and wet for at least 8 hours for most brilliant colors. If you want a lighter color, try at least 6 hours.
Once the fabric is done dying, there are two options for finishing it up.
#1 promises the brightest colors possible, but is likely to make more of a mess. Rinse the tablecloth under cold water in your sink until no more color runs out before unwrapping the cloth.
#2 is simplest, but may result in slightly less bright colors. Unwrap the tablecloth before rinsing in cold water until no more color runs out.
Finish with a hot wash and no soap. It’s probably wise to wash your tie dye tablecloth alone a time or two before washing with other clothes and fabrics.
The second method was just as fun and because it’s a paper tablecloth it was even easier than the shibori method.
Make an Easy Splatter Tie Dye Tablecloth
Supplies needed:
- A Tulip® Tie Dye Kit
- Plain tablecloth (cotton or paper disposable)
- Paint brushes
The tie dye splatter technique is so very simple.
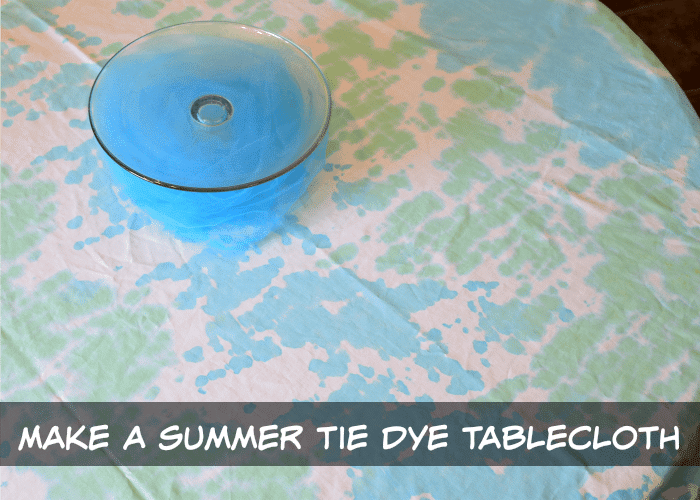
Dip your brush into the dye and splatter it onto the tablecloth. This is best done outdoors to avoid dying your floors. 🙂
See how pretty?

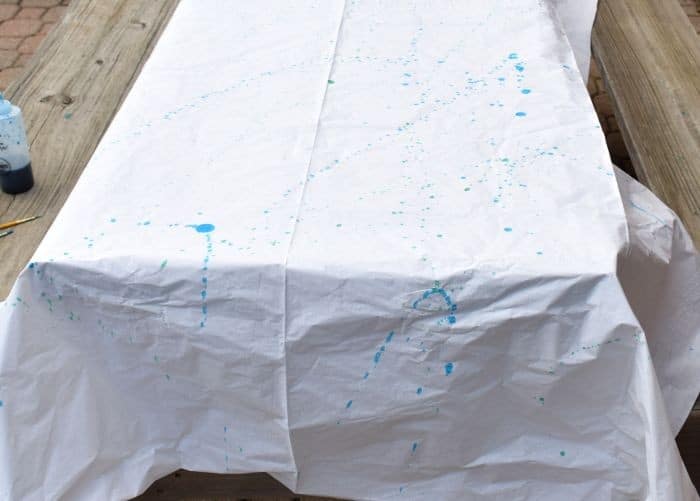
Since this tablecloth is paper, clearly the washing to set the color isn’t going to happen. A little test showed me that if this gets wet, the color will run, and even lift off onto other stuff.
Considering how I’m going to use this one, I’m not concerned. Just keep in mind that the colors will bleed if wet on this one.
Want more tie dye inspiration? Check out I Love To Create on YouTube, Facebook, and Instagram.
Be sure to stop by next week and check out the birthday celebration. 🙂