Menu Board Tutorial ~ Grocery Savings Made Easy.

If you follow on Facebook, most likely you know I enrolled in a Grocery Savings Made Simple e-course.
Taking the course, inspired me to create a menu board. Today I’m giving you my menu board tutorial and sharing how the Grocery Savings Made Easy course has went for me.
Allow me to make one thing clear. This wasn’t a “read it once, immediately save tons of money” type of course. In fact, if someone promises you that, they are probably lying.
This course covers a four-week span. You can take it quicker if you like, or slower if you need more time. It requires a little time and money to take, but saves you so much time and money in the end!
Almost right away I found two really quick ways to save money in my grocery budget. These were areas that I knew needed addressed, but hadn’t been able to create a good solution. This course set me on the right track.
By lesson two I had cut $58 from my monthly budget.
By lesson four I had a perfect-for-our-family menu that could be used over and over.
And in lesson seven I had the basic start to knowing where to shop, and how to shop to stay within a budget.
Which brings me here. The only way this course wouldn’t help you save money is if you already have a bare-bones budget and set menus. If you already spend hours clipping coupons you may not save money with this course, but I can assure you, that you will save time!
How the grocery savings made easy, e-course has helped me.
I now have four primary places I purchase foods. Two brick and mortar stores; one I visit 2x a month, and I visit the other 1x a month or less. The other two stores are online. One I order from monthly, one I’ve set up to deliver 3 times a year.
I have a set-and-forget menu that I don’t need to remake each week.
In the past I’ve went to the grocery at least once a week and sometimes made “panic visits” in between. Menus took time and finding sales and coupons take time.
I only went to the store twice last month, spending less than 40 minutes each time. No sales, no coupons. Get what I need, and leave. Guess what? Maybe those “sales” weren’t saving me so much after all! Total spent? Less than $150. (We purchase our meat from farmers)
I’m amazed at how easy meal planning and shopping now is. Not to mention the extra savings!
You can learn more about the course here: Grocery Savings Made Simple. (affiliate link)
Tweet this! @aproverbs31wife is sharing how she cut over $50 a month from her grocery budget! #GrocerySavings
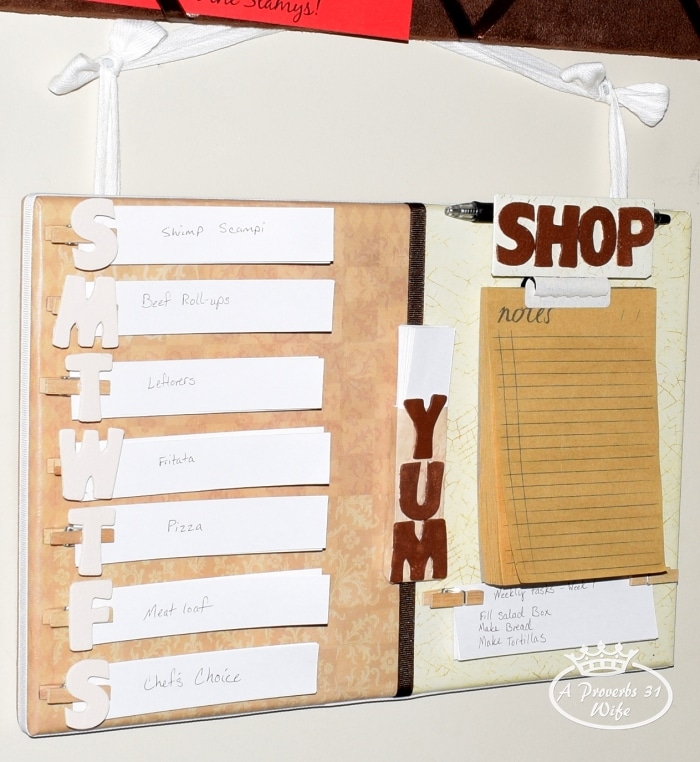
Now for my menu board tutorial!
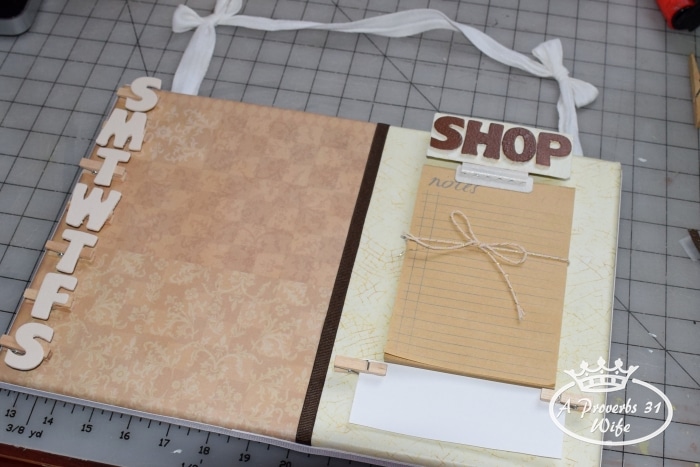
Instead of keeping a boring looking paper menu, I created this fun one complete with note-pad to list needed groceries.
Menu Board Tutorial
You will need:
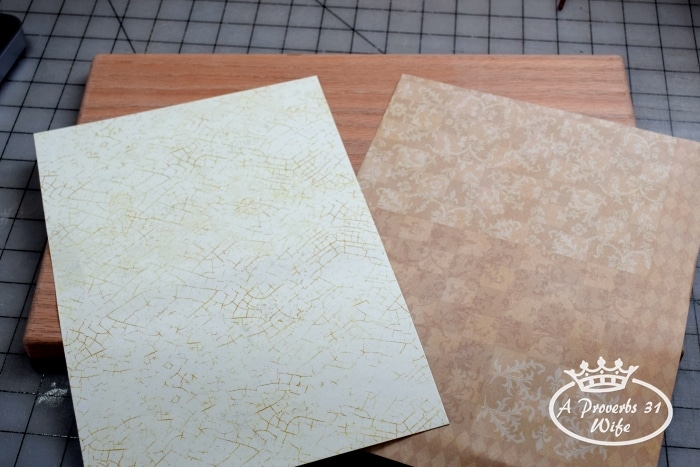
- Surface to create your menu on. I used a simple piece of wood.
- Papers.
- Mod Podge.
- Paint.
- Brush and spouncers.
- Clothes pins.
- Large clip.
- Tacky glue.
- Wooden letters.
- Ribbon.
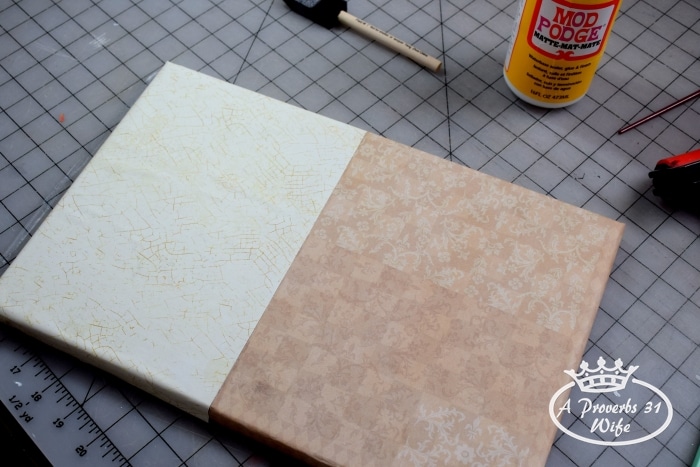
I started out by Mod-Podging the paper to my board.
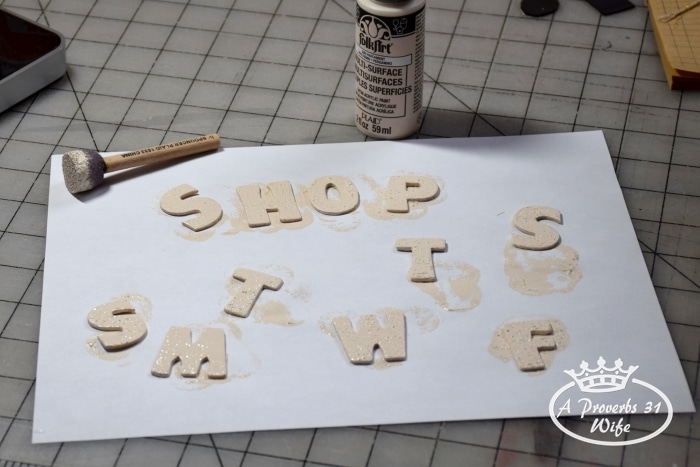
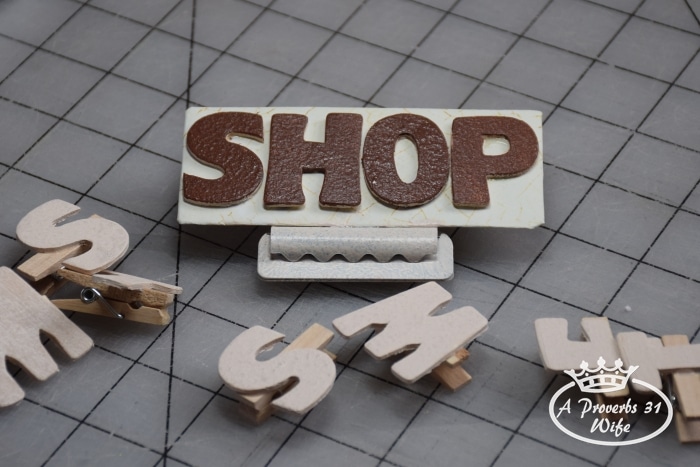
While the paper was drying, I painted my letters. Later I decided to paint my SHOP letters in a darker brown.
I took a small thin piece of cardboard and covered it with leftover paper. Next I glued it to the top of my large clip and adhered the SHOP letters to it.
Before gluing anything to the front of my menu board, I stapled the hanging ribbon to the back. Then I flipped the board back over and glued brown ribbon down the center to cover the line where the two different papers joined. Finally I glued white ribbon around the outside of the entire thing.
I glued the letters to mini clothes pins and adhered everything to the board. The paper under my shopping list contains my weekly scratch cooking tasks.
Later I wrote my daily menu on index cards (cut into thirds) and then made a folder to put extra menus in.
This is a very simple menu board to create. To be honest, it took me the longest amount of time trying to decide on colors and design. 🙂
And here’s my “behind the scenes”. It is also my guilty confession. I’m a minimalist at heart and hate clutter. Yet… My craft room is continually a mess! No matter how hard I try to clean and organize, it just becomes a huge mess again.
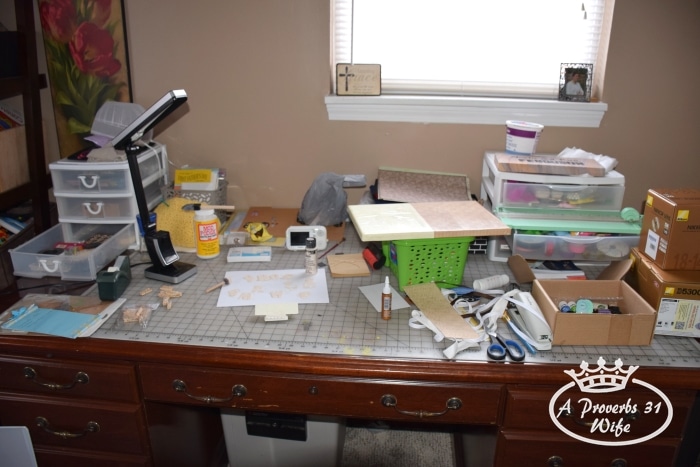
Does that look familiar to your craft area?