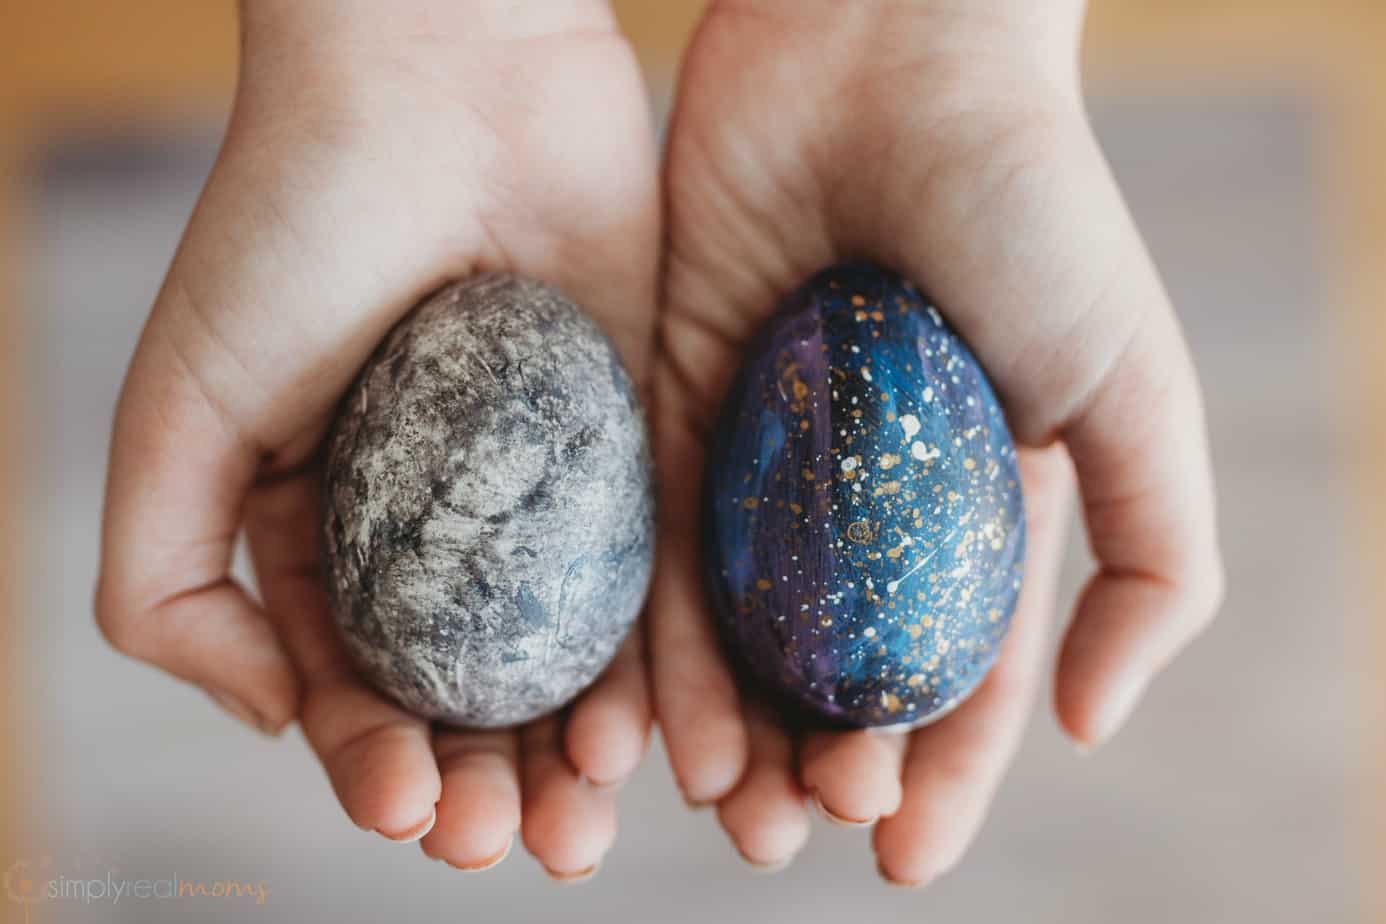
Moon + Galaxy Easter Eggs
We love to decorate fun Easter eggs every year. This year, we had plans to make a few different kinds. At the top of our list was star/galaxy decorated eggs because my oldest is slightly obsessed with the stars and planets and after seeing black chalkboard eggs in the store, I knew they’d be a breeze to make!
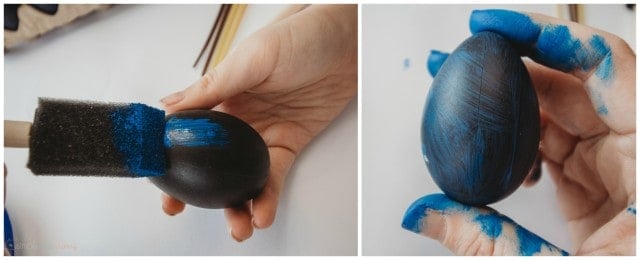
I started with a package of the black chalkboard eggs, foam paint brushes, watercolor paint brushes and acrylic paint in white, purple, teal, gold and blue. Start by applying a small amount of the blue paint onto an egg and distributing it in random strokes around the egg. I didn’t use gloves but they would help for clean up.
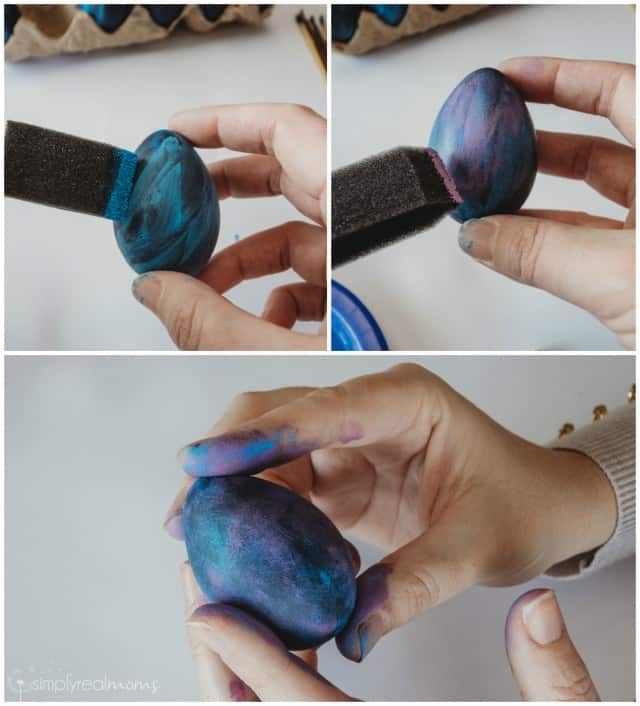
 Once the blue paint dries, apply the teal paint randomly around the egg and rub it in with your fingers. Once the teal paint dries, repeat with the purple. Rubbing the paint in helps it to blur together to create the colorful misty look of outer space.
 Once all your paint layers are dry, place your eggs into a box. Mix your gold paint with a little water to thin it out and splatter it onto the eggs using a watercolor brush. Repeat with the white paint. I also splattered white paint not thinned with water to create some streaks to look like shooting stars because my son loves shooting stars! Once eggs are dry, turn them over and repeat the splattering with gold and white paint.
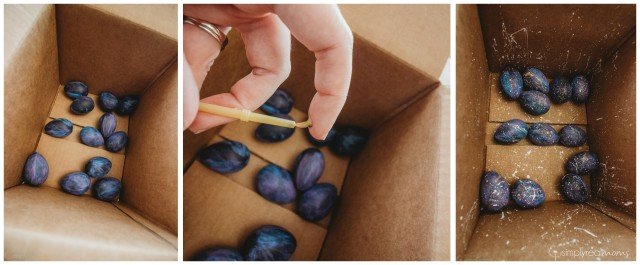
Once they dry, they’re all done!
But that moon egg-where did it come from? Well, that’s kind of a failed project that turned into a WIN! After finishing our galaxy eggs, we moved on to make the next eggs on our list. I wanted to create eggs that looked like marble with gold accents in it to tie into our galaxy eggs. After trying a few marbling methods that weren’t vivid enough I thought I would use a method I’ve used to decorate nails using nail polish and water. You may have seen it, you drip nail polish into water, swirl it around with a toothpick and then dip. I’ve had success in the past but for some reason I couldn’t get the egg to marble with it. I was just about to give up when I smeared the nail polish on a wet egg and saw the light!! It looked like the MOON! Forget marbled eggs, I’m making a set!
Here’s how I mad the moon eggs: Start with hard boiled eggs (or blown out egg shells), a disposable pan on room temperature water, nail polish in black and white, toothpicks and gloves. The gloves are NEEDED unless you want to clean nail polish off your whole hand.
Drip your black and white nail polish into the water back and forth, each inside of the last for 5 or 6 drips. Each drip should spread out. If your nail polish looks like the blob on the left of the pan in the pictures below and doesn’t spread after the first drip, it’s because that first drip dried immediately and your water is too cold. Let it sit longer and try again.
 Once you have a few drips in, swirl with a toothpick. If the polish is a little dry, simply pull it to the side until it breaks and the polish spreads more (see the left side of the pan in the left picture above).
Dip an egg into the water right over the polish and roll the egg towards the rest of the polish until it’s covered. Remove the egg from the water and rub the nail polish with your fingers until the polish is smeared.
 And there you have it! A fail turned win!
 My outer space loving boy is so thrilled to have these eggs! They sure impressed him, hopefully they’ll impress your kiddos too!