No Sew DIY PJ Masks Costumes
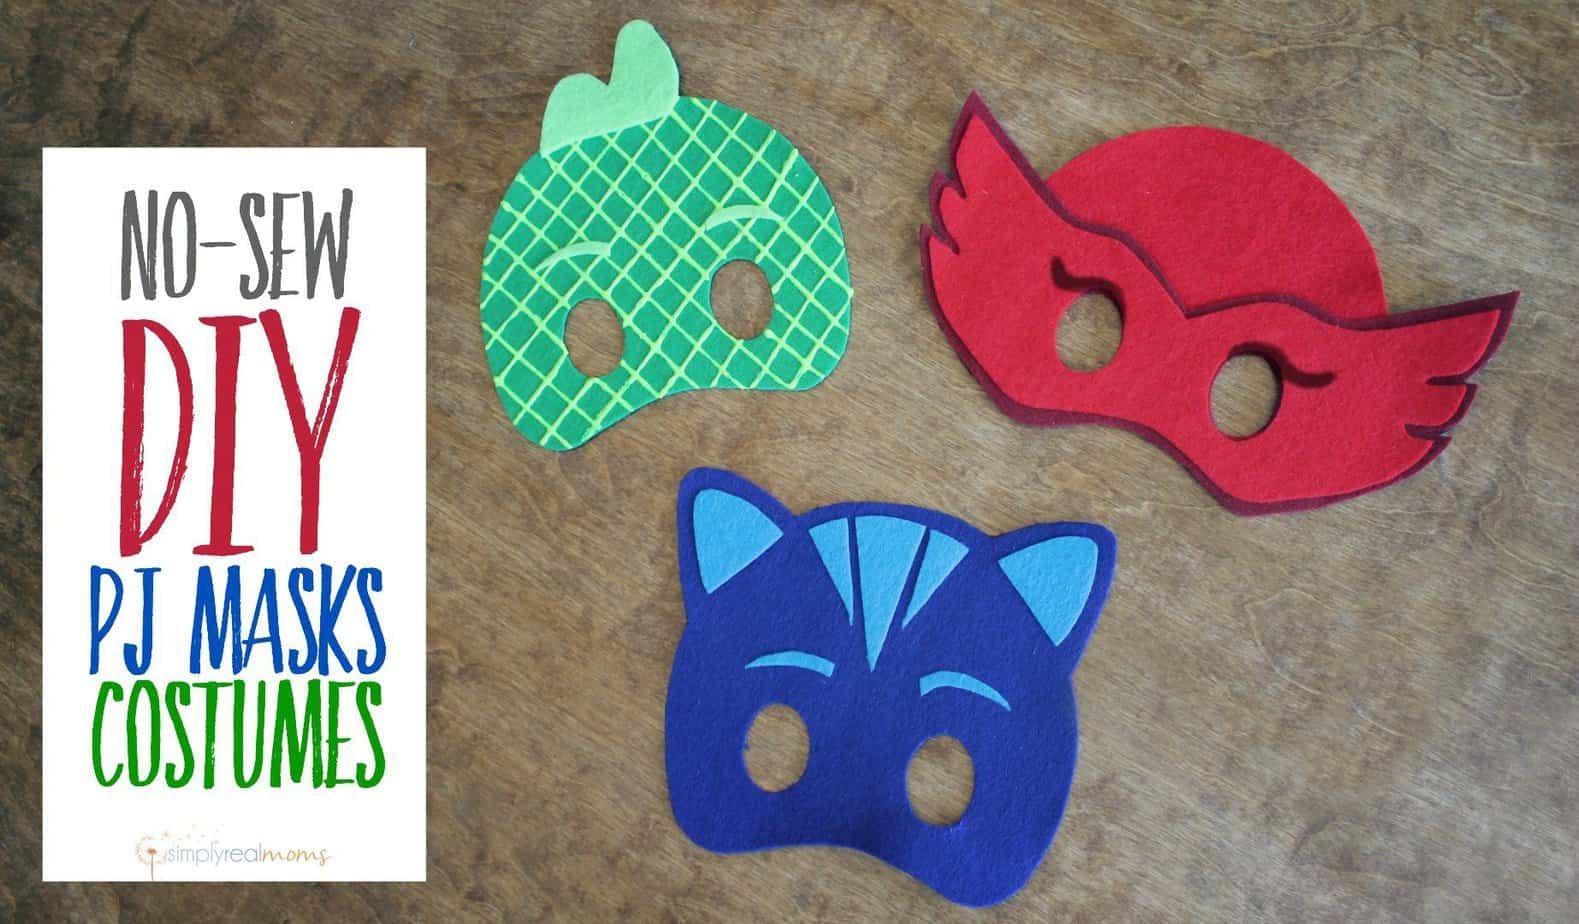
Are you desperately searching for a PJ Masks Halloween costume everywhere?! They are nowhere to be found and yet all of our kids seem to want to be one of the characters for Halloween, and so we are here to bring you a simple tutorial on how to make your own! You can refer to our post last week for tons of outfit ideas for each character, but we wanted to give you a simple DIY at home version so you can have these masks for nearly nothing each!
Getting started, here’s what you’ll need:
Felt
Soft Material (for backing)
Scissors
Templates (linked below)
Elastic
Light Green Puffy Paint
Fabric Glue OR Fusible Web/Heat n Bond
I bought pre-cut felt squares at JoAnn for $0.49 each, and I needed only one of each color. 1 dark blue and 1 light blue for Catboy, 1 dark green and 1 light green for Gekko and 1 light red and 1 dark red for Owlette. If you buy your felt by the yard, you would need only about 1/4 yard of each color.
For a softer backing, use an old t-shirt or an old baby blanket to make sure the felt doesn’t bother your little one and to add a little stability to your mask.

Start by cutting out each piece of your desired template. Trace the shapes onto the correct color felt if you are using fabric glue OR onto the backing of the fusible web or Heat n Bond. If you are using the webbing or Heat n Bond, iron it onto the felt following the product directions and then cut out the shapes.
For Gekko, create the scales using the puffy paint and make lines to create a diagonal grid pattern. If you’re really crafty you can get a little more fancy with this step!
Place the accent pieces of felt onto the correct positions on the main mask piece, and glue if using the fabric glue or if using the webbing or Heat n Bond, remove backing from the ironed felt, cover with a thin material and iron over to make the bond permanent. When you iron over Gekko with the puffy paint on it, be patient. Let it completely cool before trying to remove the material used to cover the felt or else the paint will be ruined.
Remove paper backing from the back of each mask and iron on your soft material. Make sure the material covers all areas of the back of the mask. Cut around the entire mask and cut out the eye holes to get rid of excess material.
Poke holes on the sides of each mask with your scissors. Insert a piece of elastic and tie a knot in the front, pull the elastic around and tie a knot on the other side. The length of your elastic will vary, but measure the elastic, ensuring it’s relatively snug in order to get the best fit.
And there you go! If you sew, feel free to sew details onto your mask!
For Templates, Click on the photo below of the mask you’d like to make. The link will take you to our templates for that character!
CATBOY OWLETTE
 GEKKO
GEKKO


Thanks for stopping by, and if you make these, make sure to share it with us or tag us on social media, we would LOVE to see your creations!
We were not compensated for mentioning Disney or PJ Masks, all opinions are ours.