Simply Made: DIY Farmhouse Style Sign
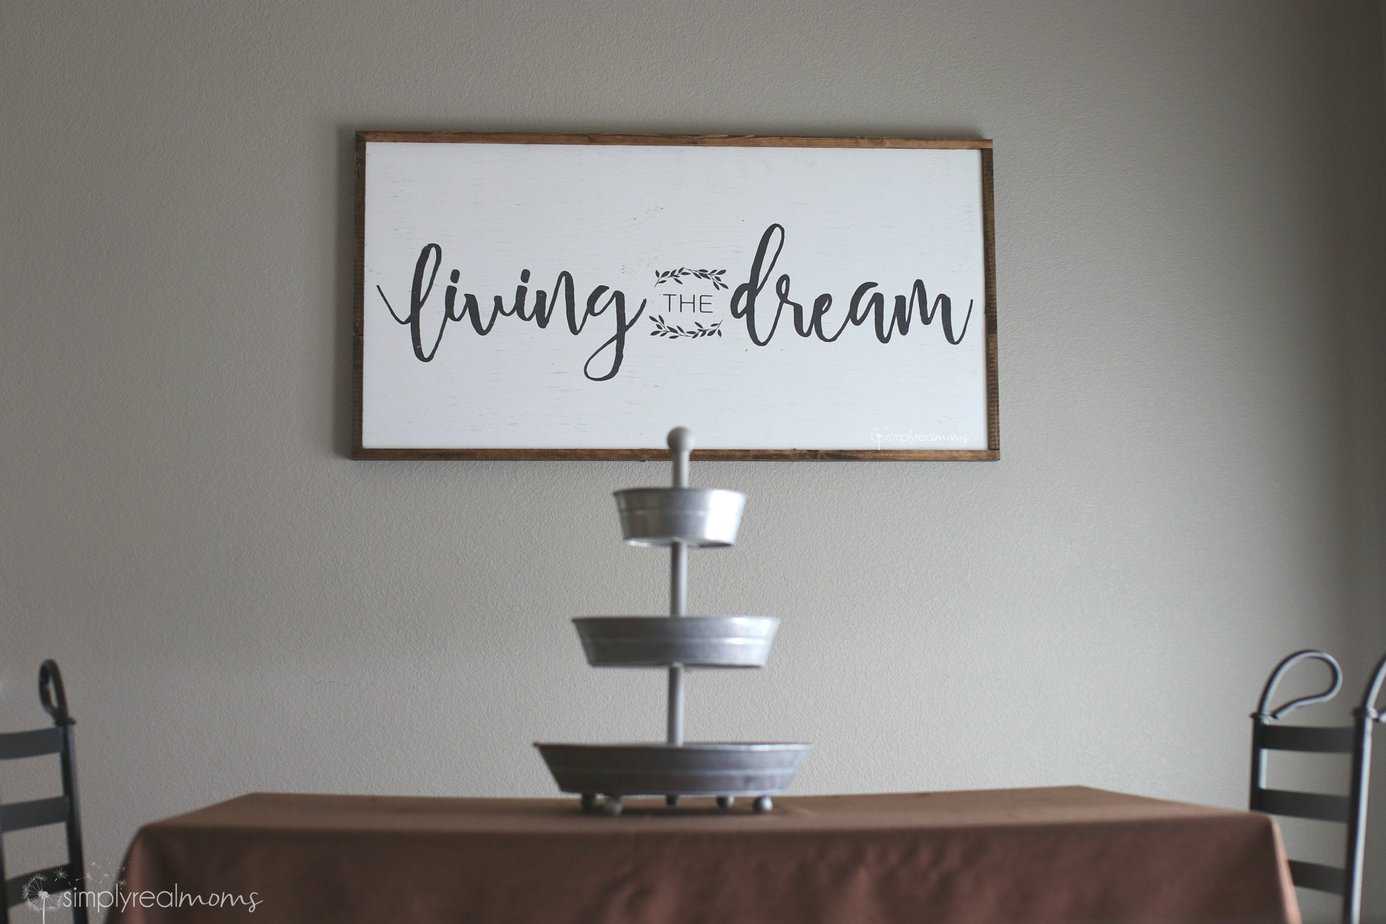
As I’ve been updating the decor in my home, I have had my eye on those stunning farmhouse signs with meaningful quotes or family names. I’m working on a giant one for my dining room, but before starting that one I wanted to have lots of practice on a smaller scale so I didn’t ruin a lot of wood. Turns out I didn’t need to practice it because it’s just so simple with gorgeous results! My first project was this 12×12 sign I made for a friend’s birthday. I’ve made a few different wooden signs using different methods, but this method was hands down the easiest.
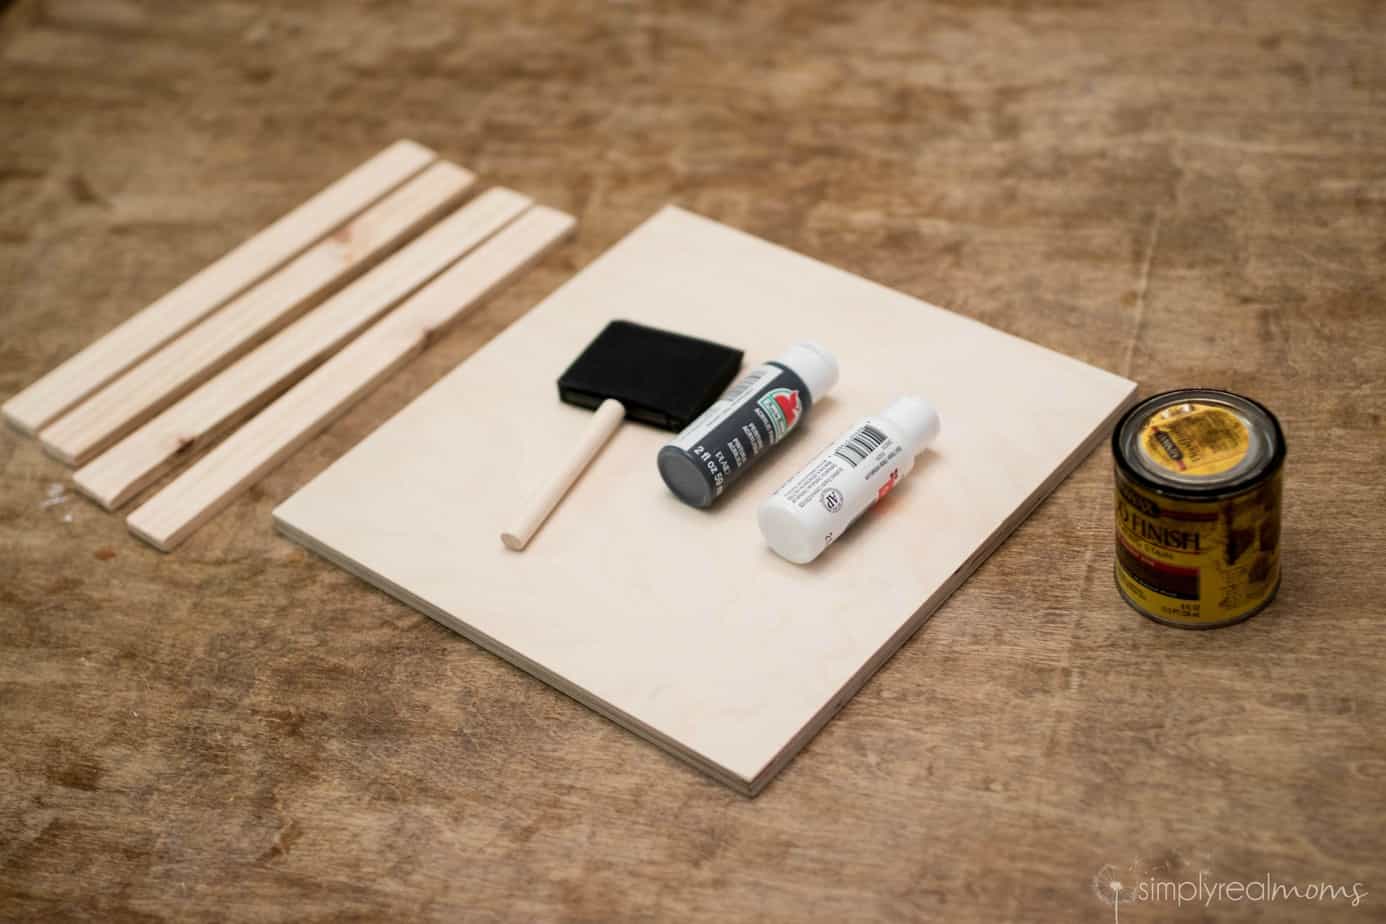 I started with a 12×12 piece of wood I found pre-cut at Michaels, 4 pieces of 1/2 inch wood strips, two 12 inches long and two 12.5 inches long, black paint, white paint, paint brushes & wood stain (I used Minwax Dark Walnut). If you need a different sized sign, most hardware stores will cut your wood to the size you need out of 1/2 inch plywood. You’ll want the wood strips to be solid wood with knots and wood grain in it.
 Paint your 12×12 square black & stain your wood strips. Let them all dry.
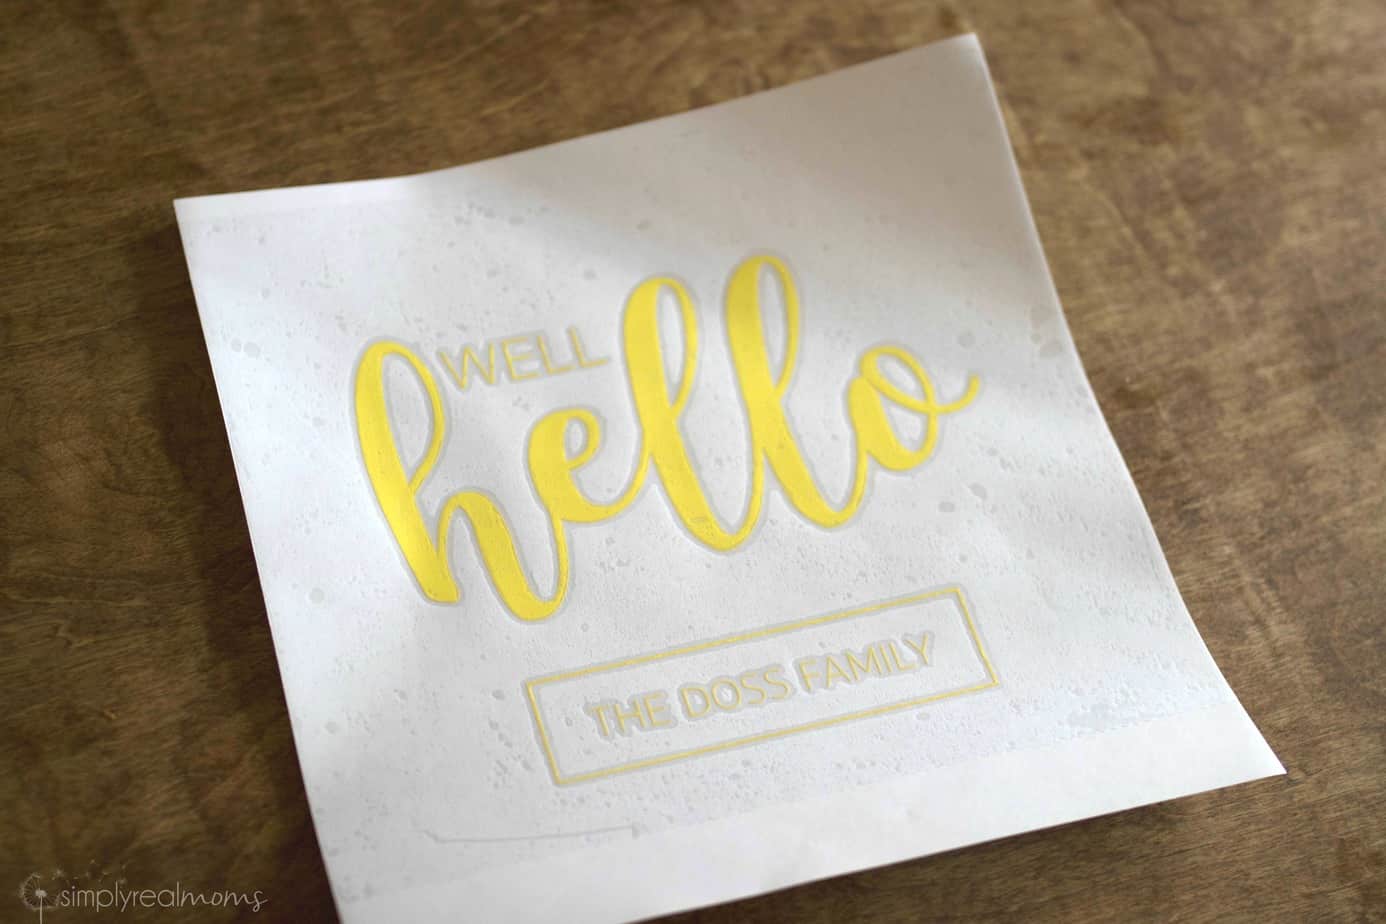 To make the design, I created my own using my Silhouette Cameo and cut it out in vinyl. This also works using those wall vinyl designs! Choose the one you like and just cut your wood to fit. The vinyl can be any color- you’ll be using it as just a reverse stencil.
 Place your vinyl design onto your wood where you want it to be
 Smooth out the design and then go over it with a credit card or scraping tool to smooth out any air bubbles and to press it onto the wood.
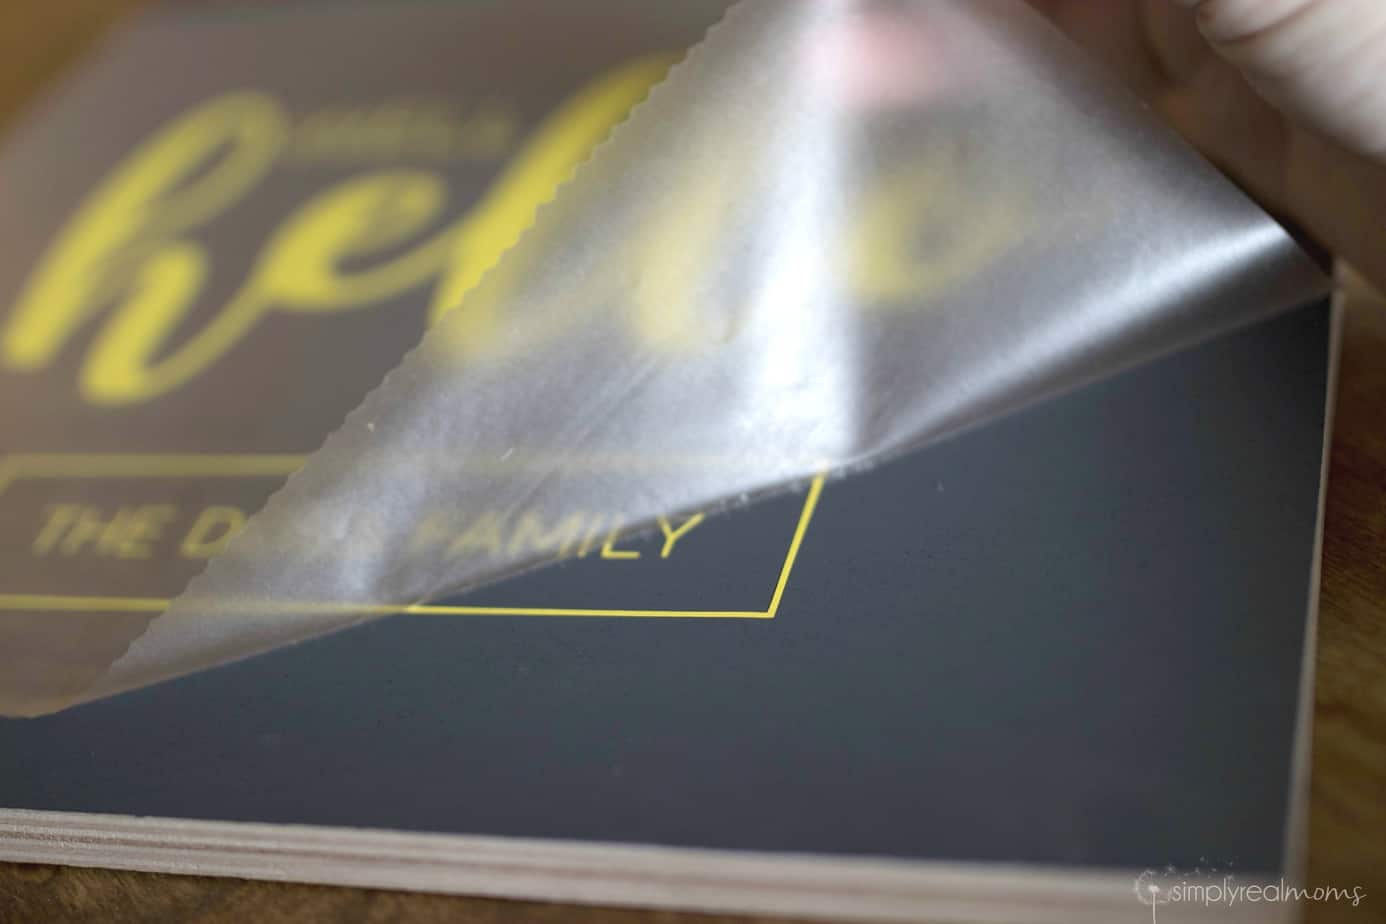 Peel off the transfer paper from the vinyl.
 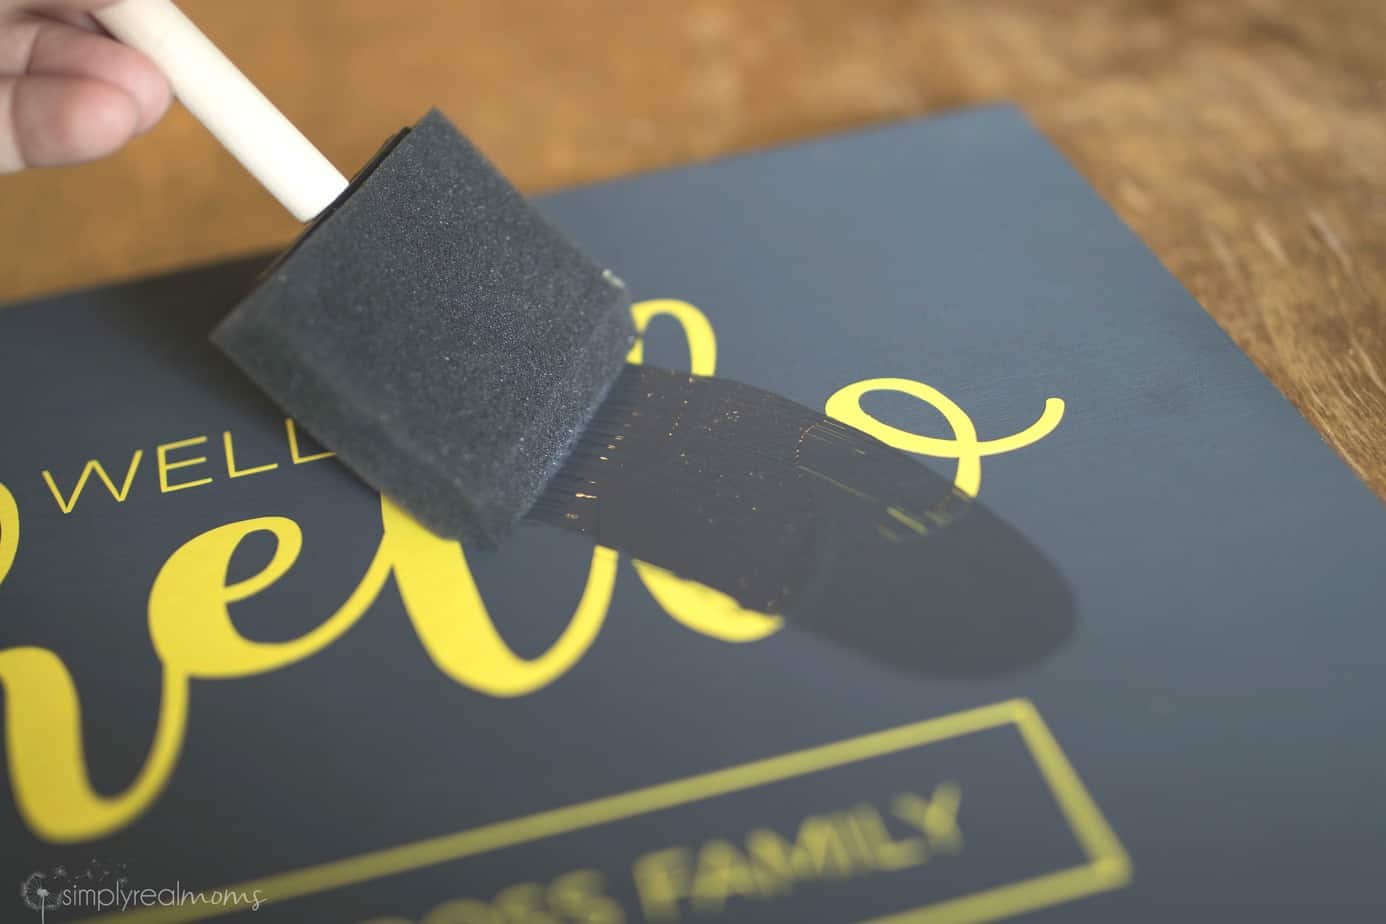 Paint over your vinyl design in black. This will help to create a seal over your design so that no white seeps through under the vinyl.
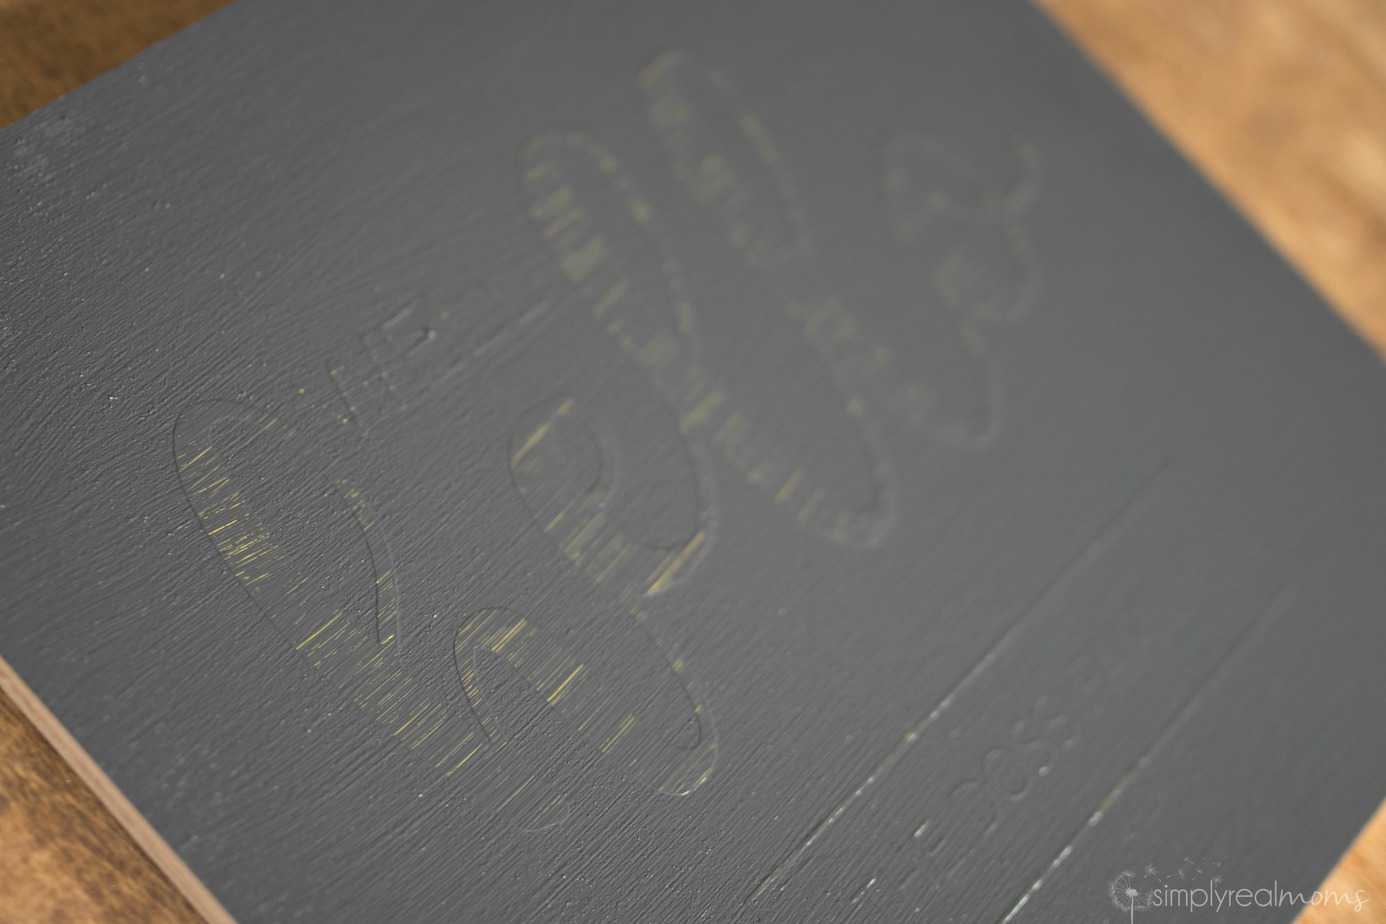 Let the black paint fully dry.
 Paint over the black paint in white. Let it dry and paint a second coat of white. Repeat one more time or until you get your desired shade of white.
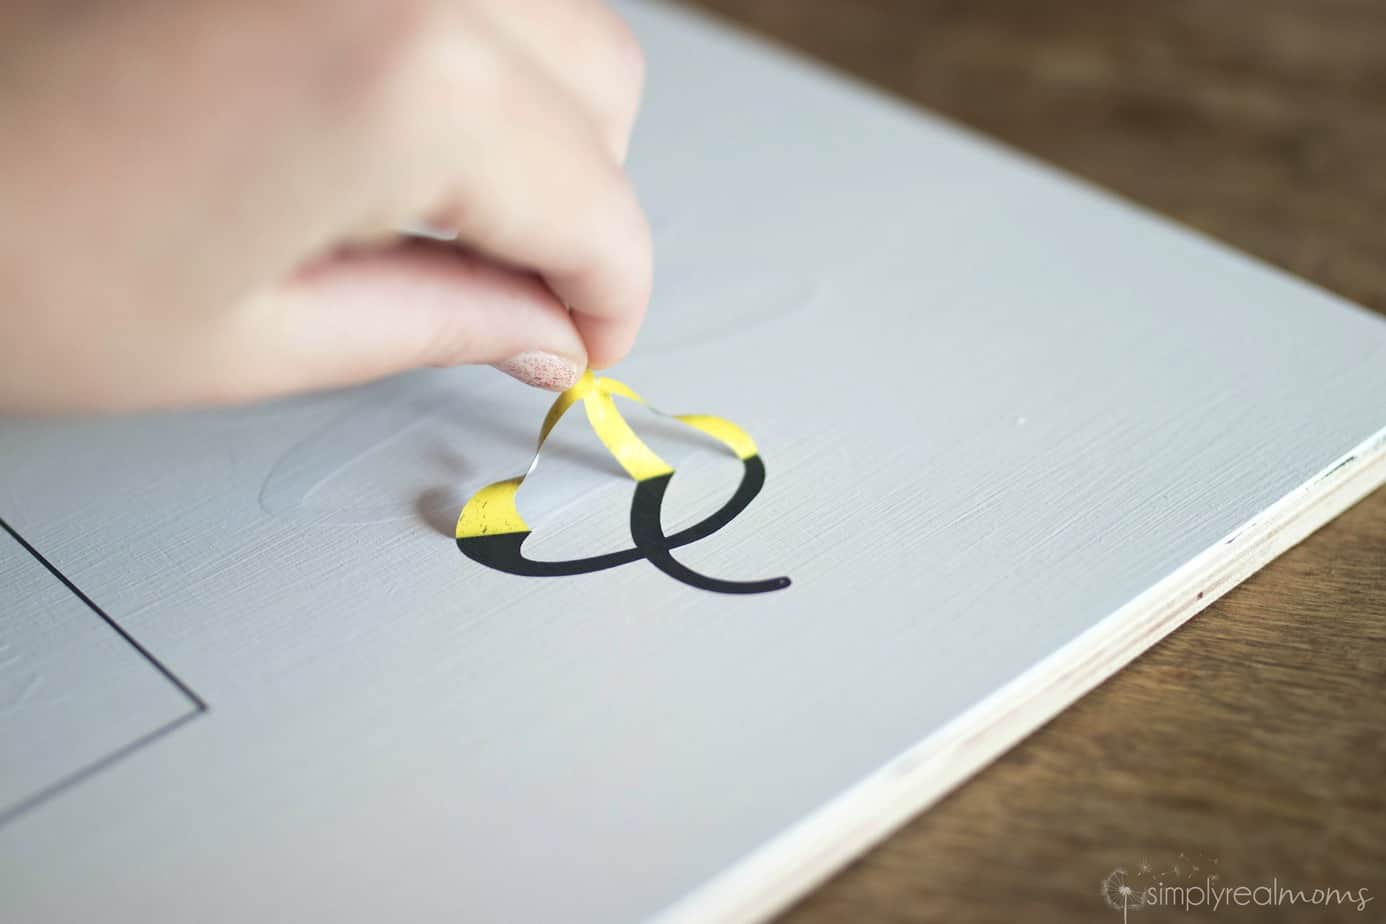 Let your sign dry overnight, then peel off the vinyl to reveal the gorgeous crisp design beneath.
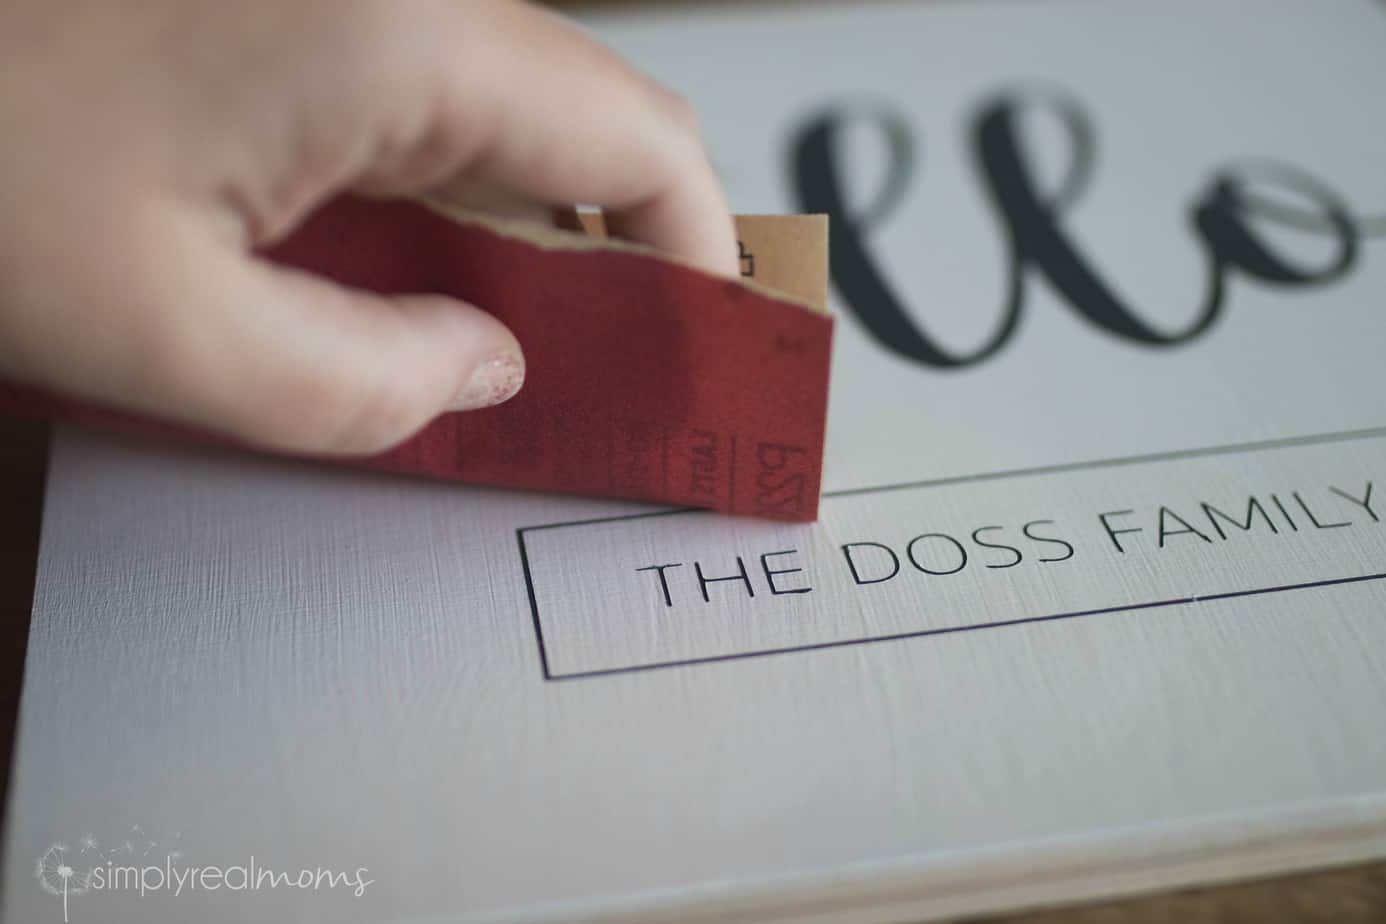 Go over your sign with a fine-grit sandpaper to smooth out the lines and your paint strokes. Wipe it down with a dry rag to clean off the excess dust. You can seal with a clear top coat if you want but it’s not necessary-I don’t.
 To finish the sign, use a light amount of wood glue on each edge. Place one of the 12 inch strips of stained wood over an edge and secure it using a nail gun, hammered nails or a staple gun. Repeat on the opposite edge. On the remaining two edges, use the 12.5 inch strips.
Voila! It’s ready to be hung in your gorgeous home!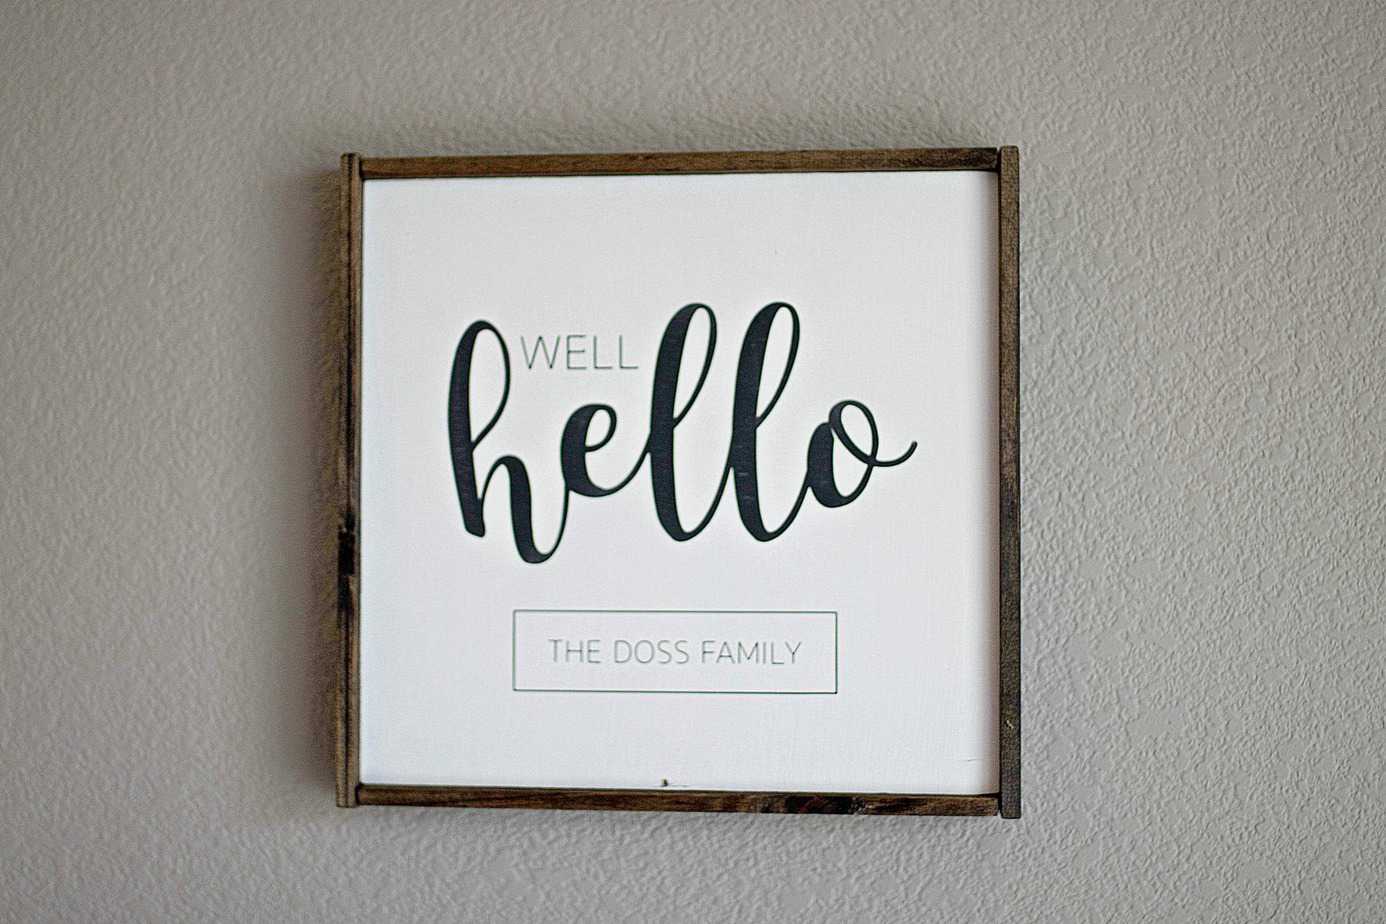
We think imitation is the BEST form of flattery! If you make this or any of my Simply Made projects, come by and post a picture of it on our Facebook page! We want to see!
See another method to make a wooden sign that uses no vinyl HERE: