Simply Made: DIY Large Dip Dye Wall Tapestry
Welcome to Emily’s Simply Made Series! Each post features a craft that looks cute or is practical but is easy enough for even the uncraftiest of people. Cute DIY things are NOT just for the pros! You can do it too!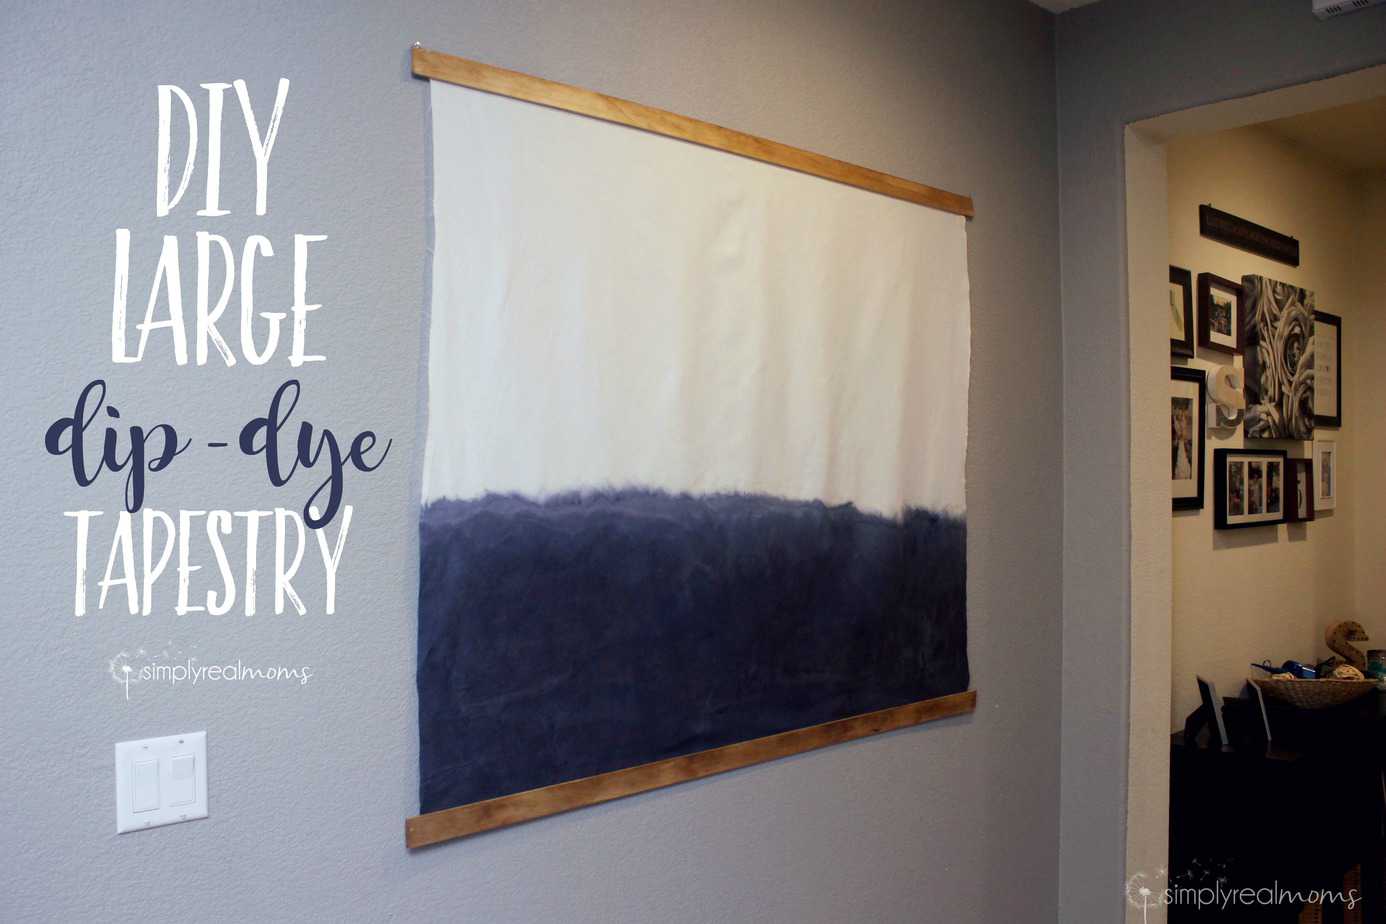 I’ve been in search of a large piece of art for my hallway wall. I’ve got pretty busy walls all around it and I wanted to have one big statement piece to break up all the smaller pieces of decor we’ve got.
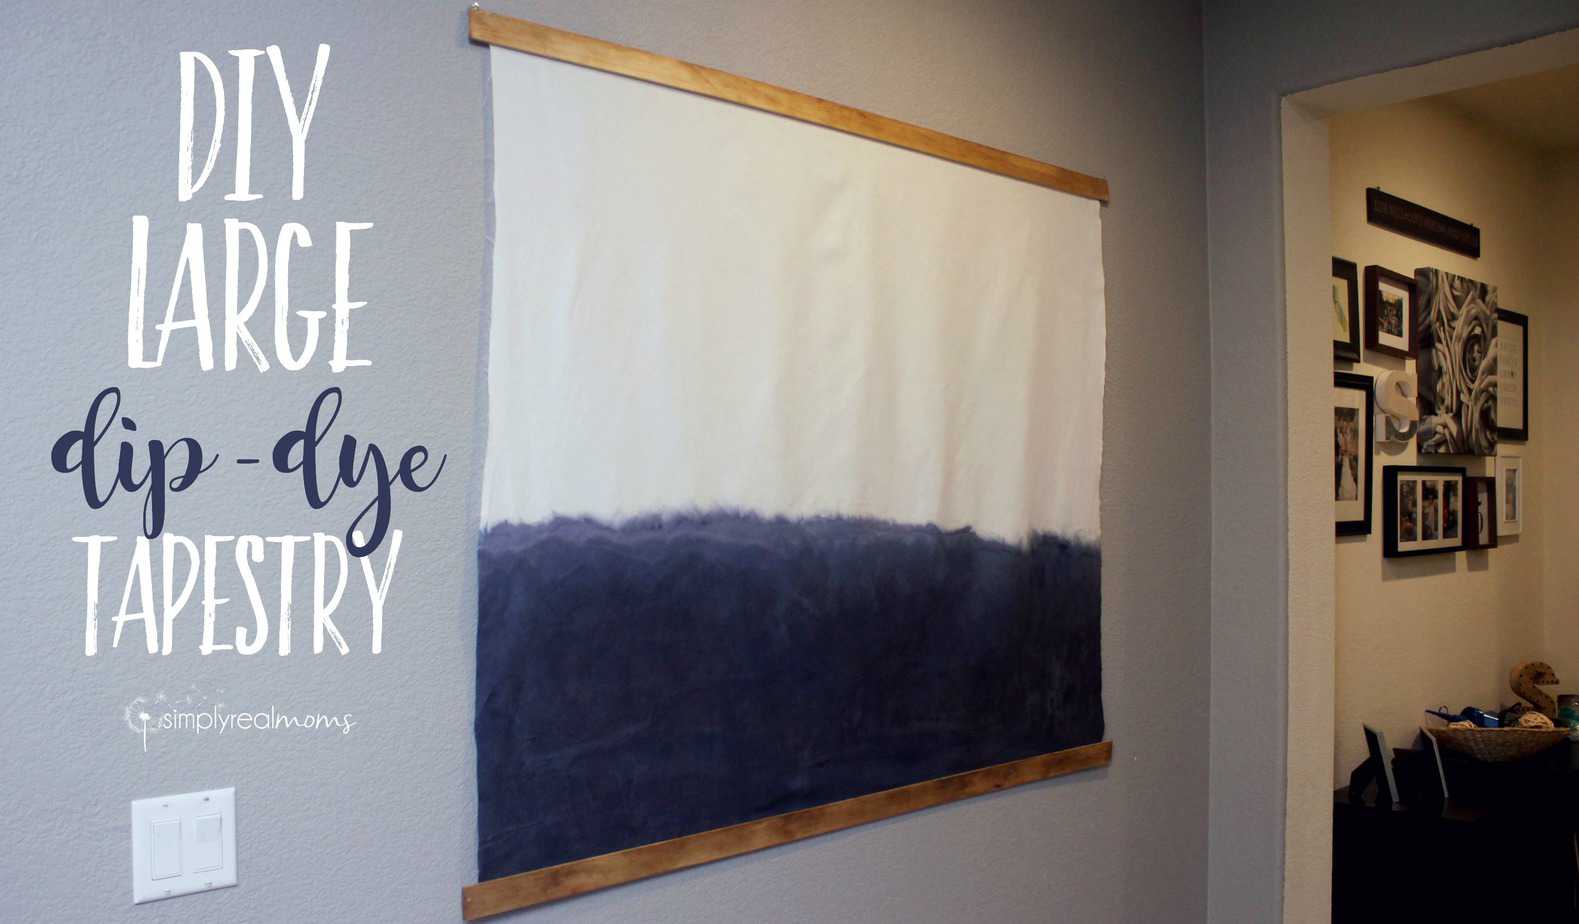
The big blank wall bothered me each time I sat in my living room looking at it, but MAN is art expensive. I’m not looking to spend a ton on what goes on my walls while I have 3 boys running around so I once again hit the road looking for DIY inspiration. I saw a t-shirt that was dyed with an ombre look and was hit with inspiration to make a large canvas piece of fabric dyed the same way and hung with a simple wood frame. Our home is full of white, grey, navy and wood accents so I decided on a white piece of canvas fabric that was cut 52″ long and navy fabric dye and framed with a nice medium tone wood.
I gathered the materials I needed. The canvas fabric was only $5 at the fabric store, I picked up: a bottle of Denim Blue Liquid Rit dye and a cheap paintbrush. I also used an old medicine syringe for applying the dye.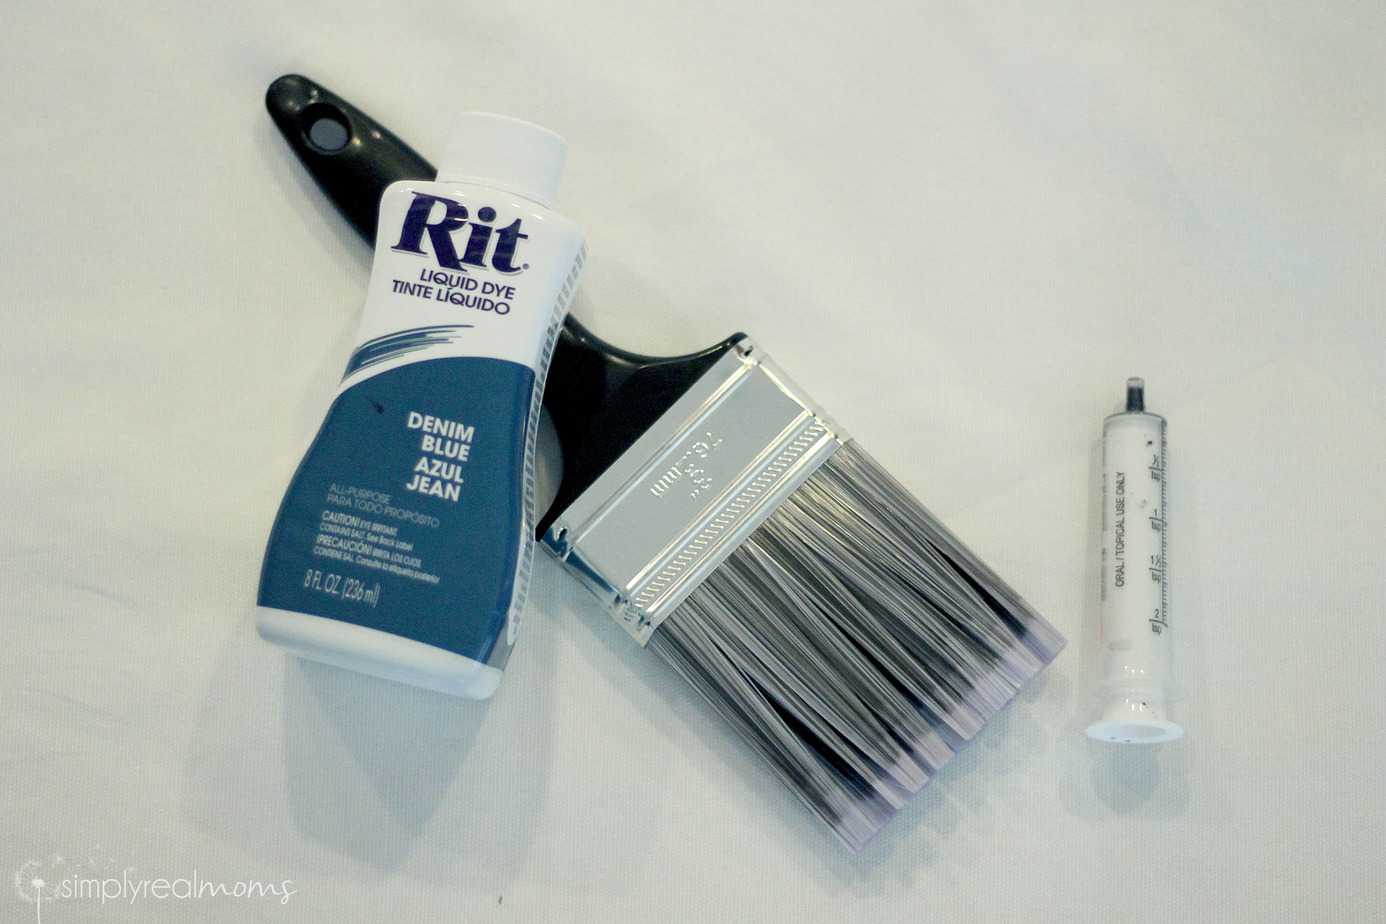 We got our wood at Home Depot in the molding/baseboard section. It’s the most basic boards that come in 10′ sections you cut yourself (they’ll do it for you too if you need), we cut one into two pieces, 55″ each. Once home, we stained the wood with my new favorite look-the dark walnut danish oil finish. I am in LOVE with this method of staining wood. The color is so rich and warm! We finished it off using finishing wax and buffed it with a rag after it was dry.
 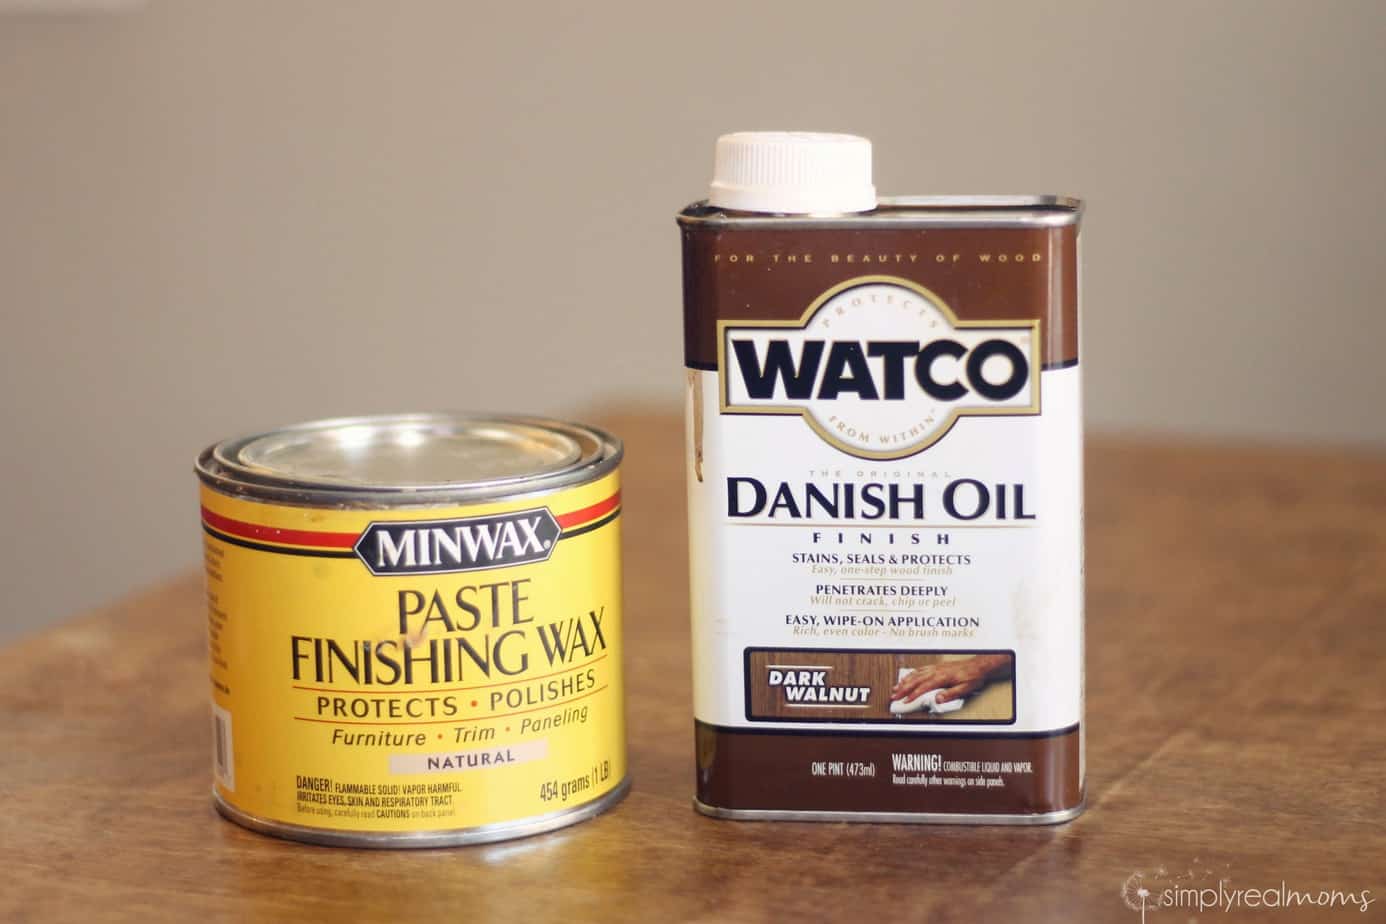 Then I began working on the “tapestry”. I covered my table with freezer paper to protect it from any dye that soaked through the fabric. I would recommend using freezer paper since it has a waxy barrier that acts as sort of a waterproof layer, but if you’re using newspaper or something similar make sure to use several layers.
You’ll also need a large bowl of water on hand.
Start by dipping your syringe into the bottle of dye and fill it with dye. Squirt it onto the canvas at the bottom and immediately brush it in an upward motion.  Dip your brush into the water and keep brushing over the dye until it gets the look you want. The more water you use, the lighter the color will be. Use more water the higher up you go to give it a more subtle ombre transition from the color to the white-I just wanted a definite line of dye.
 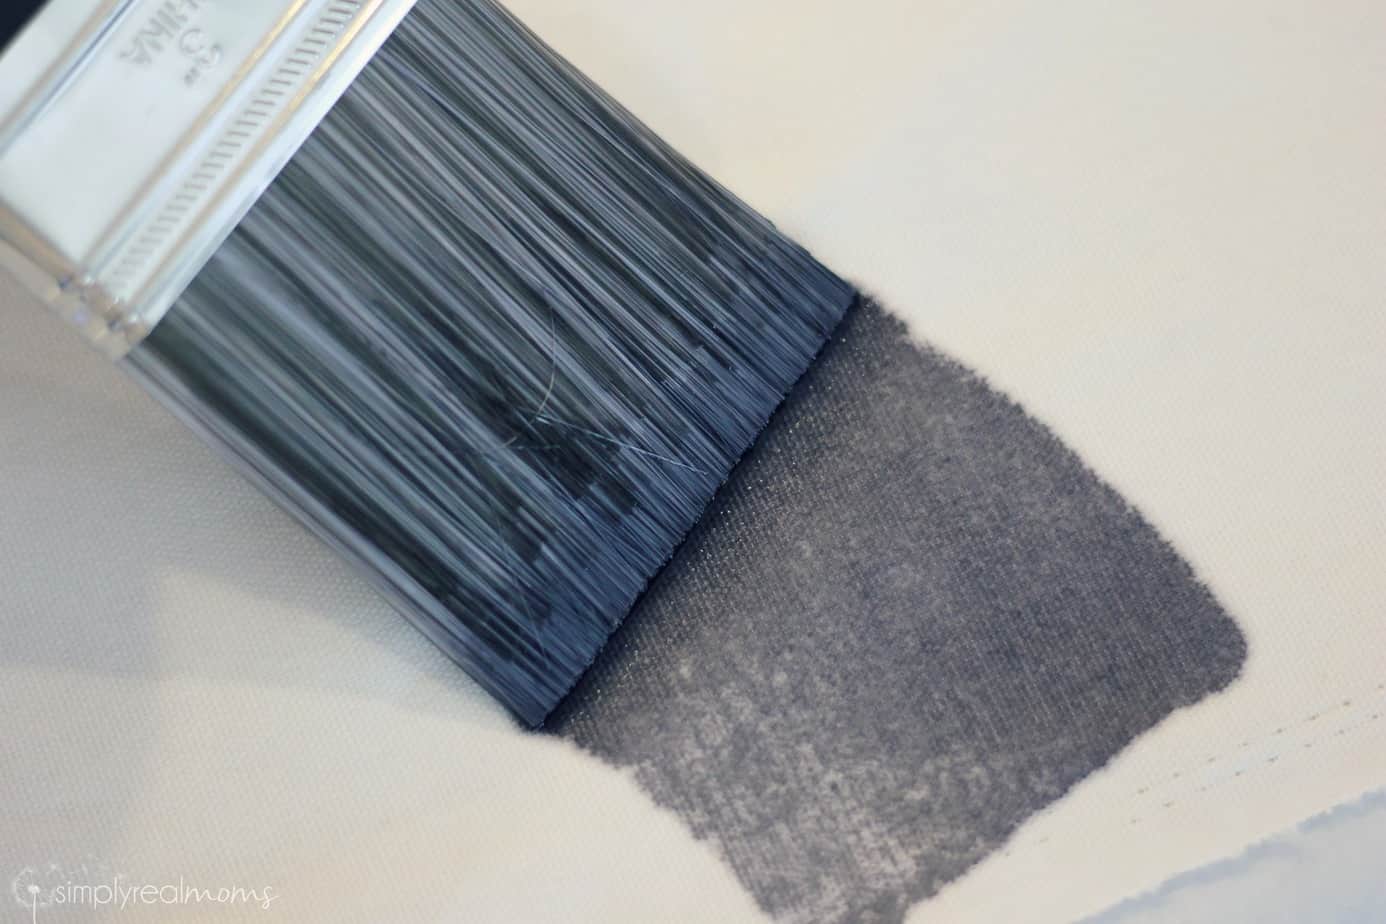 Repeat this until you have filled the bottom of your fabric up to the point you want it. Let it dry overnight.
Place your two boards upside down and squirt some Tacky Glue (or any other permanent adhesive that works on both wood and fabric) across the back of each piece of wood. Lay the fabric over the glue on the wood and press and rub over it. Let dry for a few hours.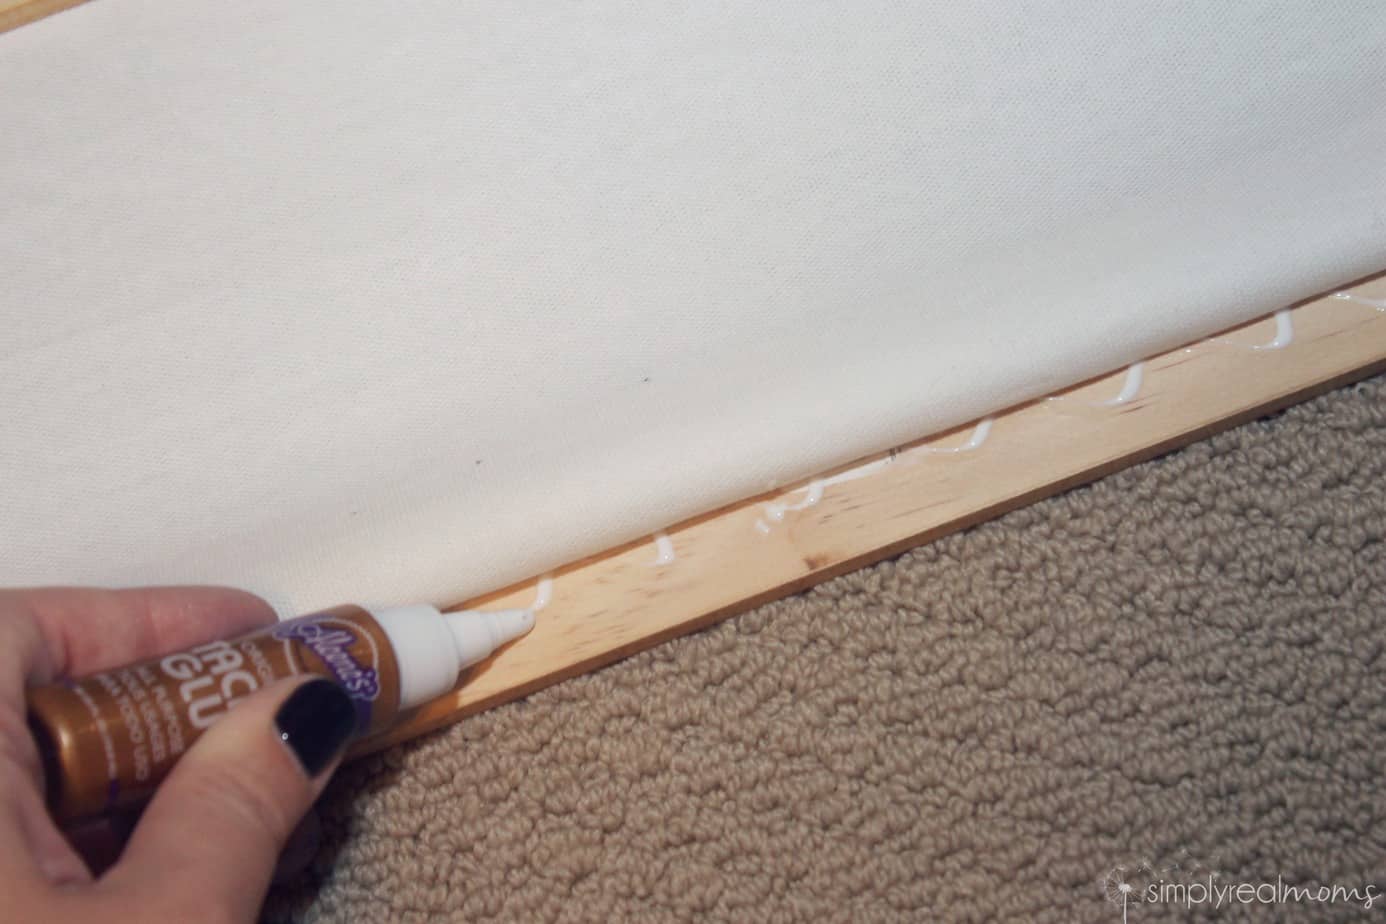 To hang, I added eye screws on the top of the top piece of wood on each end. These hang perfectly on regular house nails.
  Once it was finished and hung up I was so pleased! It really brings the house together with the colors and the wood matching our built in shelves next to it. This large piece cost me less than $20 to make and I love the way it finishes my hallway.
We think imitation is the BEST form of flattery! If you make this or any of my Simply Made projects, come by and post a picture of it on our Facebook page! We want to see!