Simply Made: Painted Mountains Wall Art

Welcome to Emily’s Simply Made Series! Each post features a craft that looks cute or is practical but is easy enough for even the uncraftiest of people. Cute DIY things are NOT just for the pros! You can do it too!
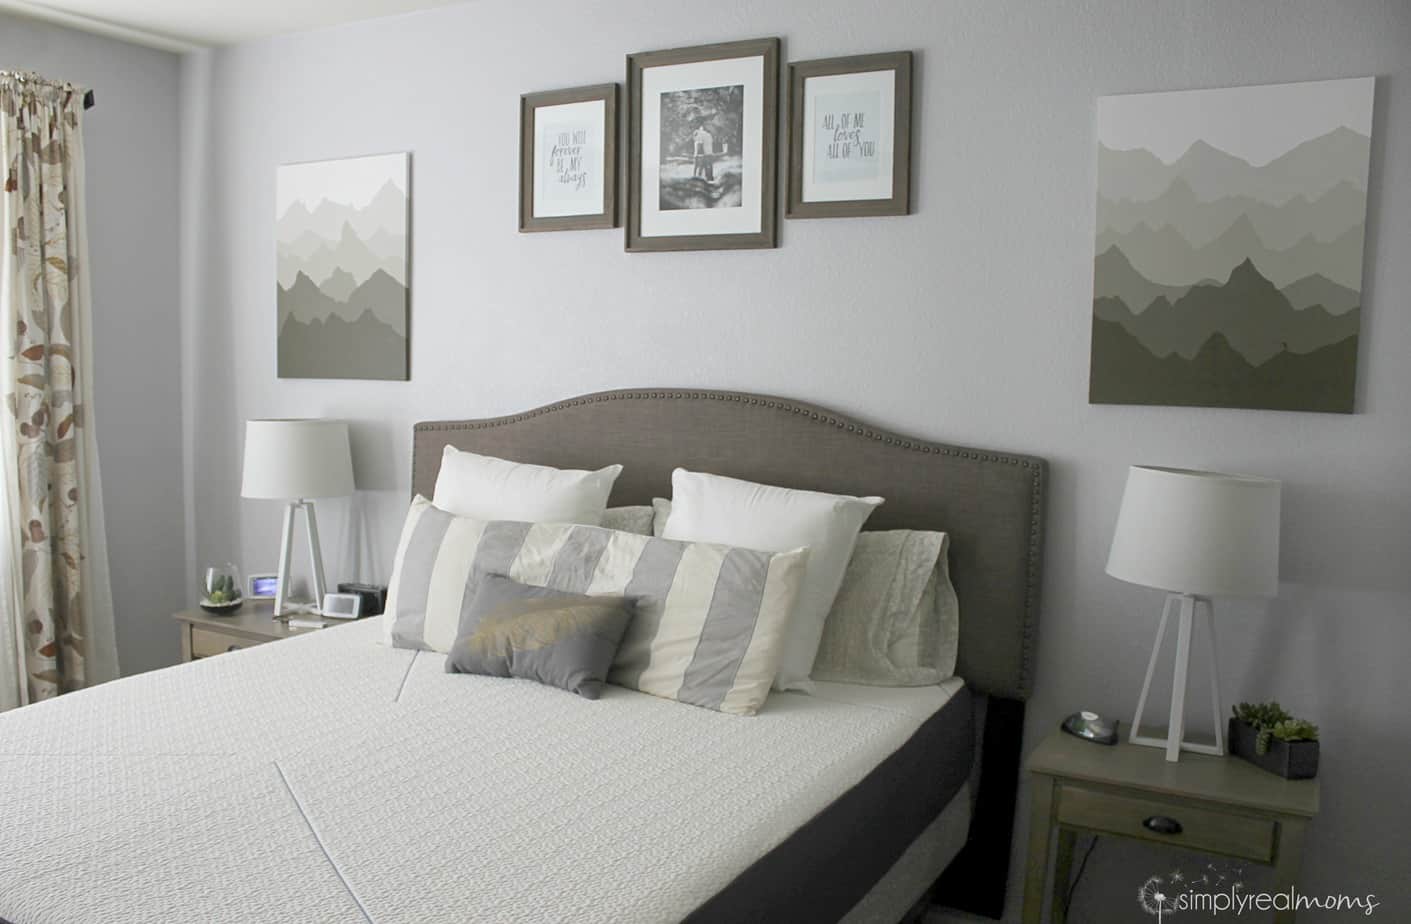
I recently redecorated my master bedroom. We moved in four years ago and had decorated all but our master because let’s face it-the master seems to always be left on the back burner, doesn’t it? Our room had just one wall painted and it was the most awful baby poop brown color. I hated the color and it finally got to me one day so I declared that it was time to make it our own. I wanted a room that I desired to be in-one that was a place of comfort and so I set out to make our master bedroom into a sanctuary of peaceful colors.
I love the new look in my room! I WANT to be in there! It’s done in neutral colors that my husband and I both loved and we used curtains we had bought at Ikea years ago as our color palate. Our walls are a grey with a blue tint, bedspread a pale blue, headboard is a dark grey, nightstands are a grey washed wood, we incorporated white throughout the room and used a lot of natural elements like succulents and wood frames and decor. It’s simple, which fits my husband and I ever so perfectly.
 One of the hurdles of decorating the room was finding simple art for the wall space above our lamps. I wanted it to have the natural element feel and to bring in some of the colors on the curtains that we hadn’t used yet-greens! I had a heck of a time searching. I looked online, in big box stores, small local shops, thrift stores, even grocery stores (I find some really amazing home decor in grocery stores!) but just didn’t ever feel drawn to anything.
At that point I did what I usually do when I can’t find something I like- I make something I like! I went and bought two large canvases at Michael’s when they were 50% off and waited for inspiration. It didn’t take long. While driving with the family, my husband and I saw a mountain range in the distance that seemed to fade away with each level of peaks. I was in awe of the beauty and knew that that was it!
I went to Home Depot and picked out a paint sample card of a range of greenish greys I thought would work and had them make me sample sizes of every color on the card. This is a great way to get the “ombre” look with paint without having to fade it yourself with white! The colors are all different shades of similar colors and make the perfect set for my vision.
 I bought six colors and planned on leaving the top level of my art white for a total of seven colors, but this would work with as little as three shades.
I started by making squiggly lines horizontally across my canvasses in light pencil. Some overlapped, some had many peaks while some had only a few…there was absolutely no method to the lines. Just scribbling.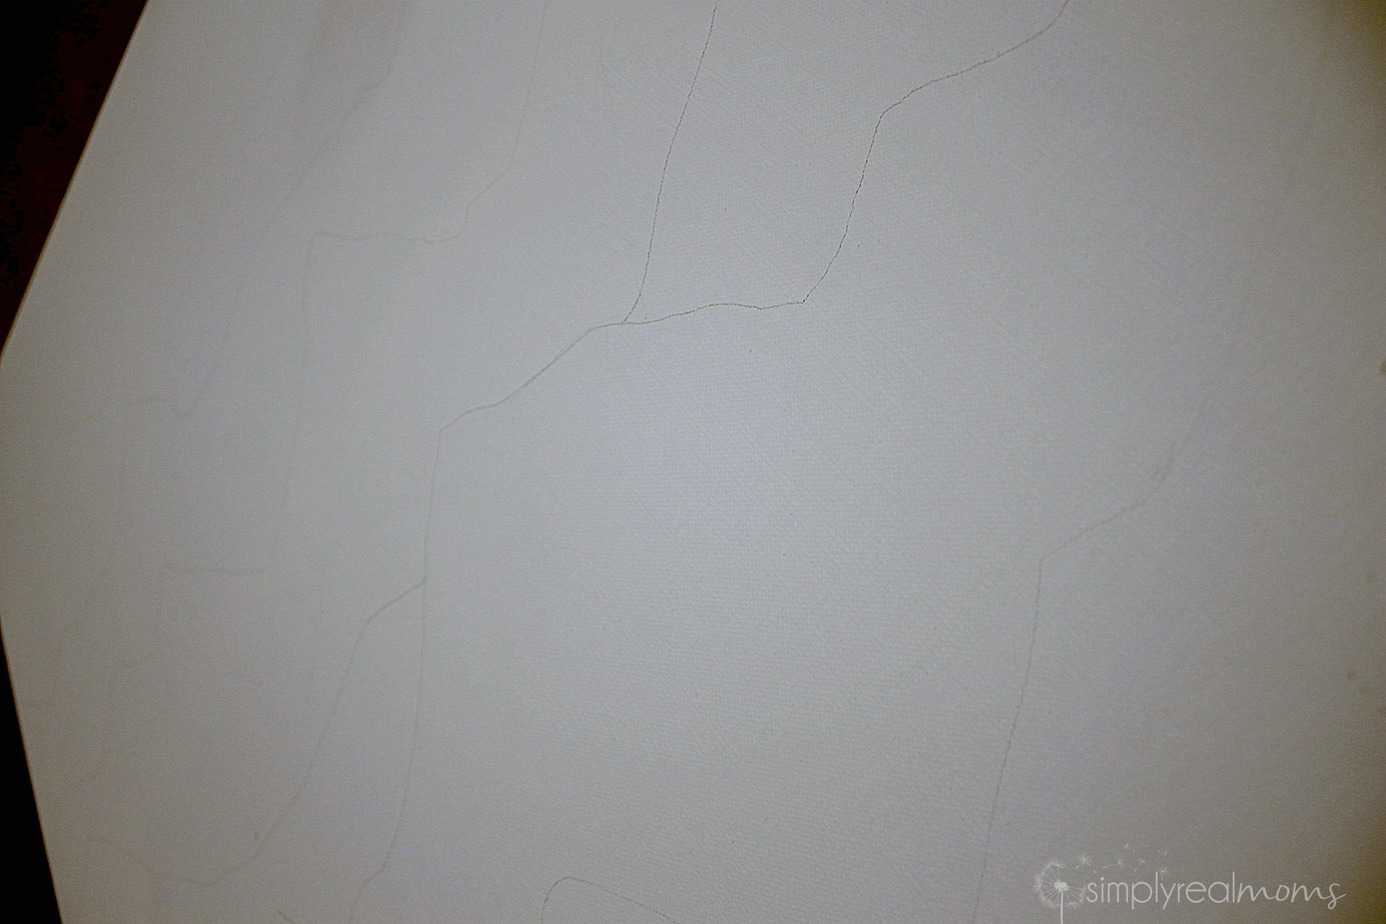 When I started painting I simply painted every other level to keep from mixing colors since I wanted crisp lines. I started with the darkest color on bottom and let the shades get lighter all the way up to the top. I first painted the first, third and fifth levels, let them dry and then did the second, fourth and sixth levels (the top I left with no paint). I went back over it again with a second coat of each color and with that coat I made sure to leave some spots thicker with brush stroke lines.
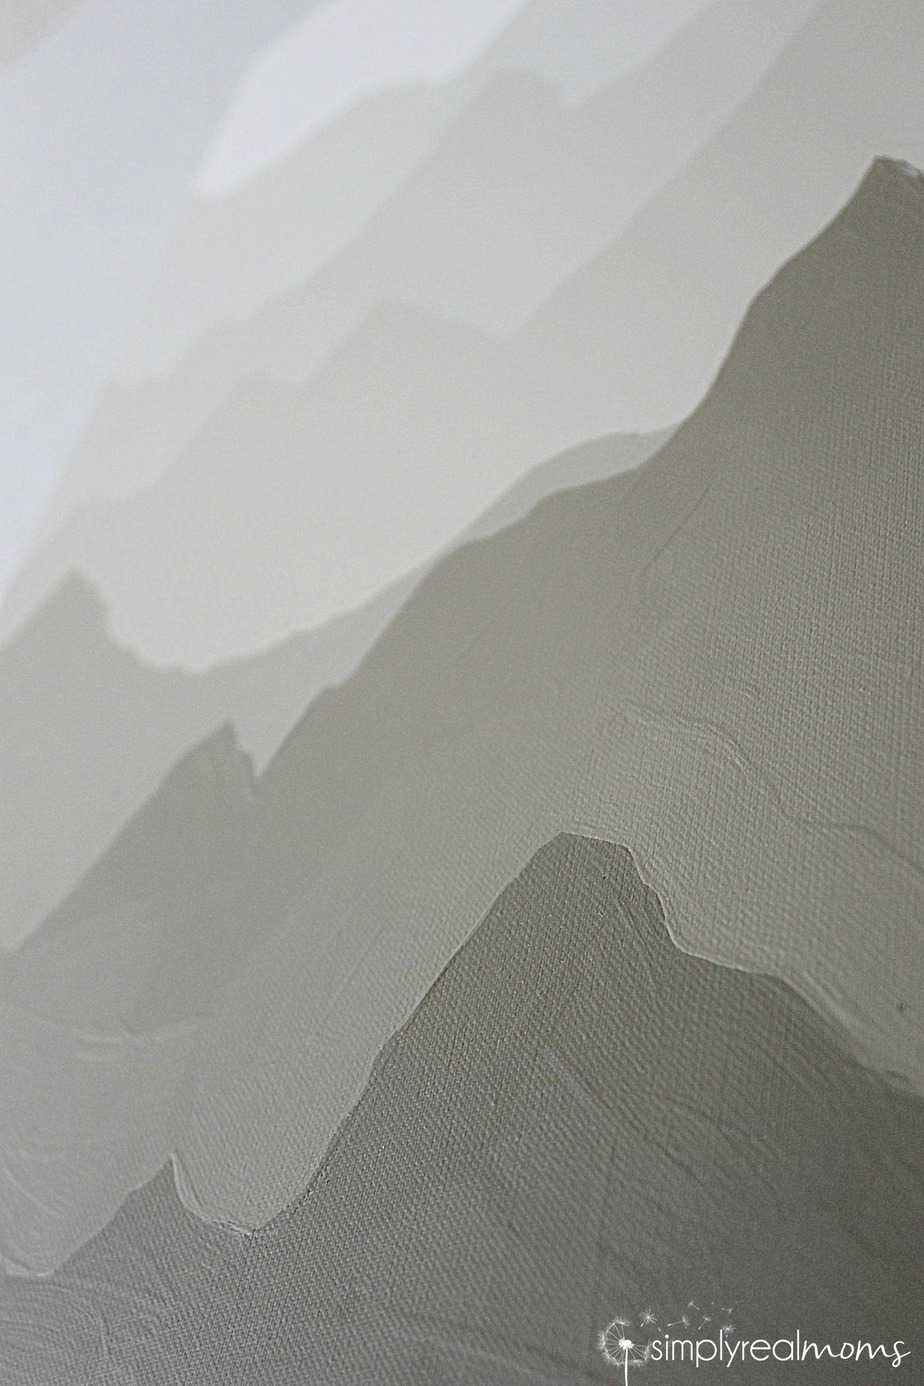 And there you have it! Custom made paintings that are pretty much paint by number! These are so impressive looking without a lot of effort which is my favorite kind of project! All said and done this cost me $24 for the two canvases and $18 for the paint, making the project $21 per canvas! A pretty good deal for two large custom paintings if you ask me. The best part? They’re EXACTLY what I wanted in my bedroom.
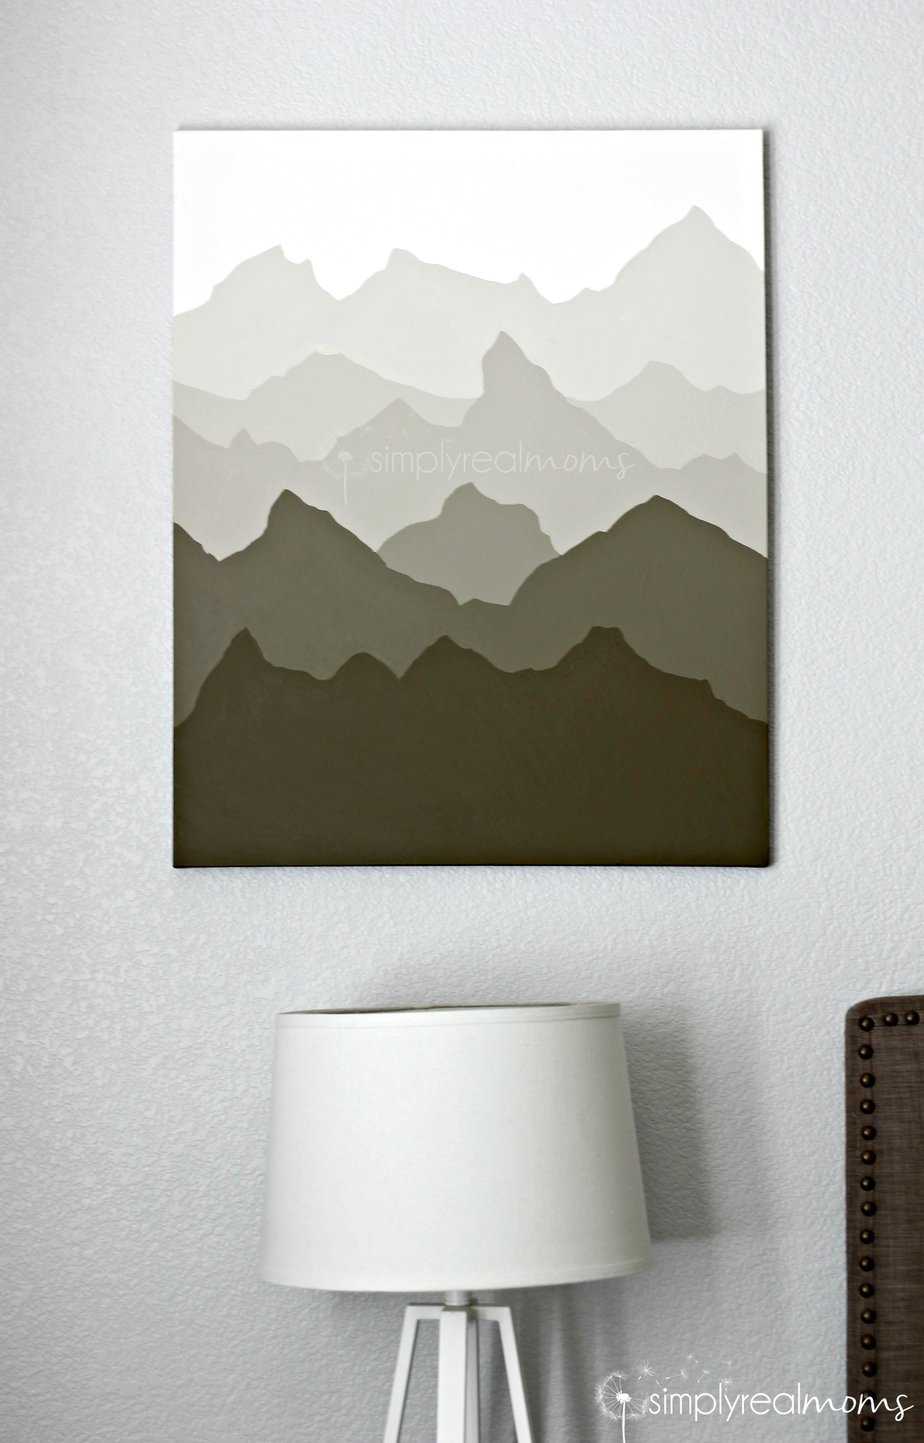
We think imitation is the BEST form of flattery! If you make this or any of my Simply Made Sunday projects, come by and post a picture of it on our Facebook page! We want to see!