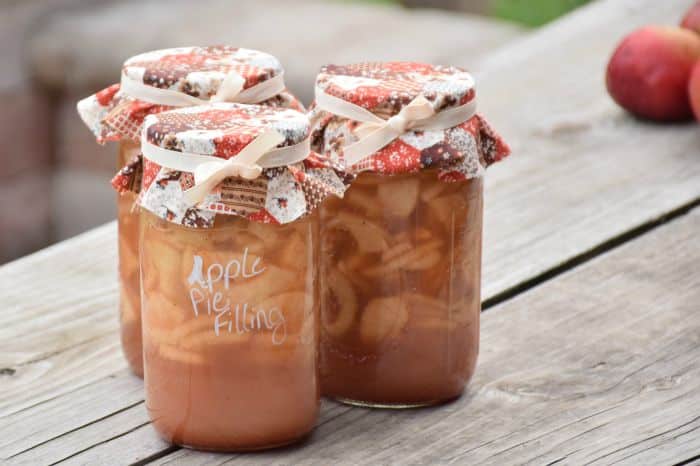
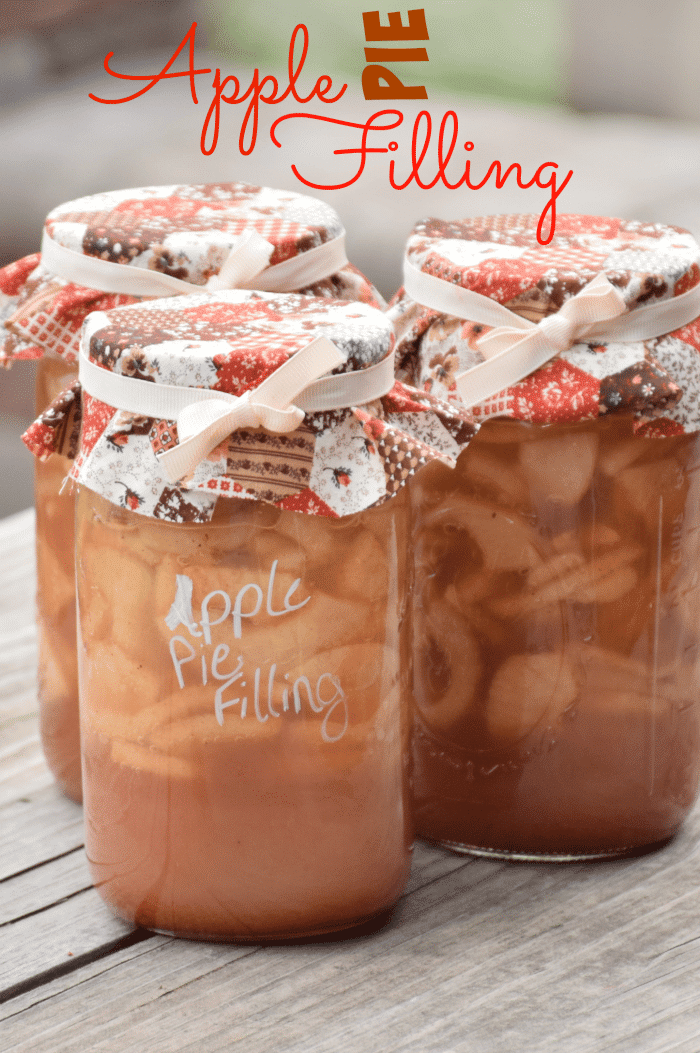
Homemade Apple Pie Filling to Can!
Apples! Apples! Apples! Ever read the cute children’s book titled 10 Apples up on Top? Kinda how I’ve felt lately. Trying to keep all my apples balanced. But at least I’ve gotten the applesauce and the apple pie filling canned! Yay!
Today I’m sharing how to make Homemade Apple Pie Filling to Can.
There’s nothing quite like a fresh apple pie and using pie filling from the store is just never the same. However, using your own home-canned pie filling is about as fresh tasting as it gets.
And let’s not forget convenient! I’m all about convenient as long as it’s still real food and healthy. I would say my homemade apple pie filling fits the bill!
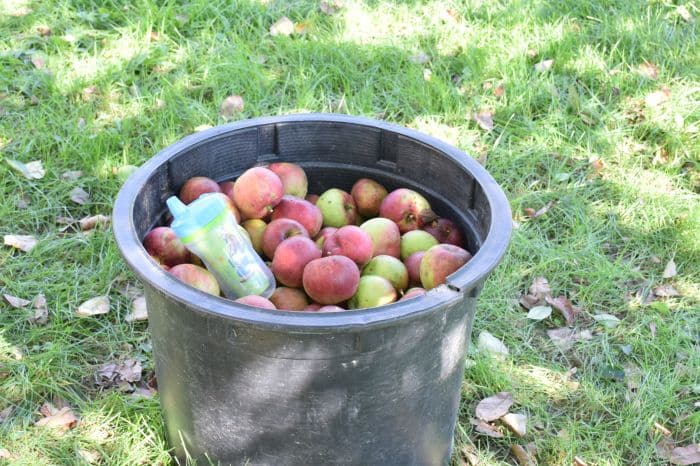
I started with apples right from the tree.

Jason’s aunt has a couple of fruit trees that he prunes and sprays (we use natural sprays rather than synthetic). This year went a little crazy on us and he only managed to spray once. Surprisingly there weren’t too many bugs, and even the black spot wasn’t too bad in spite of multiple missed treatments.
I went over one morning and we picked over twice the amount pictured below. Little helper picked up the drops and threw them in too. Along with his cup I can see. 😉
To be honest, the best way to make pie filling is to peel, core, and cut the apples into eighths. We had a full day and using my little Victorio apple peeler is very quick and easy. And you know what? It will still taste the same!


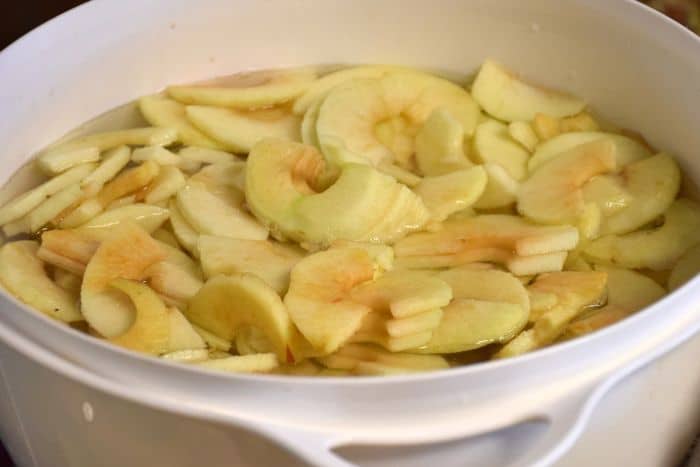
Once the apples were peeled, sliced and cored (all in a few turns of the handle!), we then removed any bad spots and remaining peel and cut the slices in half.
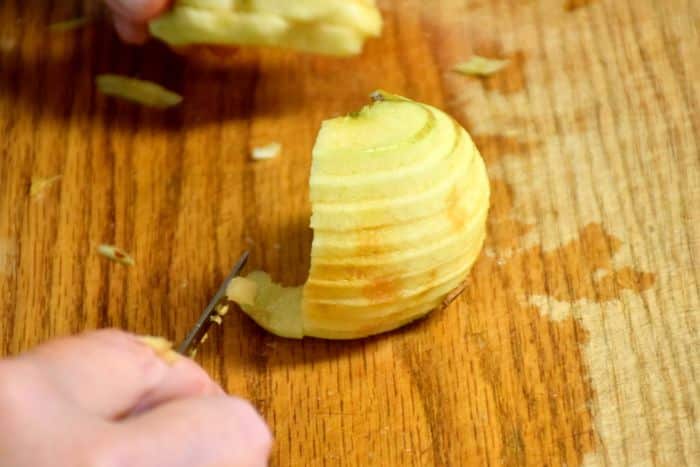
The halved slices went into a large bowl of water with a small amount of salt to prevent browning.
Because most canners will process 7 qt at a time, this recipe has been adjusted to make around 7 quarts.
- 30 cups of sliced apples
- 4 cups raw cane sugar
- 1¼ cup ClearJel® or Arrow Root Powder (to thicken)
- 1 tablespoon ground cinnamon
- 1 teaspoon ground nutmeg
- 4 cups unsweetened apple juice
- 2½ cups cold water
- 1 cup lemon juice (from concentrate is fine)
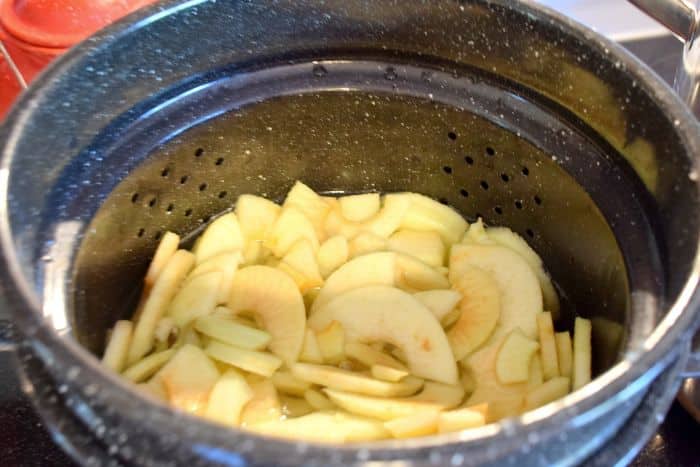
- Blanch apples for 1 minutes then remove from water and transfer into a pan that can be covered to keep the apples warm.
- Combine sugar, thickener, cinnamon and nutmeg together.
- Stir in apple juice, and water then bring to a boil, cooking until mixture thickens.
- Stir in lemon juice and continue cooking for another minute stirring constantly.
- Remove from heat and and fold the blanched apple slices into the mixture.
- Ladle the hot mixture into qt jars, being sure to leave a good 1" headspace.
- Clean the rim and apply lids and rings.
- Process in a hot water bath canner for 25 minutes.
Making the “filling” part requires quite a bit of stirring while waiting for it to thicken, I had problems with leaving the pan to work on something else and the bottom nearly scorched several times.
As you fold the apples into the filling, be sure to mix it well. The slices want to rise to the top and if you are filling jars like that, you will get to the bottom and there will be the “filling” and no apples.
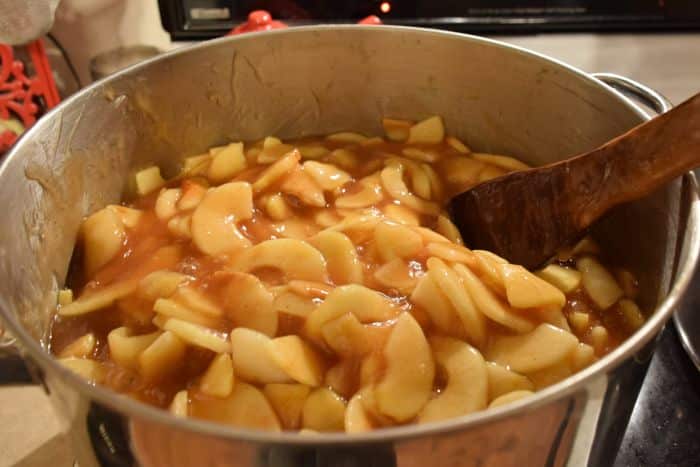
Isn’t it lovely?!!
Fill your jars, leaving 1″ headroom at the top. If you fill your jars too full they will bubble over and make a huge mess, potentially leaving them unsealed.
Process using a hot water bath canner for 25 minutes. If you are unfamiliar with hot water bath canning, you may enjoy my book Food Preservation Made Simple where I simplify canning, dehydration and freezing.
