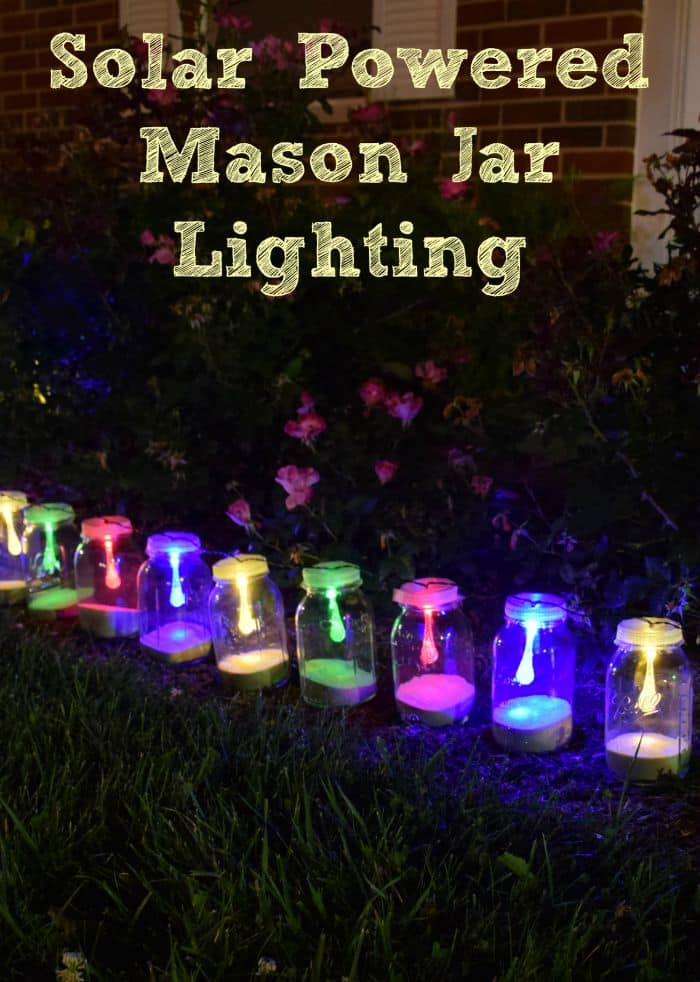
Mason Jar Lights for Fall

With fall coming on, for some reason I got it into my head that I wanted some “warm” outdoor lighting. I knew I wanted to make Mason Jar Lights but wasn’t quite sure how to go about it.
Candles seemed neat but also very short-term. That’s when I got the idea to use string lights. It was perfect timing when a company asked me to review their solar-powered string lights on Amazon.
I immediately knew I would use them, but had to figure out how to create my lights in a way that they would be nice for several weeks instead of just a few days. It took me a few times to get it right, but they are out there and glowing beautifully every night now!
How to Make Mason Jar Lights
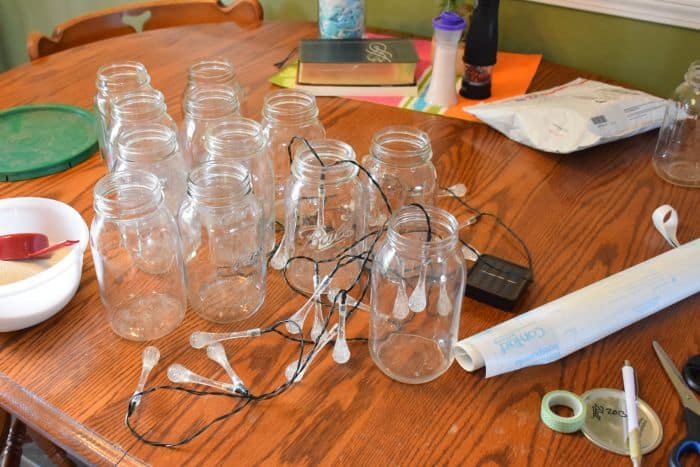
You will need:
- String lighting: These fairy lights are perfect.
- Narrow/Regular Mouth Mason Jars
- Sand
- Clear Contact Paper
- Washi Tape or Canning Rings
- Hot Glue
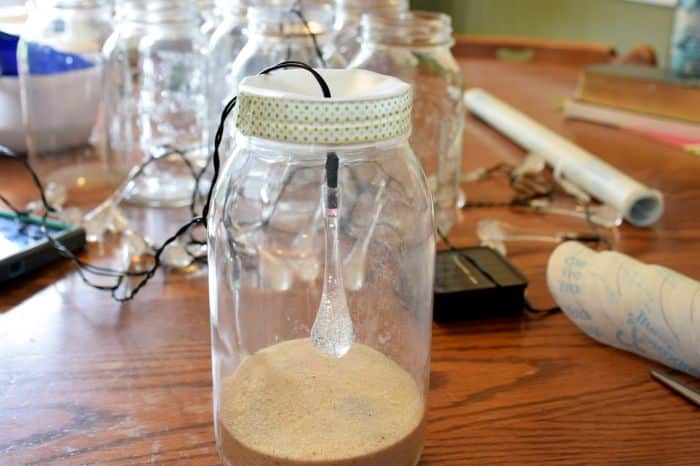
Start by pouring 1/2 to 1 cup of sand into the bottom of your jars. This will help weigh them down a little more, and white sand is best as it will reflect the lights.
Next, use a wide mouth jar lid and trace it onto the back of your contact paper. If you don’t have a lid, trace the bottom of your jar. Do not crowd your circles when tracing because you aren’t going to cut them out on the line.
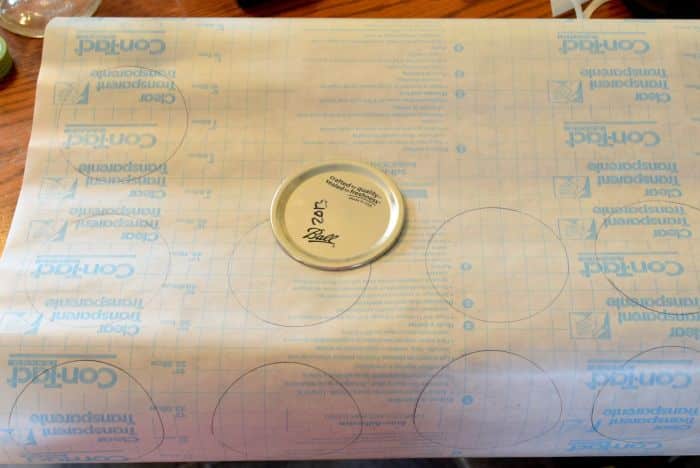
Once you have your circles traced, it’s time to cut. I cut around my circles, leaving at least 1/2 inch along the edge. They need to be considerably larger than the opening of your jar so they can wrap down around the edges.

Next fold the circle into quarters and use the lines to make a single cut to the center of the circle. Peel the backing off and insert the light right into the center.
I pulled the cut edges back together and overlapped them a small amount before placing it onto the rim with the sticky side down.
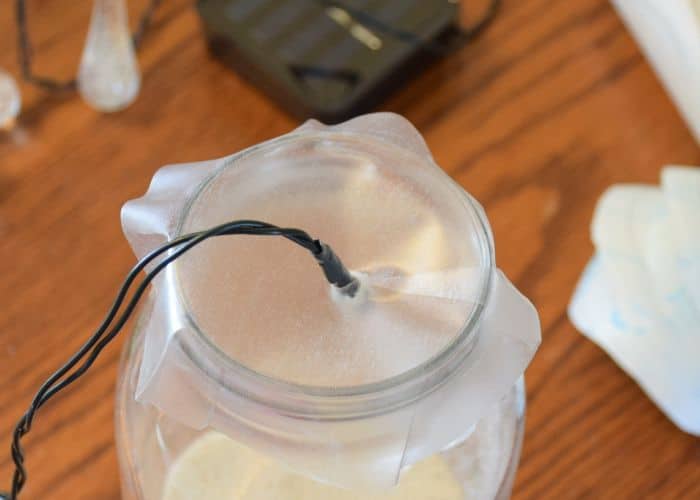
Because I was in a hurry, sometimes the light ended up a little off-center. It didn’t seem to matter though once they were lit.
If you are using the canning rings to hold the contact paper down, you will need to place the ring around your light before wrapping the contact paper around it. Then you will simply screw the ring down over the contact paper. You don’t want your wires being pinched by the ring.
If you are using washi tape, press the edges of the contact paper down very firmly, then tightly wrap washi tape around the outside of the rim. Use your fingers to smooth and press into place.
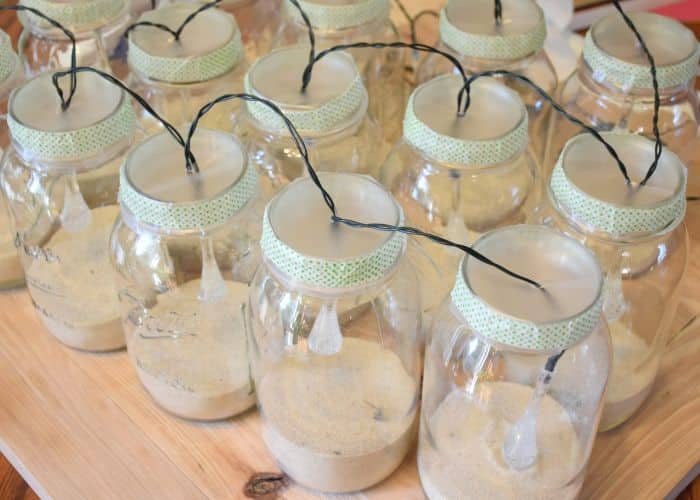
Continue adding the lights until all lights have been properly “canned. 😉
Even though the lights on this string are placed further apart than many light strings are, they were still a little close together. This means moving them as an entire unit and not one at a time.
Now it’s time for the glue gun. If you don’t get any rain in the fall, or don’t plan on placing these out in the weather, you may skip this step. If rain is a possibility while you have your lights out, this step is what keeps the insides dry.
Two days after putting my mason jar lights out, it rain HARD. It was very clear which ones I had sealed off and which ones I hadn’t quite done as good a job on. Those have a lot of water in them. 🙁
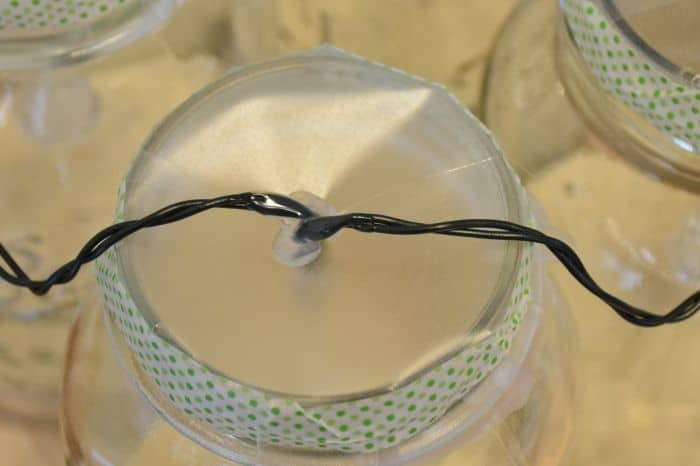
Use the hot glue gun to seal off the small hole in the contact paper around the wiring.

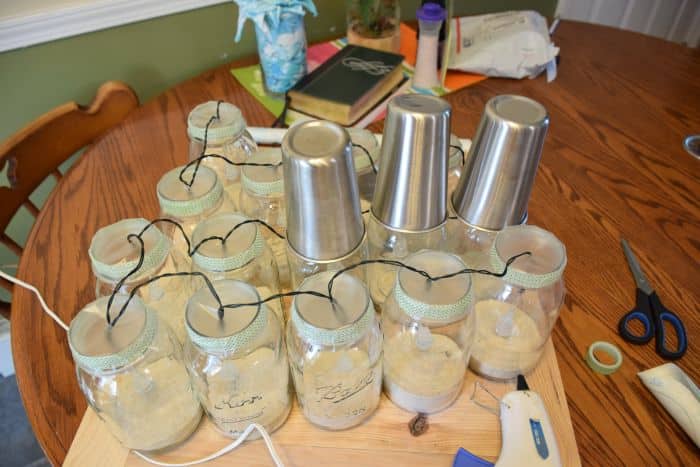
Because I wanted the glue to set with the wires going across instead of up, I would glue then place a cup over the top of the jar. It worked like a charm. 🙂
This was a really fun project and I love the results, however I cannot tell you how long it took me to complete. Sorry. I had a busy little boy who constantly needed “rescuing” and took lots of photos along the way.
My total time was over 2 hrs. In all honesty, it probably would’ve taken less than an hour without those distractions. 🙂
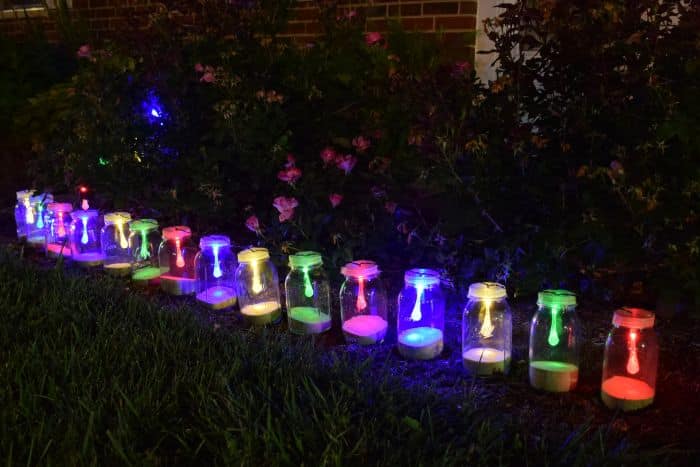
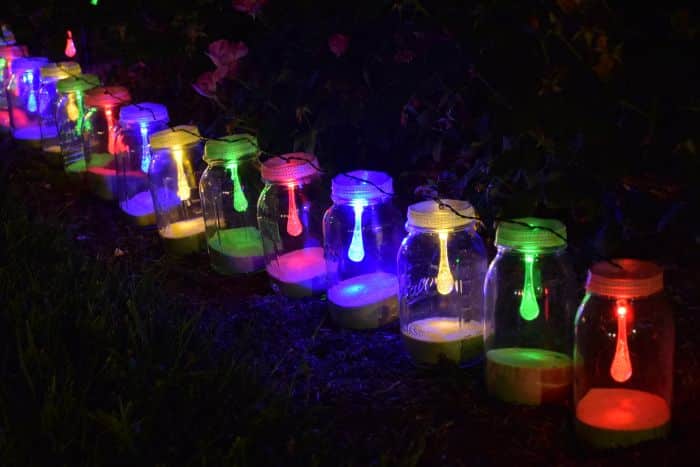
They are so bright and pretty out in front of our rose bushes at night. The lights are warm and welcoming. I especially love how the white sand reflects the color of the lights. So pretty.
If you want the solar lights that I used, you can easily find them here on Amazon. Be sure to check out the other styles too as tear-drop isn’t the only design they have.