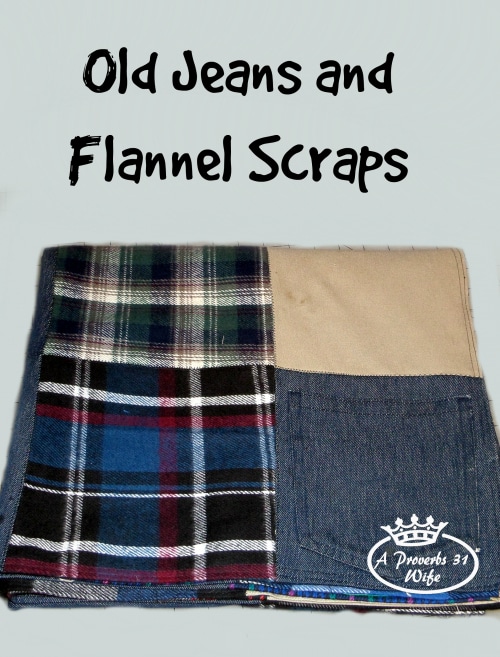
Old Jeans and Fabric Scraps Repurposing and Creating
Who has old jeans and fabric scraps lying around? You know, old jeans that are raggedy, worn out, or too small/big; and that ever growing pile of fabric scraps from other projects, or maybe just because you found a good sale on fabric. I don’t know about you, but I have both.
It was time to clean out my crafting area. No more piles and stuff hiding more piles of stuff with no idea what all was in there. The first section to go through was my sewing section. In that section I found a project that I started last year and never finished. That project included old jeans and fabric scraps…. Any guesses?

I had cut the old jeans and a bunch of flannel fabric scraps into 8″x8″ squares. The plan was a picnic blanket that I could keep in my car, I also figured I could use it for protecting my car for hauling dirty stuff. Am I the only one who hauls bags of dirt and potted plants in my vehicle? I didn’t think so 🙂

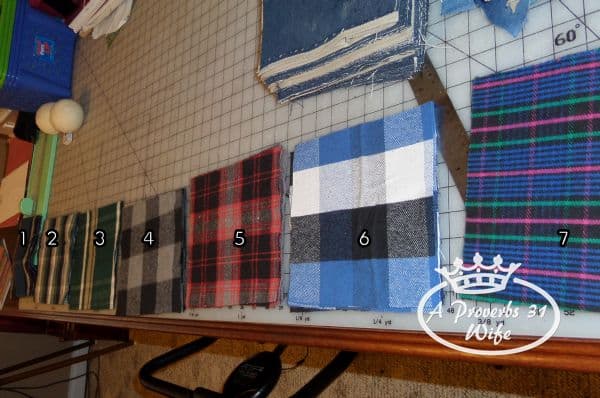
There were 7 colors of flannel fabric scraps so I decided that the picnic blanket would be 7 squares long (or wide as the case ended up being). I laid the piles of flannel out in a row and then made 7 little scraps of paper. The papers were numbered 1-7 and for the first row, I picked up a square from the very first pile and then continued down the row picking up a square from each pile after that. I pinned the #1 paper to that stack. The next stack I picked up a square from the second pile, continued down to the end and then went back and picked up a square from the first pile, this stack got the #2 paper pinned to it.
I continued doing this until I had 7 stacks, each stack started with the pile number that was then pinned to it, and ended with the pile number right before the pinned number. So #7 started with 7 and ended with 6. Since there were quite a number of squares left over, I went ahead and did two more piles. Another pile like #1 and another pile like #2, only the second #1 was labeled #8 and the second #2 was labeled #9. The result of this would be a diagonal pattern throughout the picnic blanket.
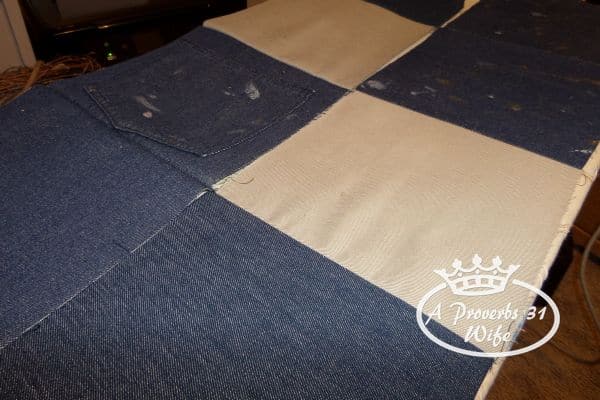
Of course, we cannot forget the old jeans. I had both khaki and denim jeans, and thought I would just do rows of alternating khaki and denim. It turns out that I had way more denim though, so my rows were like this:
First row: 1 denim, 1 khaki, 2 denim, 1 khaki, 2 denim
Second row: 2 denim, 1 khaki, 2 denim, 1 khaki, 1 denimThird row: 1 khaki, 2 denim, 1 khaki, 2 denim, 1 khaki.
I repeated those rows until I ran out of squares. They also created a diagonal pattern in the blanket.
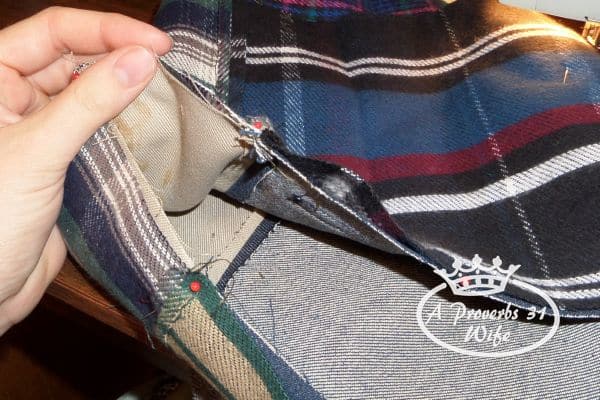
After I sewed each pile of 7 squares together (I used 1/4″ seams) into rows, it was time to iron. Ironing the seams open really help make your blanket lie flat and it’s much easier to line seams up when you sew the rows together.

You can see the difference in the bottom photo. Top row, not ironed. Bottom row ironed. Very simple to do, and makes the rest of the project easier.
Time to sew the rows together. I started with row #1 of the flannel scraps and row #1 of the denim. Pinned them fronts together, lining up the seams and sewed.
I continued doing this until I had sewn all the denim and flannel rows together. Now, if you are experienced enough in sewing or if you were paying attention, you will know what I didn’t figure out until I was nearly done sewing everything together.
That is this: I had 9 rows of flannel, and 8 rows of denim. Each of these rows were only 7 squares long, and I sewed all those rows together. 🙂
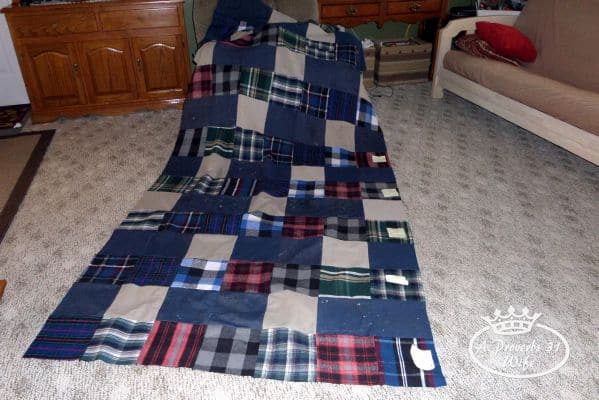
Yeah, how’s that for a failure to think things through?!!! You can see my pattern here with the diagonal stripes so that’s kinda cool. The first row of flannel, was actually the last row I put together and I ran out of some colors so had to substitute.
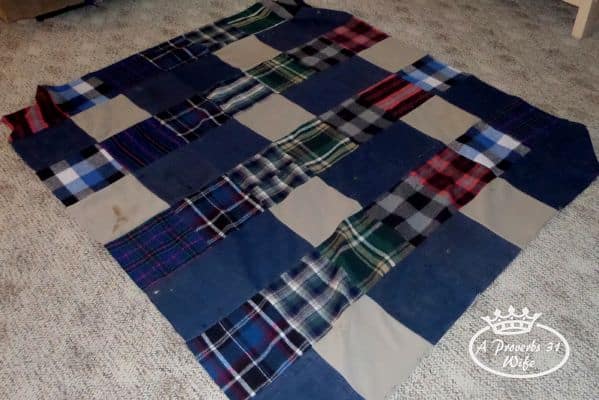
What I ended up doing was dividing it in half, and now I have two blankets made from old jeans and fabric scraps! Really nice sizes actually, and I can already think of quite a number of uses for them!
I finished up my blanket by zig-zag stitching over the pressed open seams and then turned the edges under 1/2″ and double stitched it down.
Two are always better than one right?