Pattern for Baby Towel Apron

I don’t really enjoy sewing, but I have made a couple things in anticipation of our little one. We don’t have a bathroom counter to speak of and I was wandering how I would dry off and dress the baby after giving a bath. Trying to pick up a wet, slippery, squirming little one and wrap them in a towel before leaving the bathroom seemed like a nightmare.
Then I saw a cute idea on Pinterest…. (gotta love that site!)
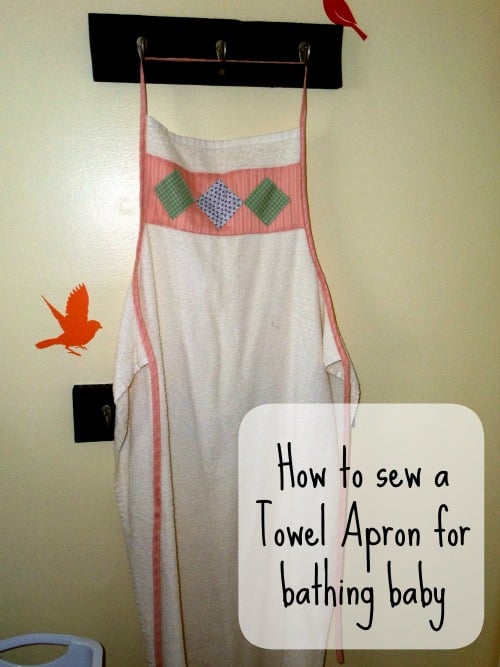
So today I am sharing a pattern for baby towel apron. What’s that? you ask? Well, it’s an apron you wear while bathing baby, and it’s a towel, so you pick up that wet squirming baby and put him right against you and wrap the apron around him. Makes all the sense in the world to me!
Pattern for Baby Towel Apron:
You will need:
- Fluffy bath towel ~I found mine at Walmart for $1.99 each
- Cotton fabric scraps
- 8 ft of Bias Tape ~You can buy plain or make your own if you know how
- Sewing Machine, Iron, and Basic Sewing skills.
I started out by washing my towel, then I folded it in half lengthwise. We have a cutting mat so this part was easy, but you can also use a tape measure and sissors.
I counted 6 inches across for the top, and 10 inches down the side. Then I cut down, and over. This makes the piece that comes up over your chest, and the “arm-holes” Please understand, they are not really holes, just notches. As in don’t cut along the folded edge. 🙂

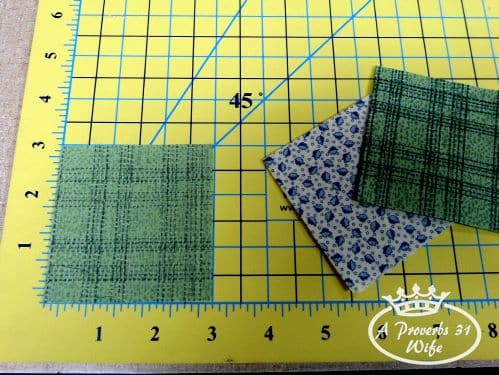
Next I took my cotton scraps, and cut a long rectangle piece for the across the front, and three small squares to sew onto the rectangle piece.
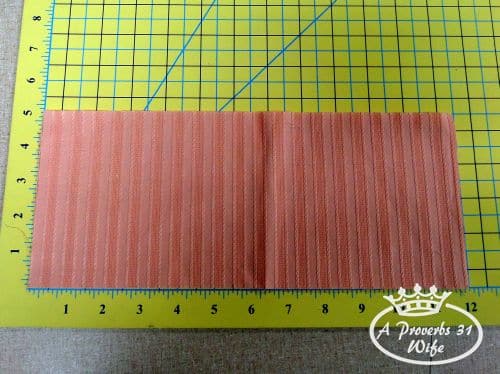
The rectangle was cut at 5″x12″ as you can see. The squares were each cut 3″x3″.
Next you will want to take the rectangle and the squares to the ironing board. Iron the long sides of the rectangle under by 1/4 inch, and all four sides of the squares get ironed under by 1/4.

I folded the pink fabric in half and used a pin to mark the halfway point, both at the top and the bottom of the piece. Next I lined corners of one square up with the pins, and pinned it in place.

I think I did something between a 1/4in seam and an 1/8in seam when I stitched around the square.

With the next two squares, I just lined up the corners, centered them vertically, pinned and sewed.

Now that the squares are all sewed on, I pinned the pink piece close to the top of the front of the towel.
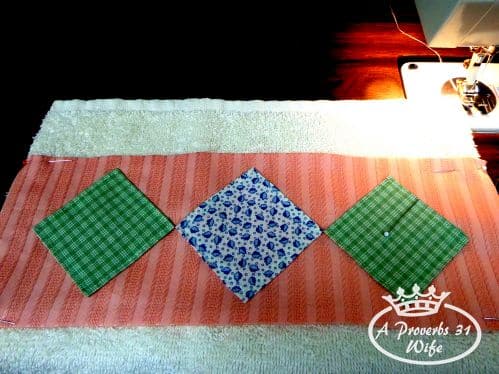
I left about 2in of towel at the top, pinned on the piece and sewed down the top and bottom.
Now it’s time for the bias tape. I again folded it in half so I would know the exact center point. It should be at 4 feet, but since I made my own, and it wasn’t exactly 8 feet long, I wanted to err on the side of caution.
I used a pin to mark the center and then moved down 9 inches from the pin on either side. The 9in mark is where I began pinning the bias tape to the top of my towel. If you’ve never used biased tape before, hopefully the picture below will better demonstrate how to pin it on.
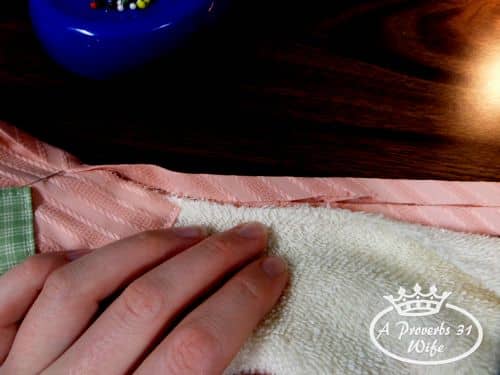
Bias tape has three folds. The outsides both fold in, and then the fabric is folded over itself again. I just open the first fold and one side goes on the back, while the other side is on the front. Once pinned, I sewed about an 1/8th inch in from the edge of the bias tape.
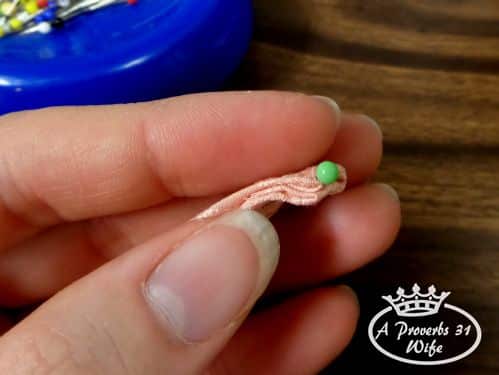
Pin and sew the tape around the arm part, and once you are off the towel, continue sewing the tape together. These will be your ties. Once you get to the end of the bias tape, open the first fold again, and fold the end in, and fold back together.

Follow the same process on the same side, and then you are done. An easy pattern for baby towel apron. 🙂 Making the bias tape was the most time consuming part of it all. But I think this is no more than a 2 hour project tops.
I am really looking forward to using this to bath our baby. As well, I’m hoping it will help keep me a bit drier when baby gets older too. 🙂
If you liked “pattern for baby towel apron”
Studies show you will also enjoy these!


